How to Create and Manage Your Sub-Accounts
Managing multiple clients efficiently requires a well-structured system, and creating Sub-Accounts is a key step in streamlining your workflow. A Sub-Account allows you to manage client interactions, campaigns, and other essential services in a dedicated space tailored to their specific needs. This guide will walk you through the process of setting up a new Sub-Account from scratch, ensuring a seamless experience for both you and your clients.
Creating a Sub-Account
Creating a Sub-Account for a client is a crucial step in managing your clients’ marketing efforts more efficiently. This section will guide you through setting up a new Sub-Account from scratch without using pre-existing automation templates.
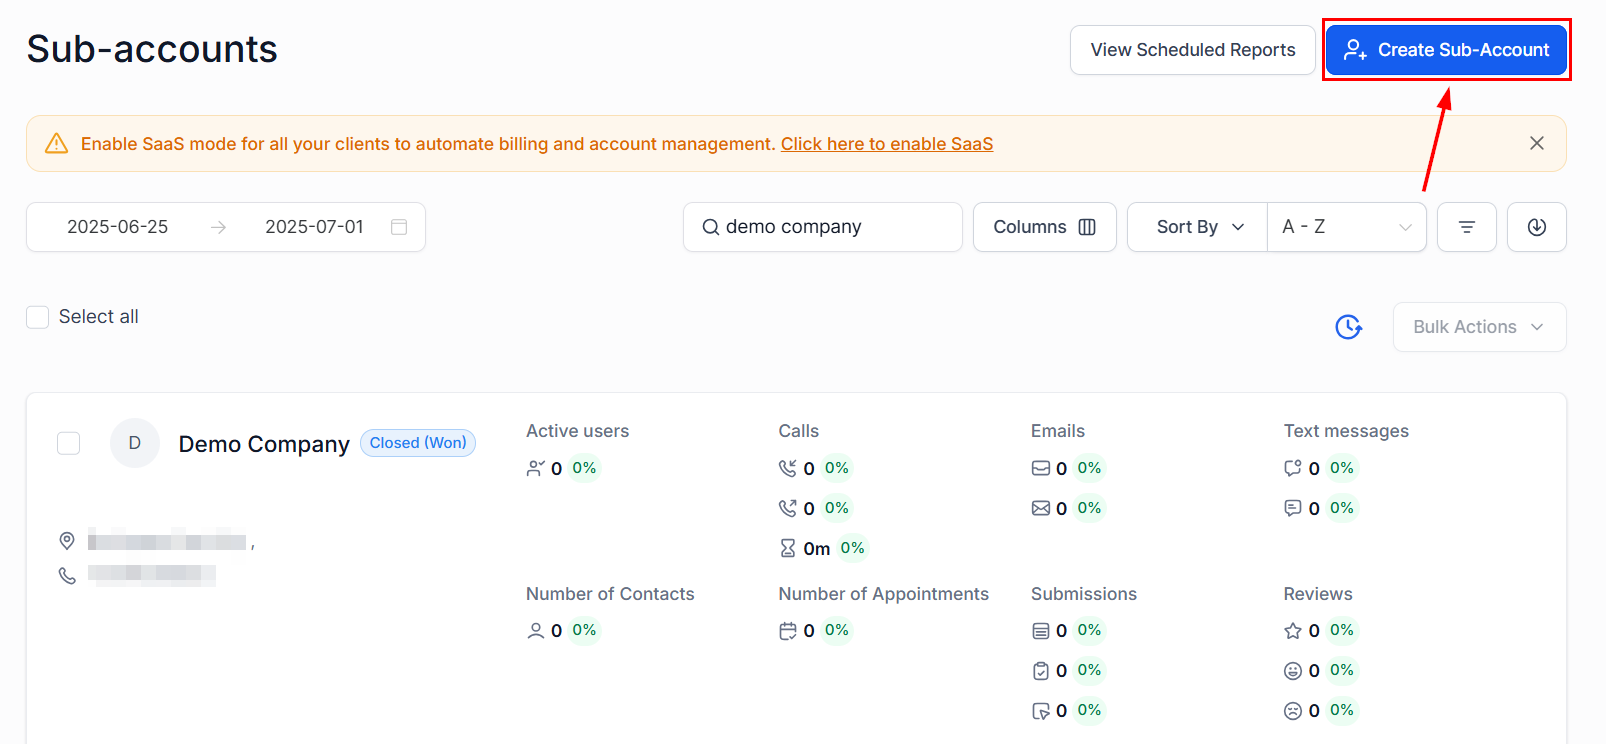
Within Agency View, locate and click the Sub Accounts tab, then select the Create Sub-Account button.
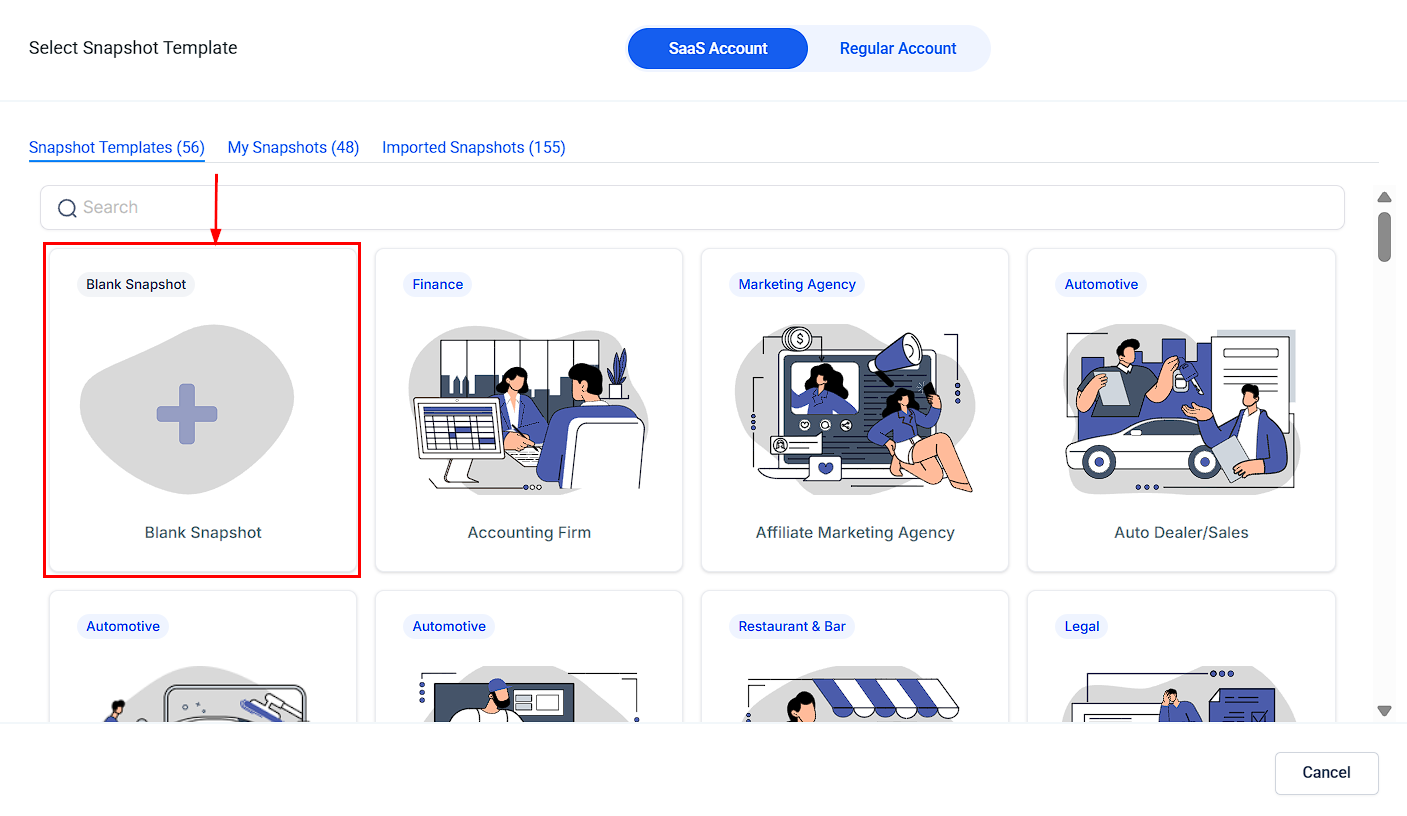
To start from a clean slate and customize the account according to your client’s specific needs, choose the Blank Snapshot option. This allows you to manually add and customize automations, campaigns, emails, SMS, and more.
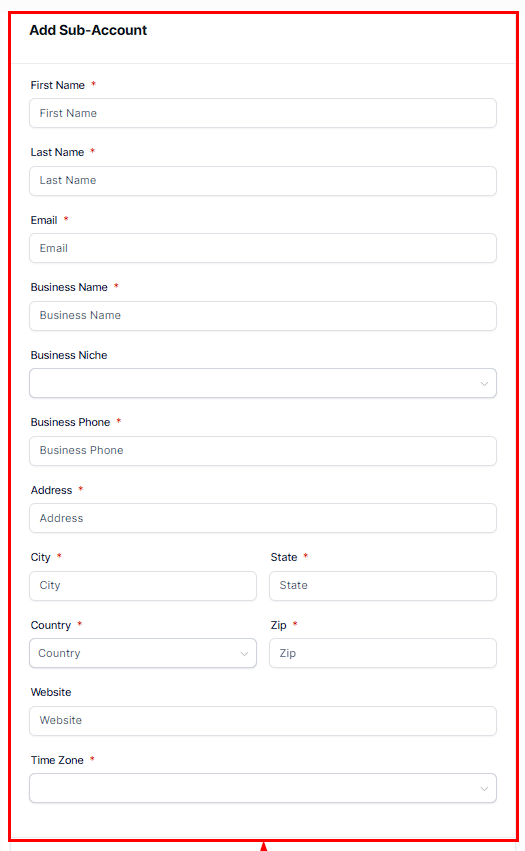
You can either input the client’s location information in the Search bar or select the Add Manually button to enter the details manually, such as the address, city, state, and country.

For the Client Information, fill in the client’s details, including:
- First Name
- Last Name
- Business Name
- Business Niche
- Business Phone
- Address, City, State, Country (e.g., United States)
- Zip Code
- Website URL
- Time Zone
If necessary, toggle the option to add sample data to the sub-account.
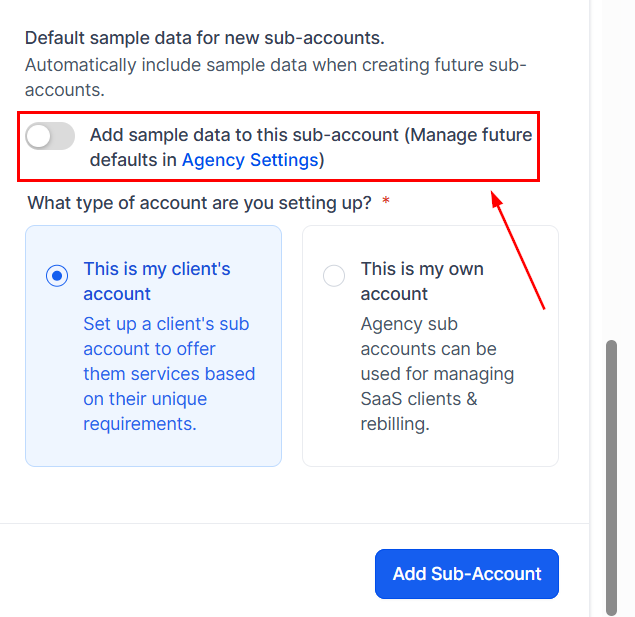
Select whether this account is for a client (1) or if it is an agency account (2).
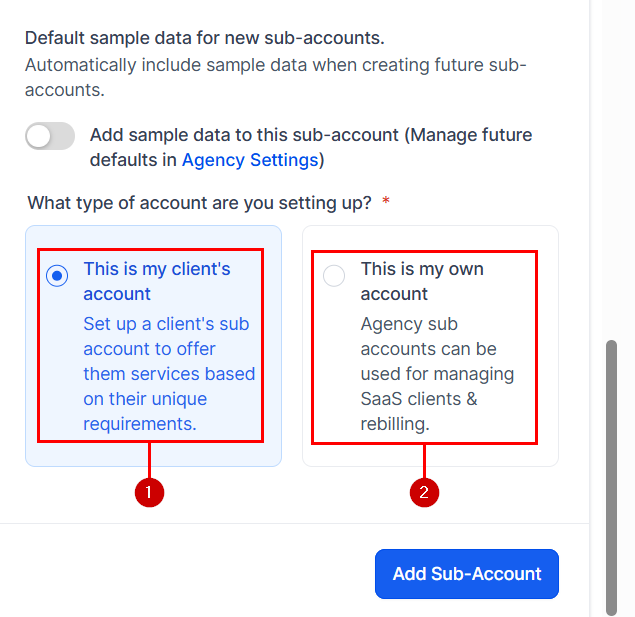
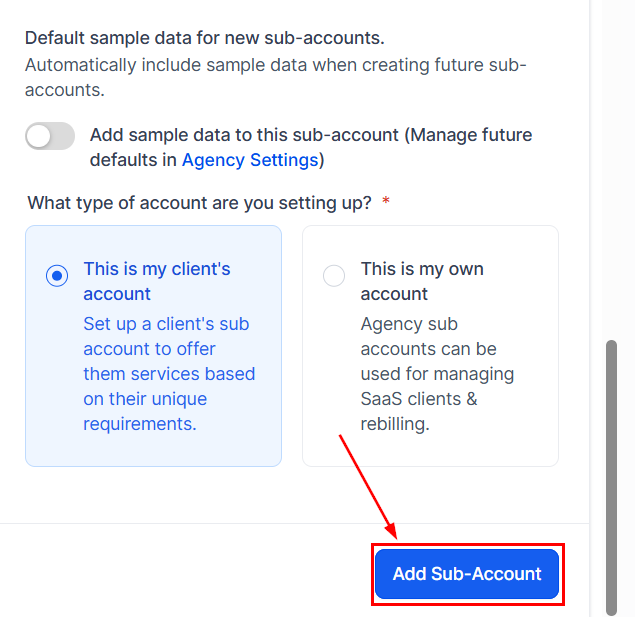
Then, after ensuring all information is correct, click Add Sub-Account to create the Sub-Account.
Managing Client Access
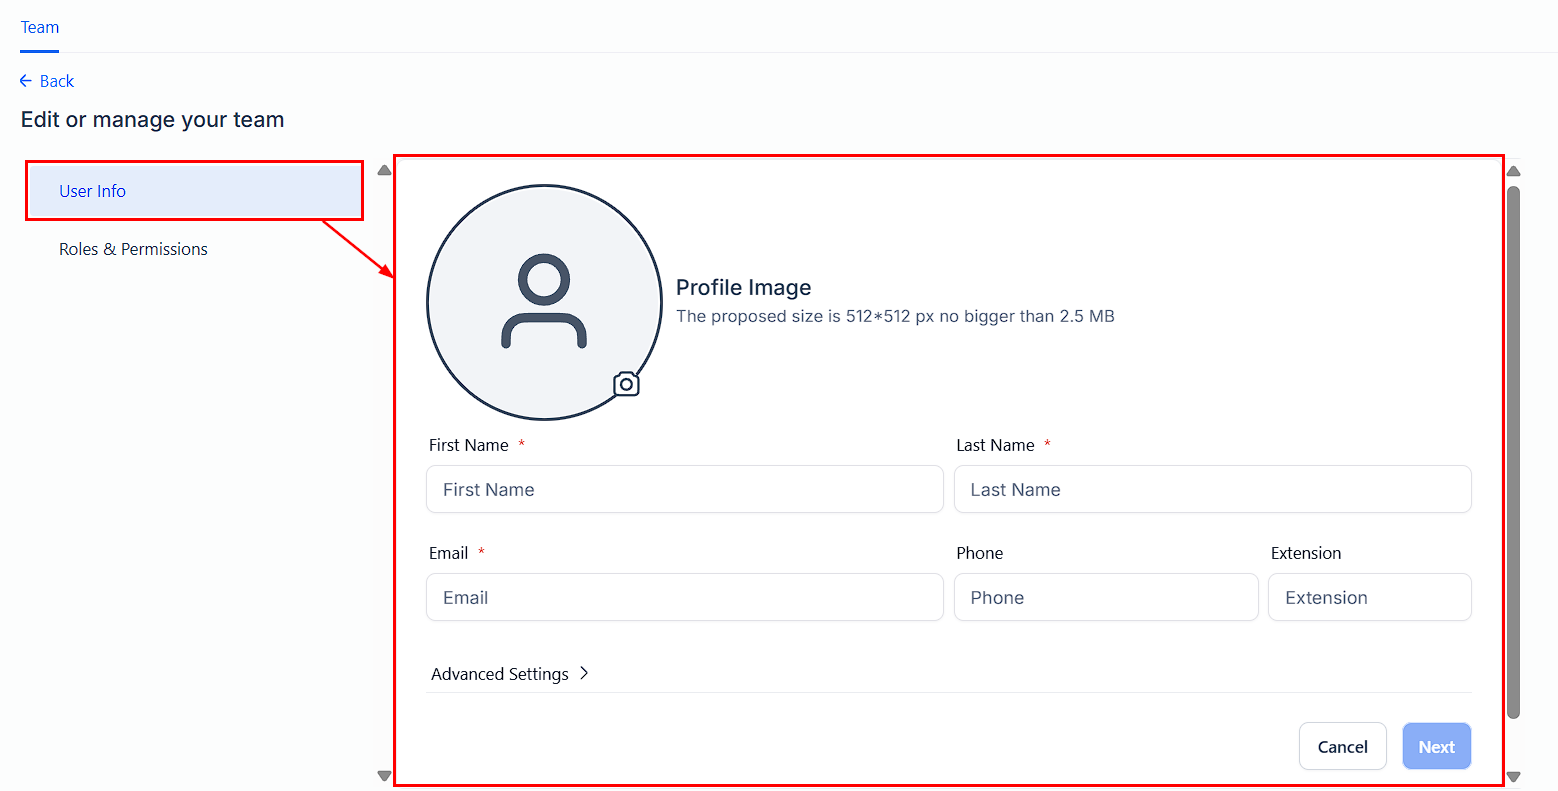
This is to ensure your client can view and interact with their Sub-Accounts. From the agency view, go to the settings, select the Team option, and click Add User.

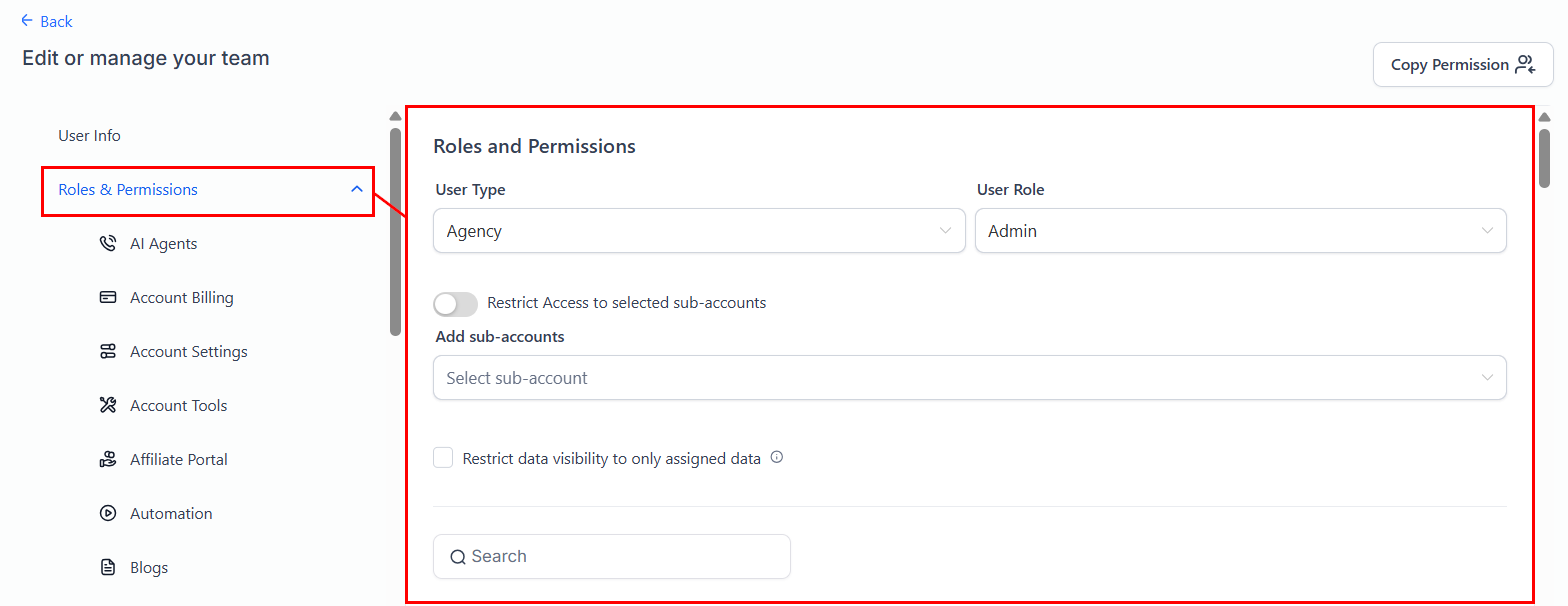
On the next page, fill in your client’s User Info and Role & Permissions.
You can set Permissions and customize what your clients can see and do within their Sub-Accounts by adjusting their user permissions. Update the User Type, User Role, and Data Visibility Scope if necessary, and ensure that the client is assigned to their specific Sub-Accounts to give them access.
Navigating Between Accounts
It is important to know how to navigate between your agency account and your clients’ Sub-Accounts. This section provides instructions on how to switch views within the platform.
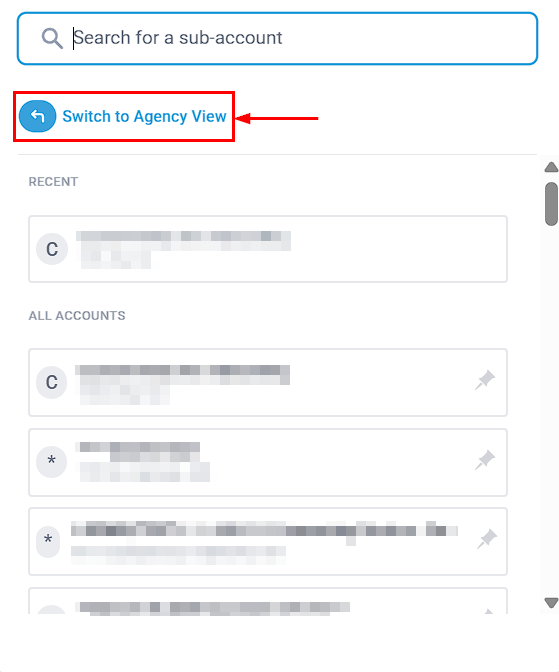
- To Return to Agency View: On the left side bar, select the subaccount name to access the option labeled Switch to Agency View within the subaccount. Clicking this will take you back to your main agency dashboard.
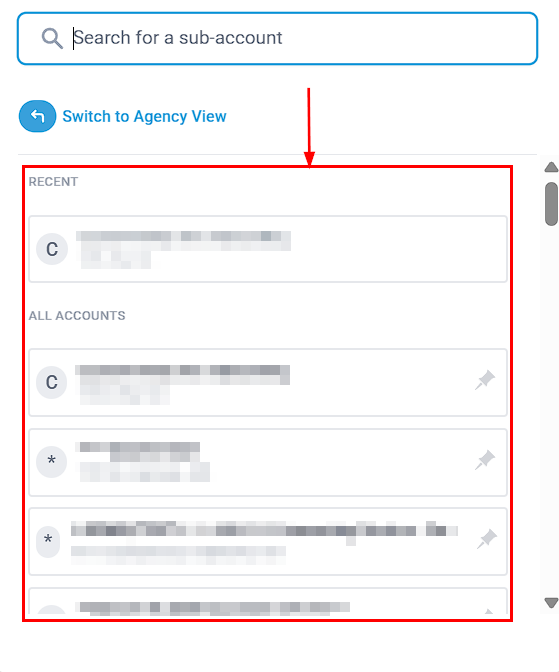
- To Access a Sub-Account: Click on the Sub-Account’s name from the Sub-Account switch within your agency dashboard. This will take you to the specific Sub-Account’s dashboard.
Exploring Sub-Account Features
Each Sub-Account comes equipped with a variety of features designed to manage client interactions, campaigns, and more. Key Features of Sub-Accounts include:
- Conversations: Manage and track all client communications in one place.
- Calendars: Schedule and manage appointments and events.
- Contacts: Keep a detailed record of all client contacts.
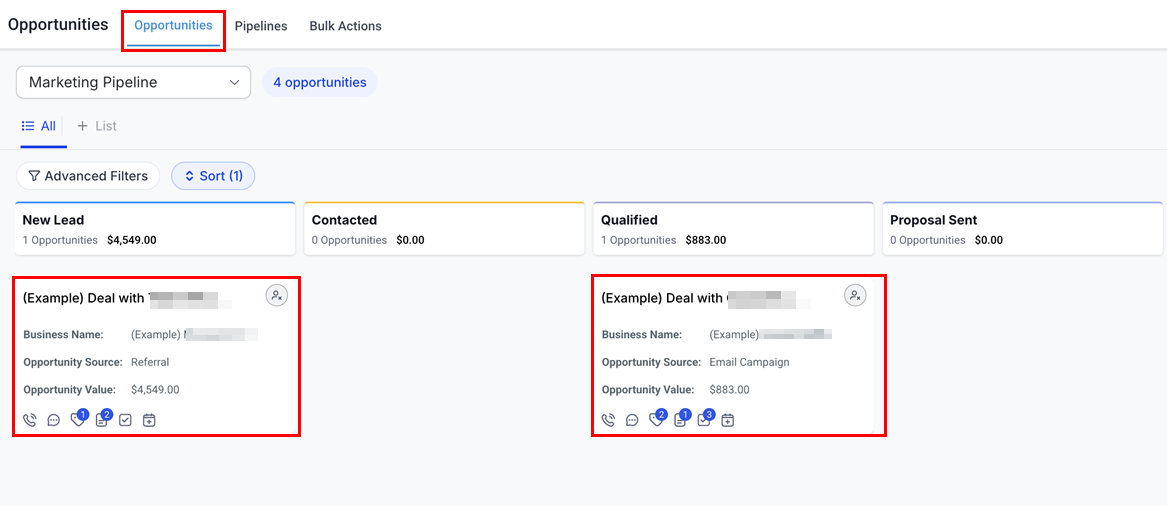
- Opportunities: Track potential sales and client engagement opportunities.
📌Note: Sub-accounts preloaded with sample data contain examples across various categories, including Opportunities, Pipeline, Contacts (with an additional contact linked to an Opportunity), Tasks, Notes, Companies, and Tags. To distinguish this from real data, each sample record is clearly labeled with the prefix “(Example).”
This sample data can be customized or removed at any time.
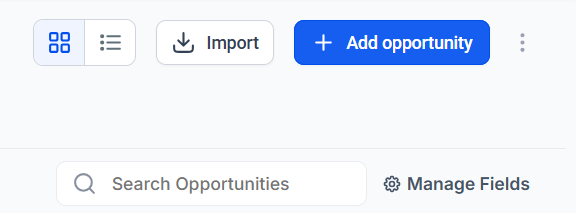
Users can add opportunities manually or via CSV import once they are familiar with the system.
Utilizing Sub-Accounts
Once you have created a Sub-Account, you can start customizing it to fit your client’s needs. This includes:
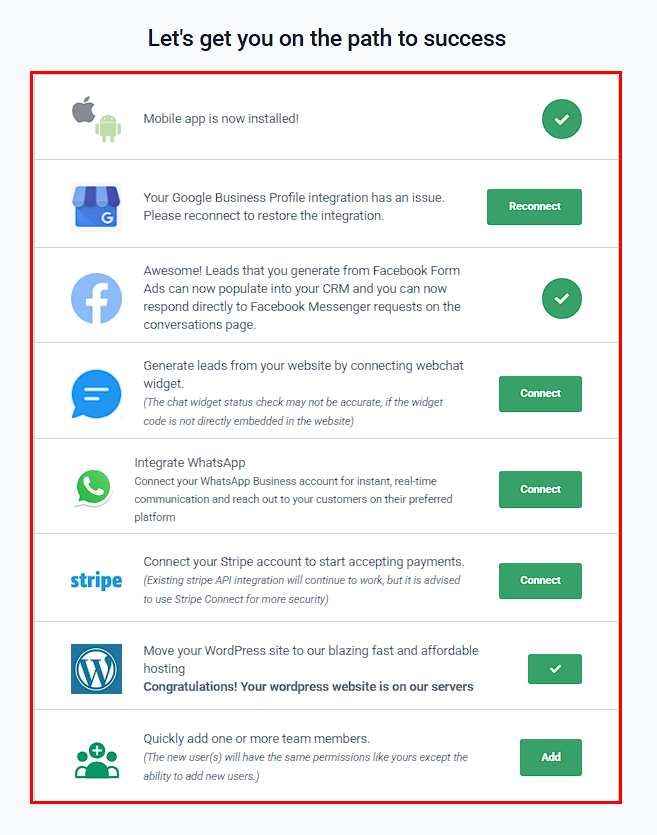
- Connecting Services: Link services like Stripe for payment processing or Google My Business for local SEO from the account Launchpad.
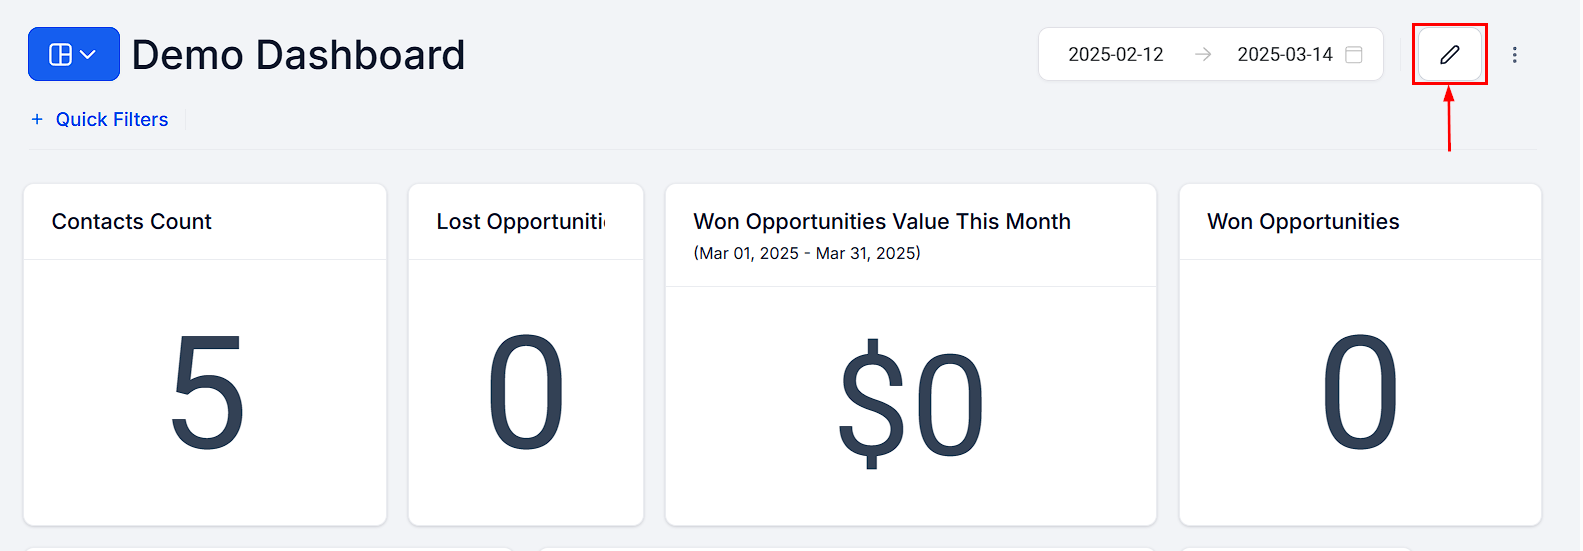
- Customizing the Dashboard: Use the Pencil button to tailor the Sub-Accounts dashboard to highlight the most relevant information and tools for your client.
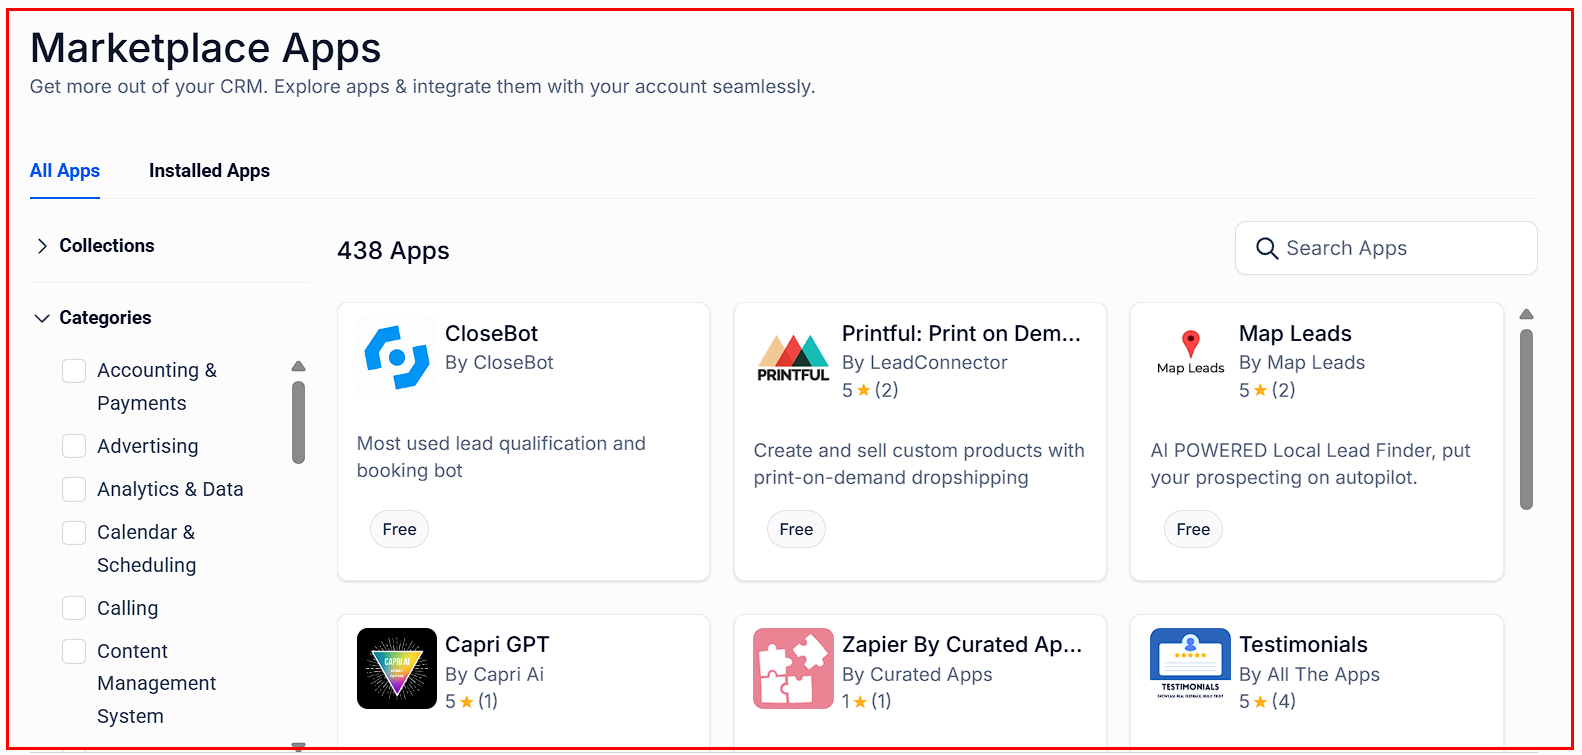
- Adding Services from the App Marketplace: Enhance your client’s account by adding services directly from the marketplace, such as white-label solutions or basic account setups.
Whether you’re adding automation, tracking conversations, or integrating essential services, a well-structured sub-account ensures a smooth workflow and enhances client satisfaction. With this guide, you can confidently create and manage sub-accounts, making your agency operations more efficient and streamlined.
Troubleshooting and FAQs
Delay in Account Switching
- Sometimes, there may be a slight delay when switching between accounts. This is normal and usually resolves within a few seconds.
Q: Can I customize automations for each Sub-Account?
- A: Yes, each Sub-Account can have its own set of customized automations, campaigns, and communications.