How to Customize Fields for Add Contact
When adding a contact, you may have a specific set of questions or input fields you want to include for all contacts. With the customizable contact form, you can do just that. This guide will walk you through all the steps you should follow to capture all the relevant contact details in one go.
📌Note: This feature is accessible only to account administrators. Please ensure you have the appropriate permissions before proceeding.
How It Works
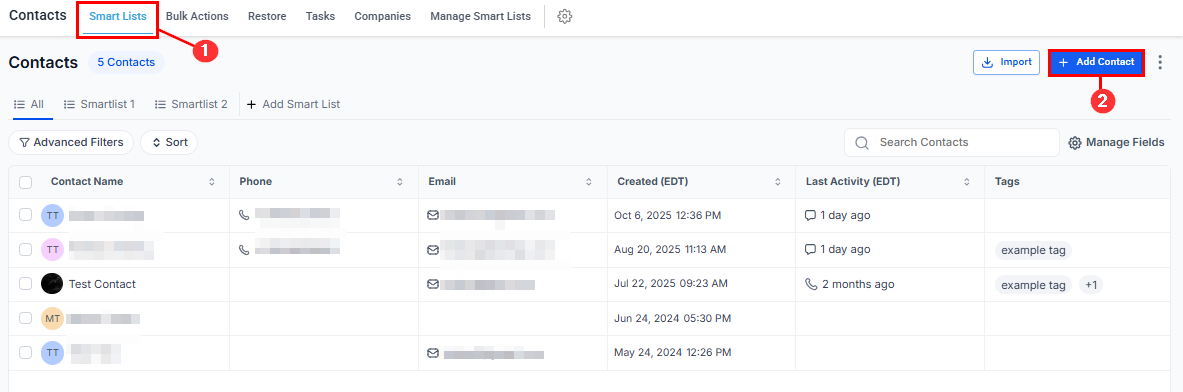
Start by clicking the Add Contact button from the Smart Lists view.
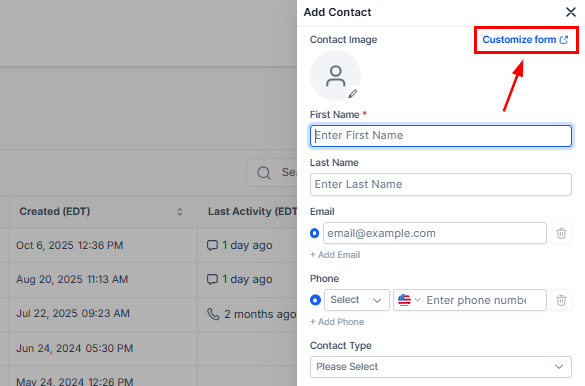
The standard add contact form will open on the right side of the screen. Click the Customize form button to add or update the available fields.
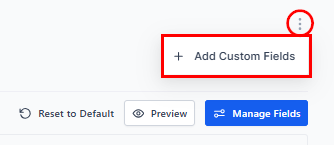
If you haven’t added the desired field yet, you can click the three dots on the upper right-hand section.
Next, click Manage Fields to include, remove, or reorder fields as needed.
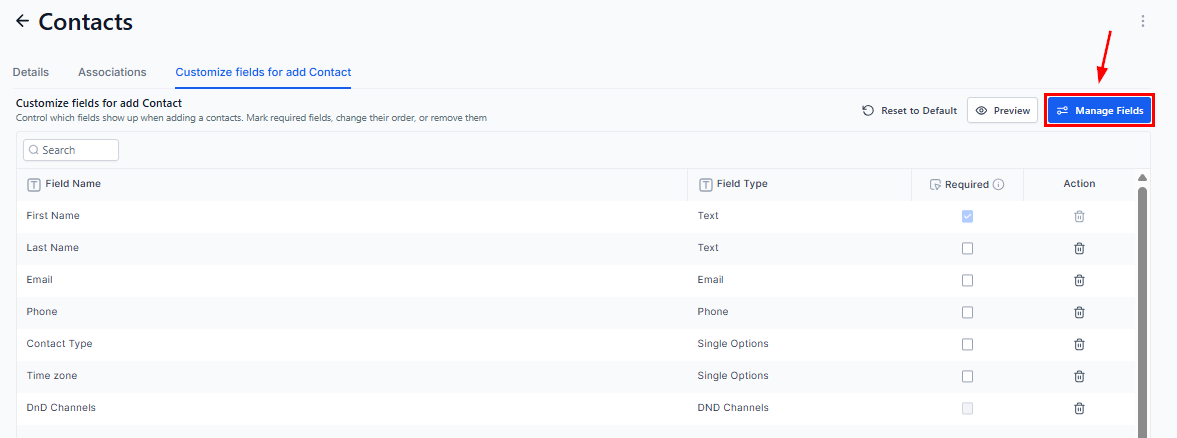
The fields that are currently in use will appear at the top. You can deselect or reorder any field, except for the First Name field, which remains fixed at the top of the form.
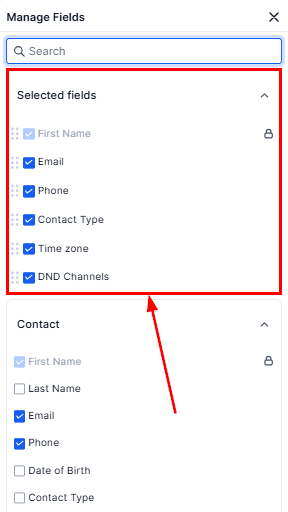
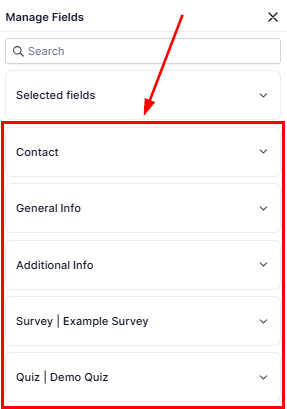
Locate the custom field in the section where it was added, then select it.
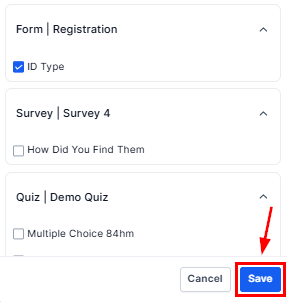
Once you are satisfied with the layout, click save to maintain your changes.
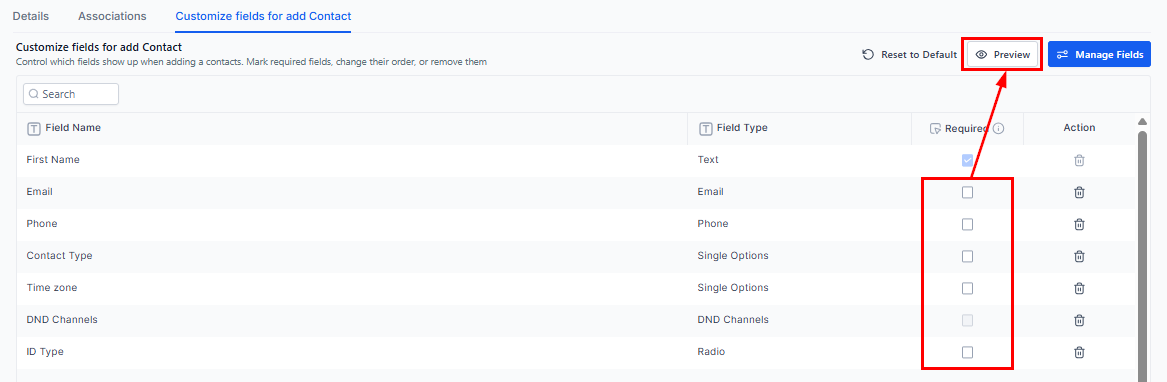
Finally, mark any fields as required, if needed, and preview your configuration to confirm everything functions as intended.
With your contact form fully customized, you can now efficiently capture the necessary information for each contact.
Not a Funnelbud customer yet?
Try our all-in-one CRM for sales and marketing — free for 7 days, no commitment.