Audience Tab
Effectively managing audiences in Ad Manager is crucial for optimizing advertising strategies and ensuring precise targeting. This guide will provide detailed instructions on how to locate and manage your custom and lookalike audiences. It covers essential tasks such as creating new audiences, editing existing ones, and deleting audiences when necessary. By following this guide, you can ensure that your audience management aligns with your campaign objectives.
Locating Audiences in Ad Manager
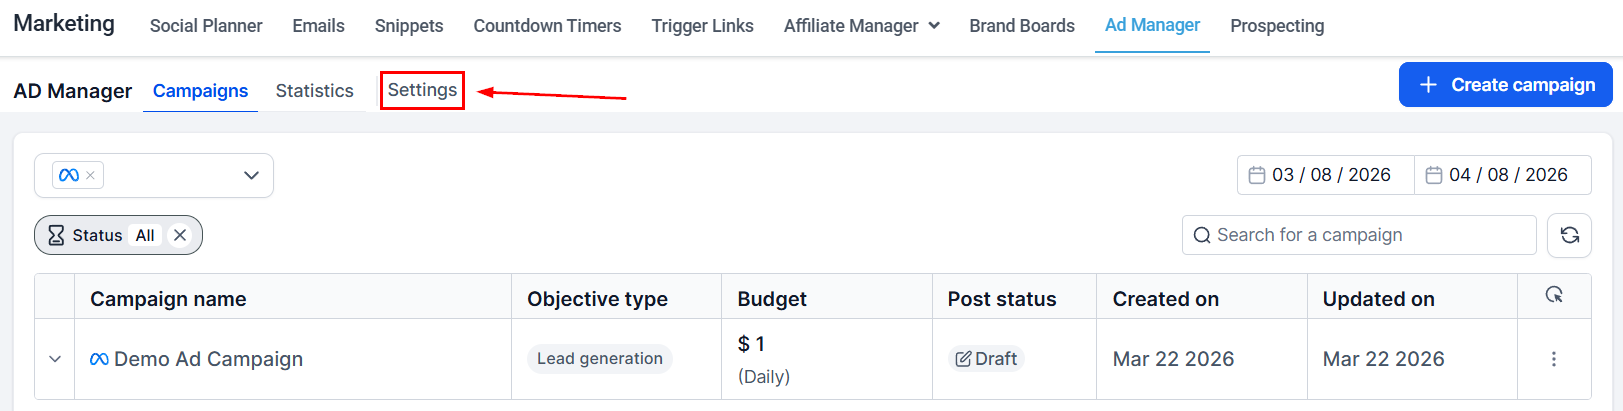
To access your list of audiences, navigate to Ad Manager Settings by clicking the settings icon on the Ad Manager homepage.
Within the Platform settings, you’ll find four tabs: Integrations, Pages, Conversions, Audiences, and Subscription. Each tab serves a specific purpose, but this guide focuses on the Audiences tab. Once you click the Audiences tab, you can view all audiences, including those created within Ad Manager and those imported from connected Meta accounts.
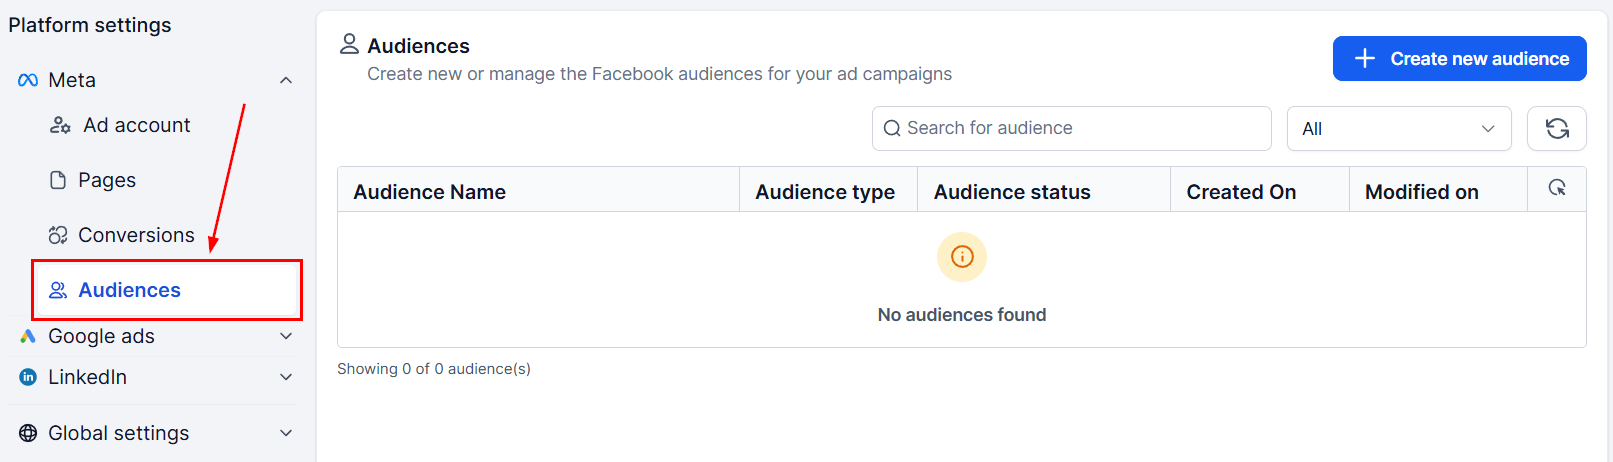
📌Note: The Integrations tab is excluded in the Default Ad Manager, as it doesn’t require an ad account connection. Instead, a child Business Manager is created for ad publishing with a saved payment method.
Creating a New Audience
You can create new audiences in two ways:
During Campaign Creation
Both custom and lookalike audiences can be created directly within the campaign creation flow. For detailed steps, refer to the other articles in this section.
From the Audiences Tab
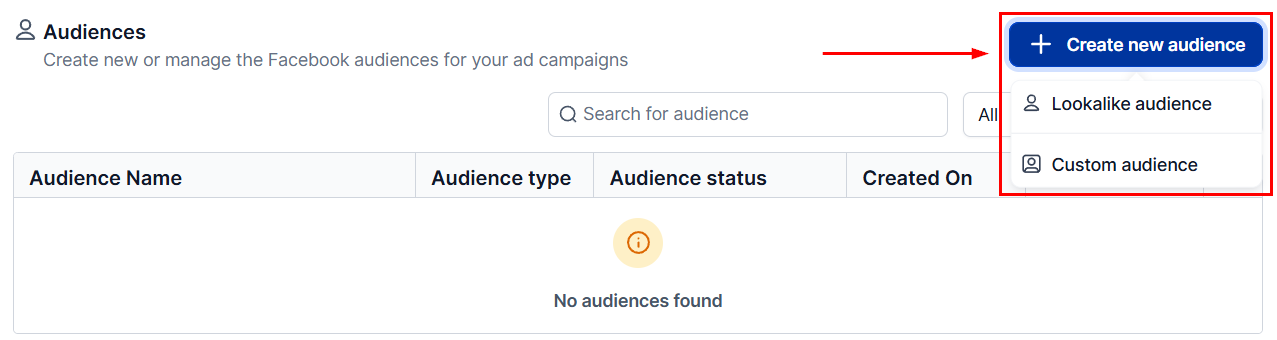
Click Create New Audience under the Audiences tab. Choose between a Lookalike Audience or a Custom Audience, then follow the respective creation process to add the new audience to your list.
Search
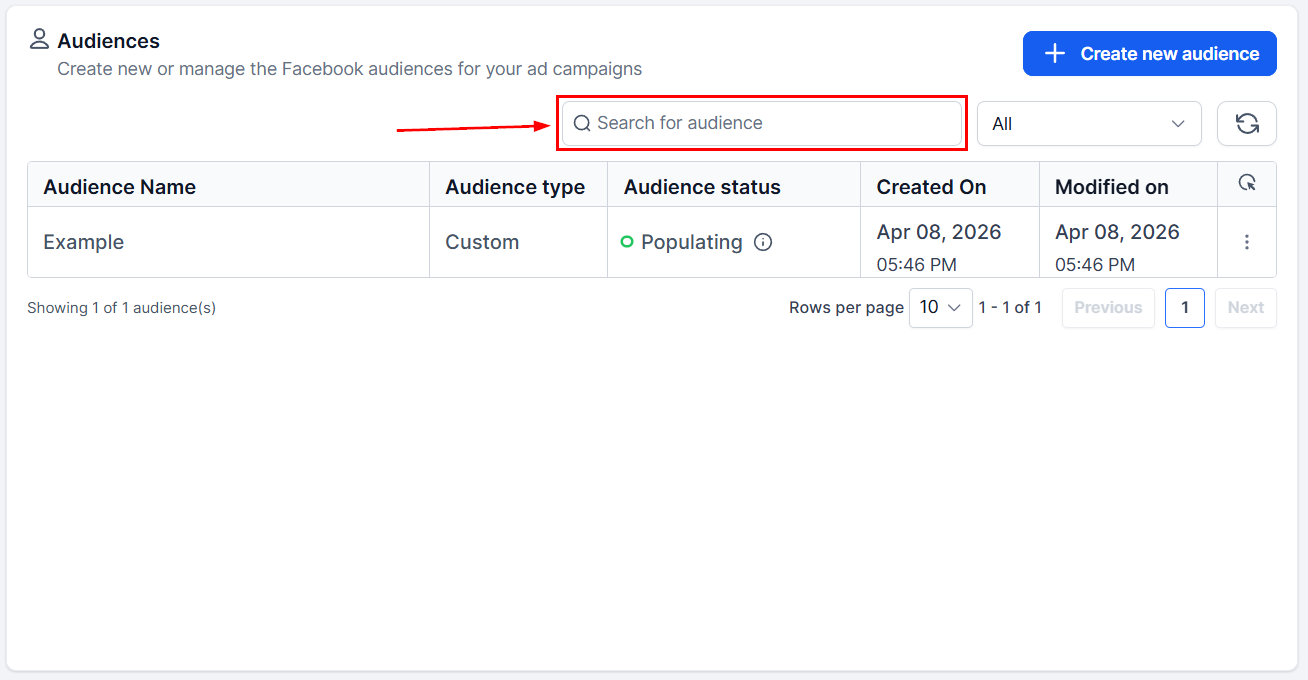
Use the Search for Audience box to locate a specific audience by name.
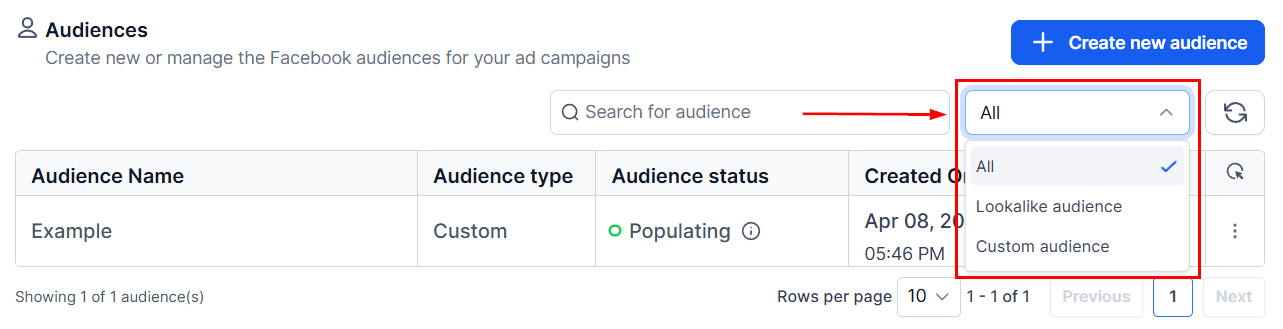
Filter
Filter the list by selecting All, Custom, or Lookalike audiences to refine your view.
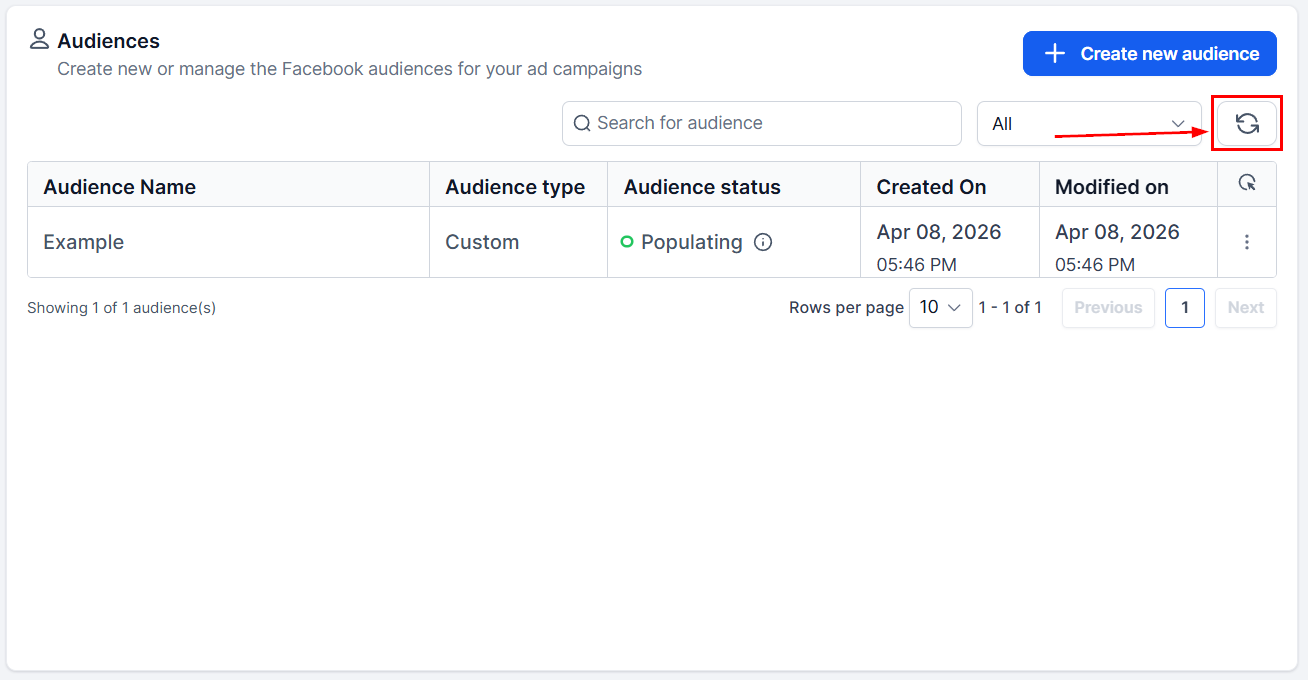
Refresh
Click this button to import additional audiences from the connected Ad account, ensuring that your Ad Manager reflects all relevant audiences.
Audience Table
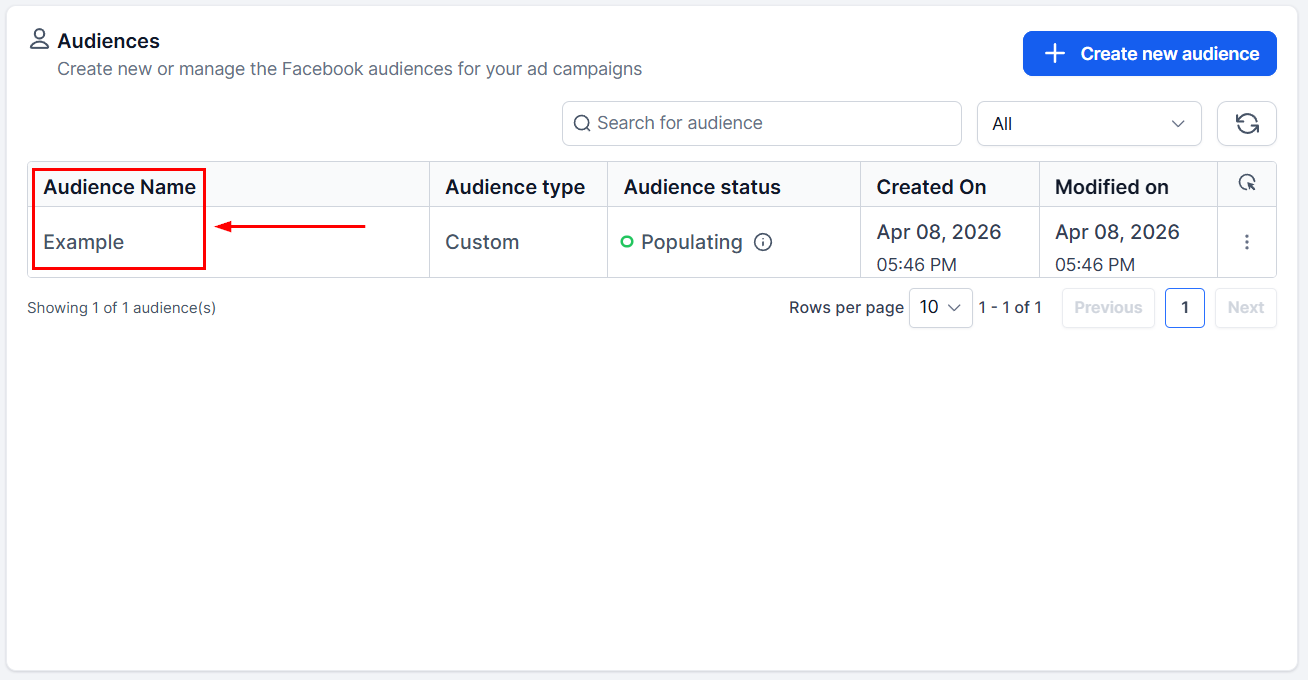
Audience Name
In this column, you can view the title given to your audience for easy identification.
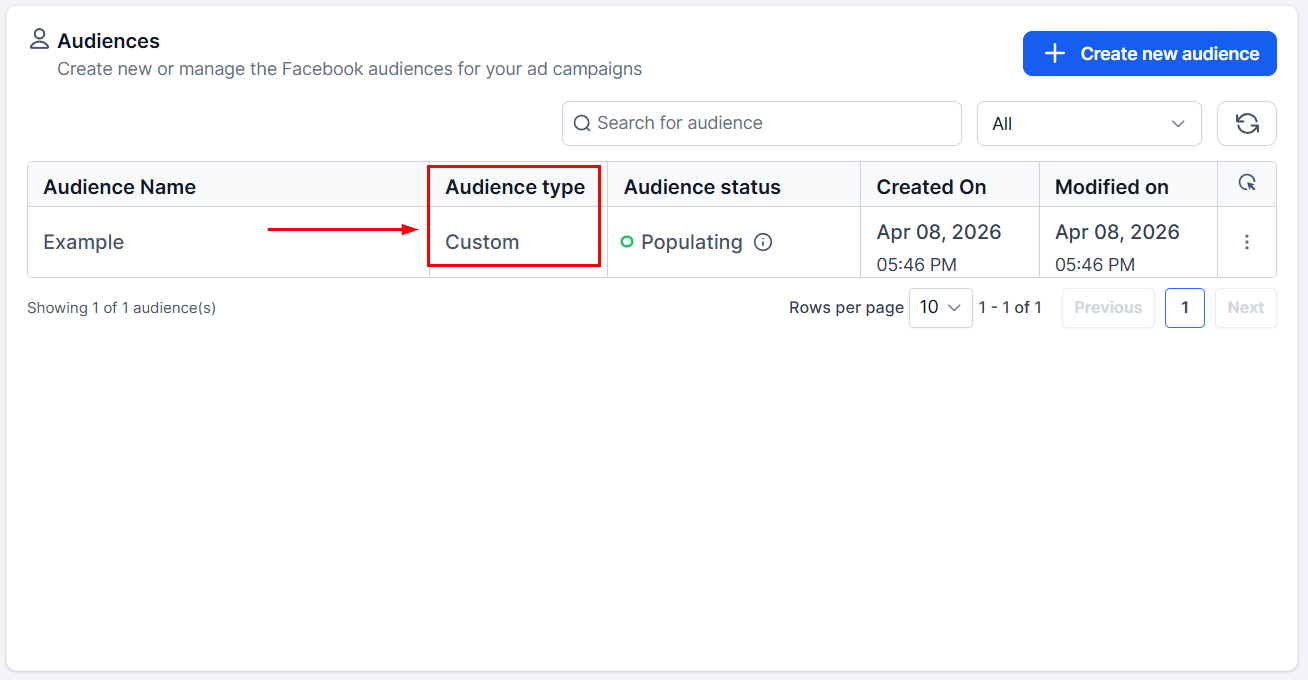
Audience Type
Here, you can see whether the audience is a Custom or Lookalike audience.
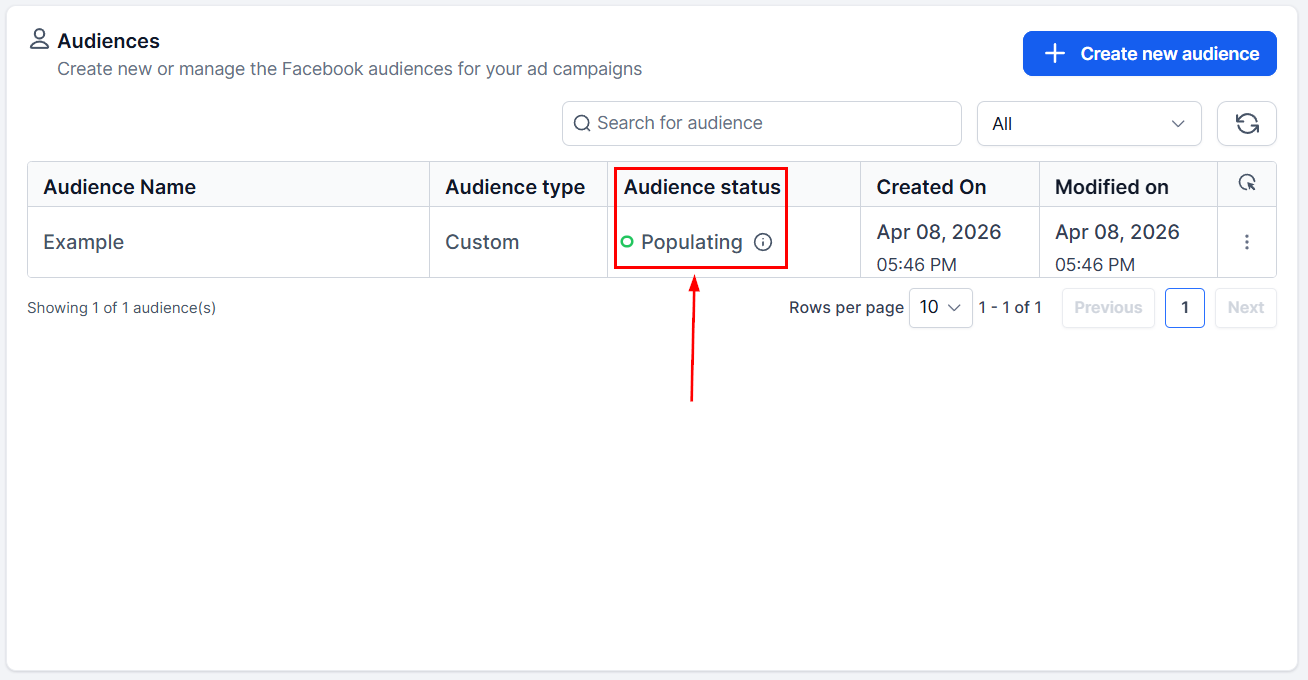
Audience Status
Under Audience Status, you may see:
- Populating: Meta is matching your audience to profiles, which can take up to 3 days. Ads can run immediately, but the audience size will grow as it populates.
- Audience not created: The source audience may be too small. Adjust and try again.
- Ready: The audience is available for use.
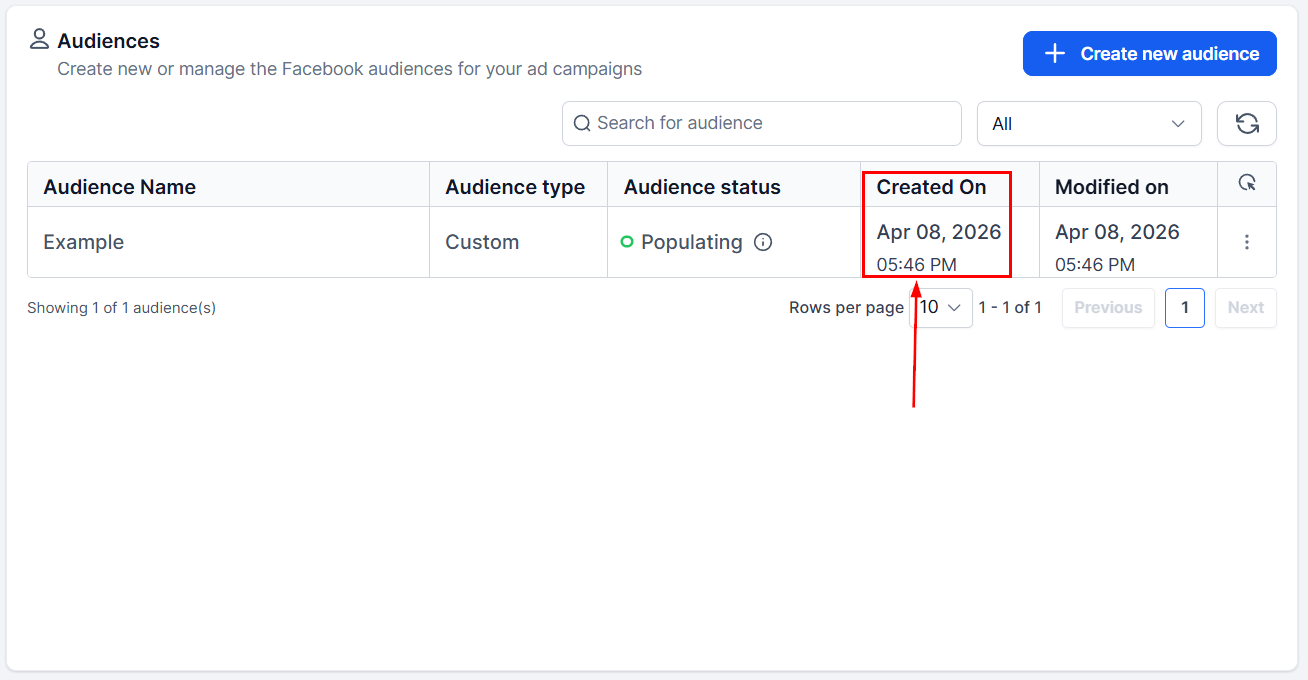
Created On
In this column, you can see the date and time the corresponding audience was created.
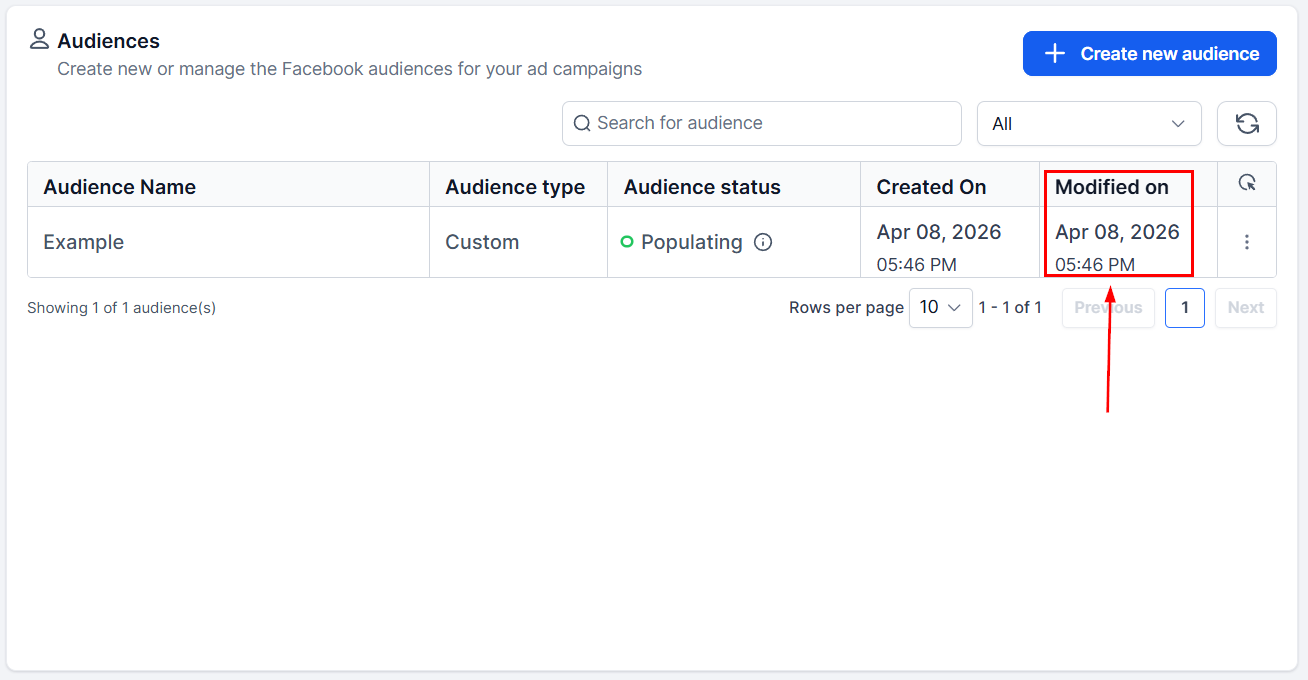
Modified On
View the date and time the audience was last modified to track recent changes or updates.
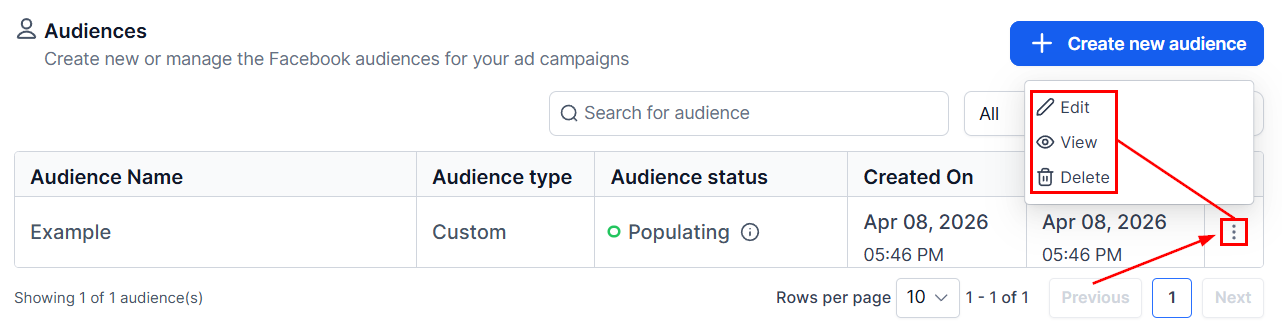
Actions Menu
Click the ellipsis icon next to an audience to access its actions menu. You will be presented with options to edit, view, or delete the audience permanently.
Whether you’re creating, editing, or deleting audiences, these tools offer flexibility and control over your campaigns. By following this guide, you can effectively manage your audience lists to support your marketing objectives.
✍️Important Notes
- If the audience is linked to active campaigns, you must pause those campaigns first.
- Deleting a custom audience associated with a lookalike audience requires deleting the lookalike audience beforehand.
Frequently Asked Questions
Q: Is there a limit to the number of audiences I can create?
- While no specific limit exists, maintaining an organized audience list ensures effective management and streamlined campaign strategies.
Q: How often can I update audience criteria?
- You can update the criteria as frequently as needed. However, frequent updates may impact performance and effectiveness.
Q: What happens if I delete an audience?
- Deleted audiences cannot be recovered. Ensure no active campaigns depend on the audience before deletion, as those campaigns will be affected.
Q: Can I use multiple audiences in a single campaign?
- Yes, you can combine multiple audiences in a campaign to enhance targeting. Monitor their performance to optimize results.
Not a Funnelbud customer yet?
Try our all-in-one CRM for sales and marketing — free for 7 days, no commitment.