Builder Tab
Automation is key to efficiency, since it helps you create seamless, automated processes. And the Builder tab is where all that magic is born. Before we begin the creation process, let’s follow along to gain a better understanding of its tools and sections.
Workflow Name
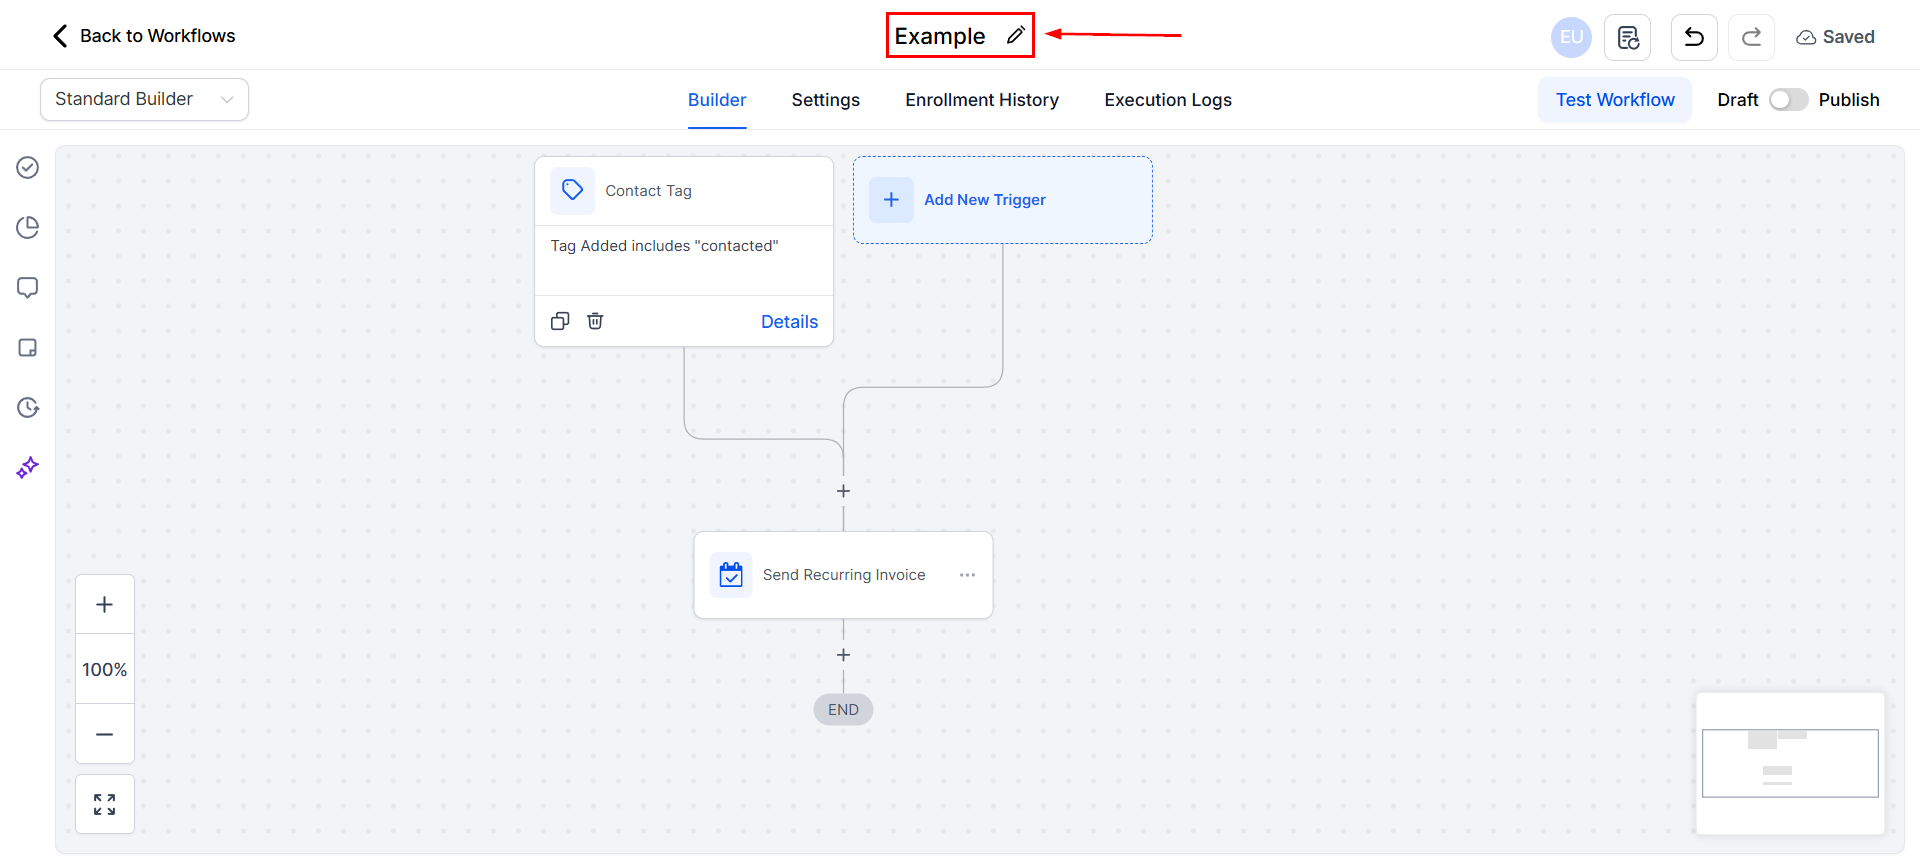
At the top of your Workflow Builder page, you’ll find your workflow’s name followed by a pencil icon for editing. We recommend naming your workflows to reflect their purpose, as a clear and concise name helps you identify them at a glance. For example, if the workflow sends a text message to someone who missed a call, you might name it “Missed Call Text-Back.”
Builder Section
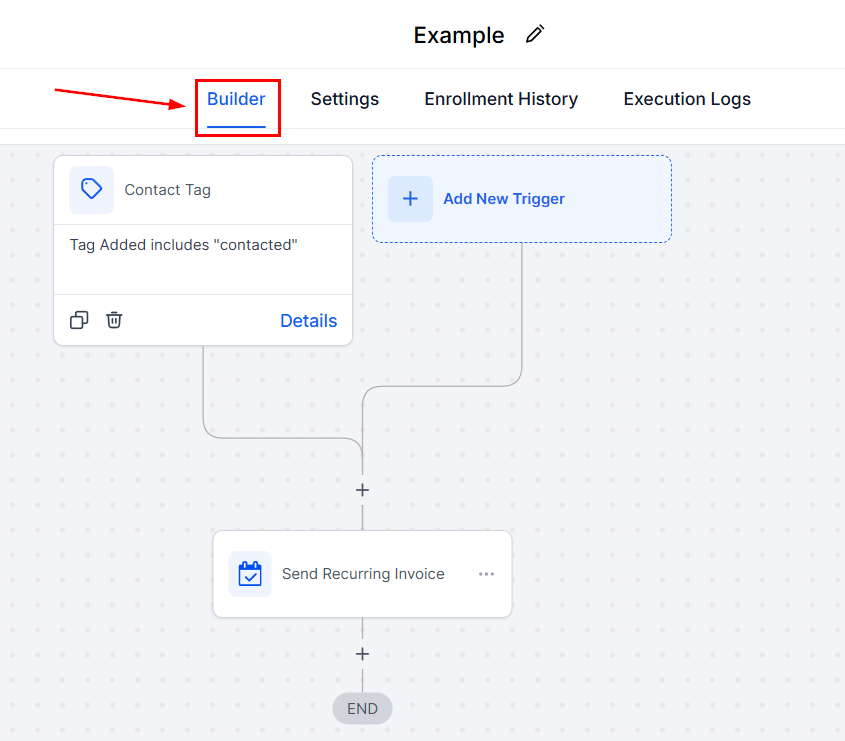
The workflow Builder section allows you to create automated workflows triggered by actions performed that affect your CRM. You can verify you’re in the correct tab by selecting Builder.
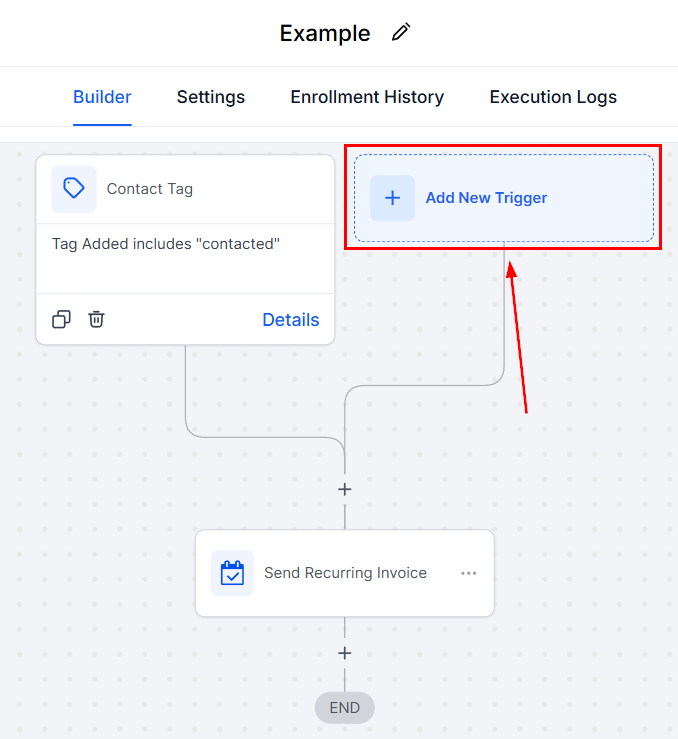
You can decide which action is necessary for your workflow to start working by clicking + Add New Triger, the one you select will depend on the process or goal in mind.
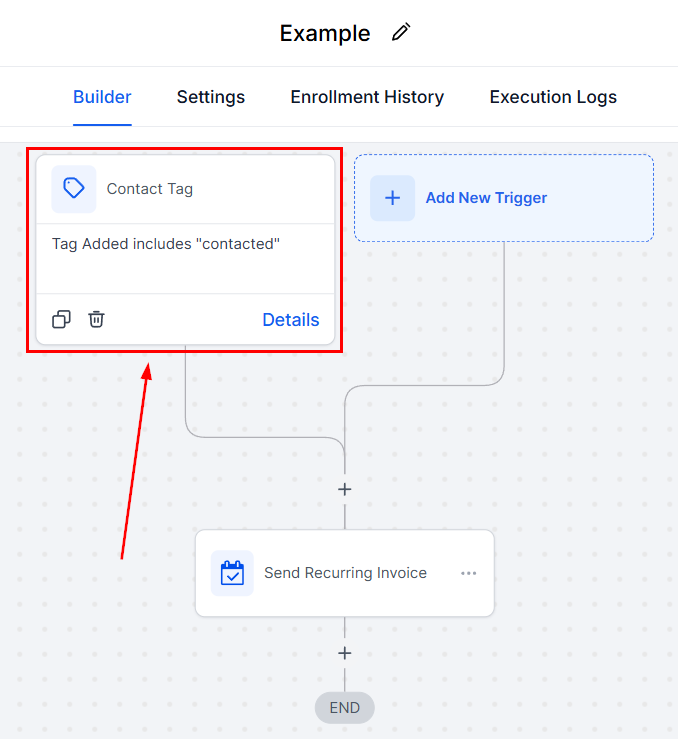
All triggers you’ve added to your workflow will be located in the top section, including a small list of any added filters, a copy icon to duplicate your trigger, and a Trash can icon to remove it.
To add actions for the workflow to perform, click the + sign icon where you want to add them.
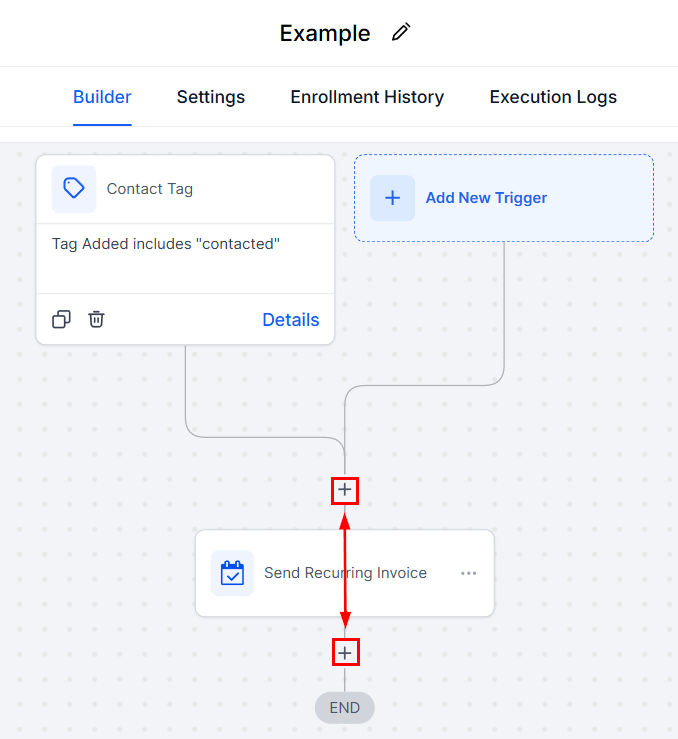
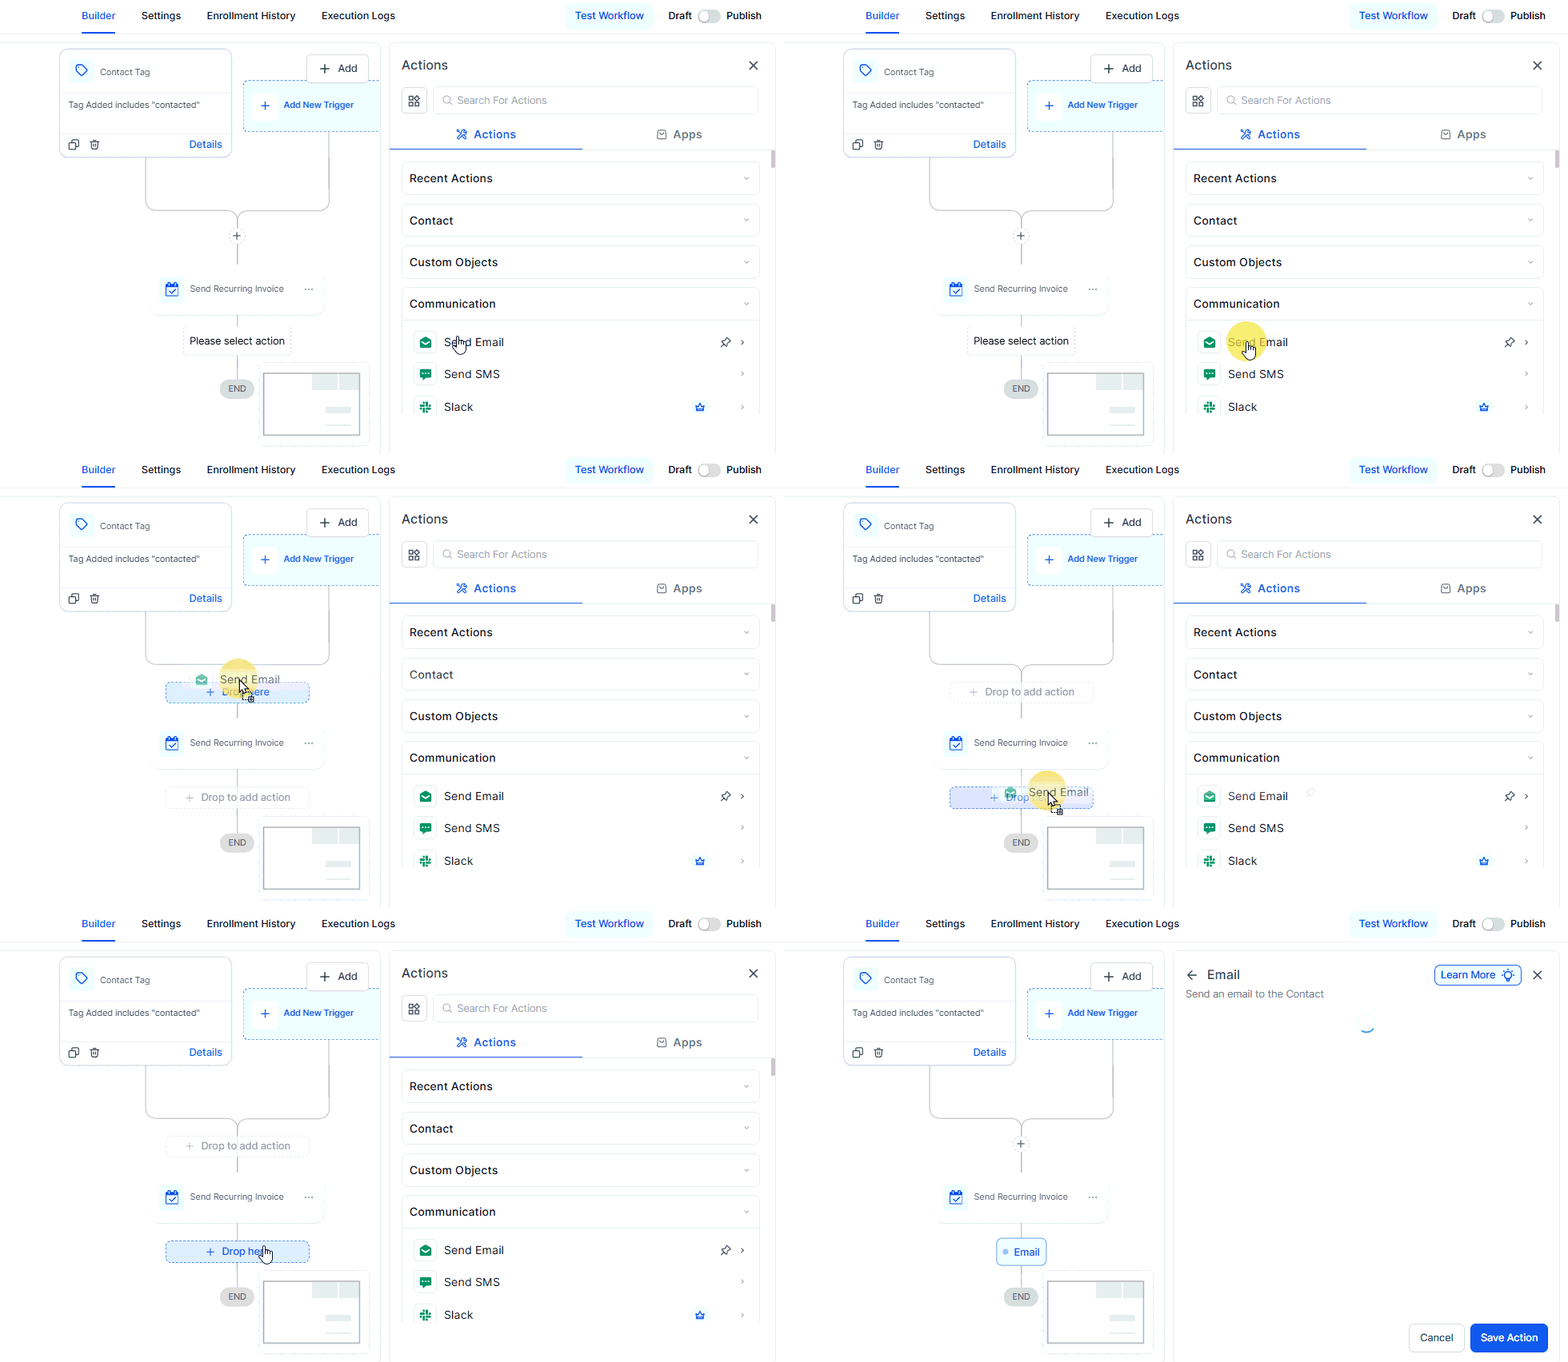
Alternatively, click and hold a trigger or action in the sidebar, then drag it onto the canvas.
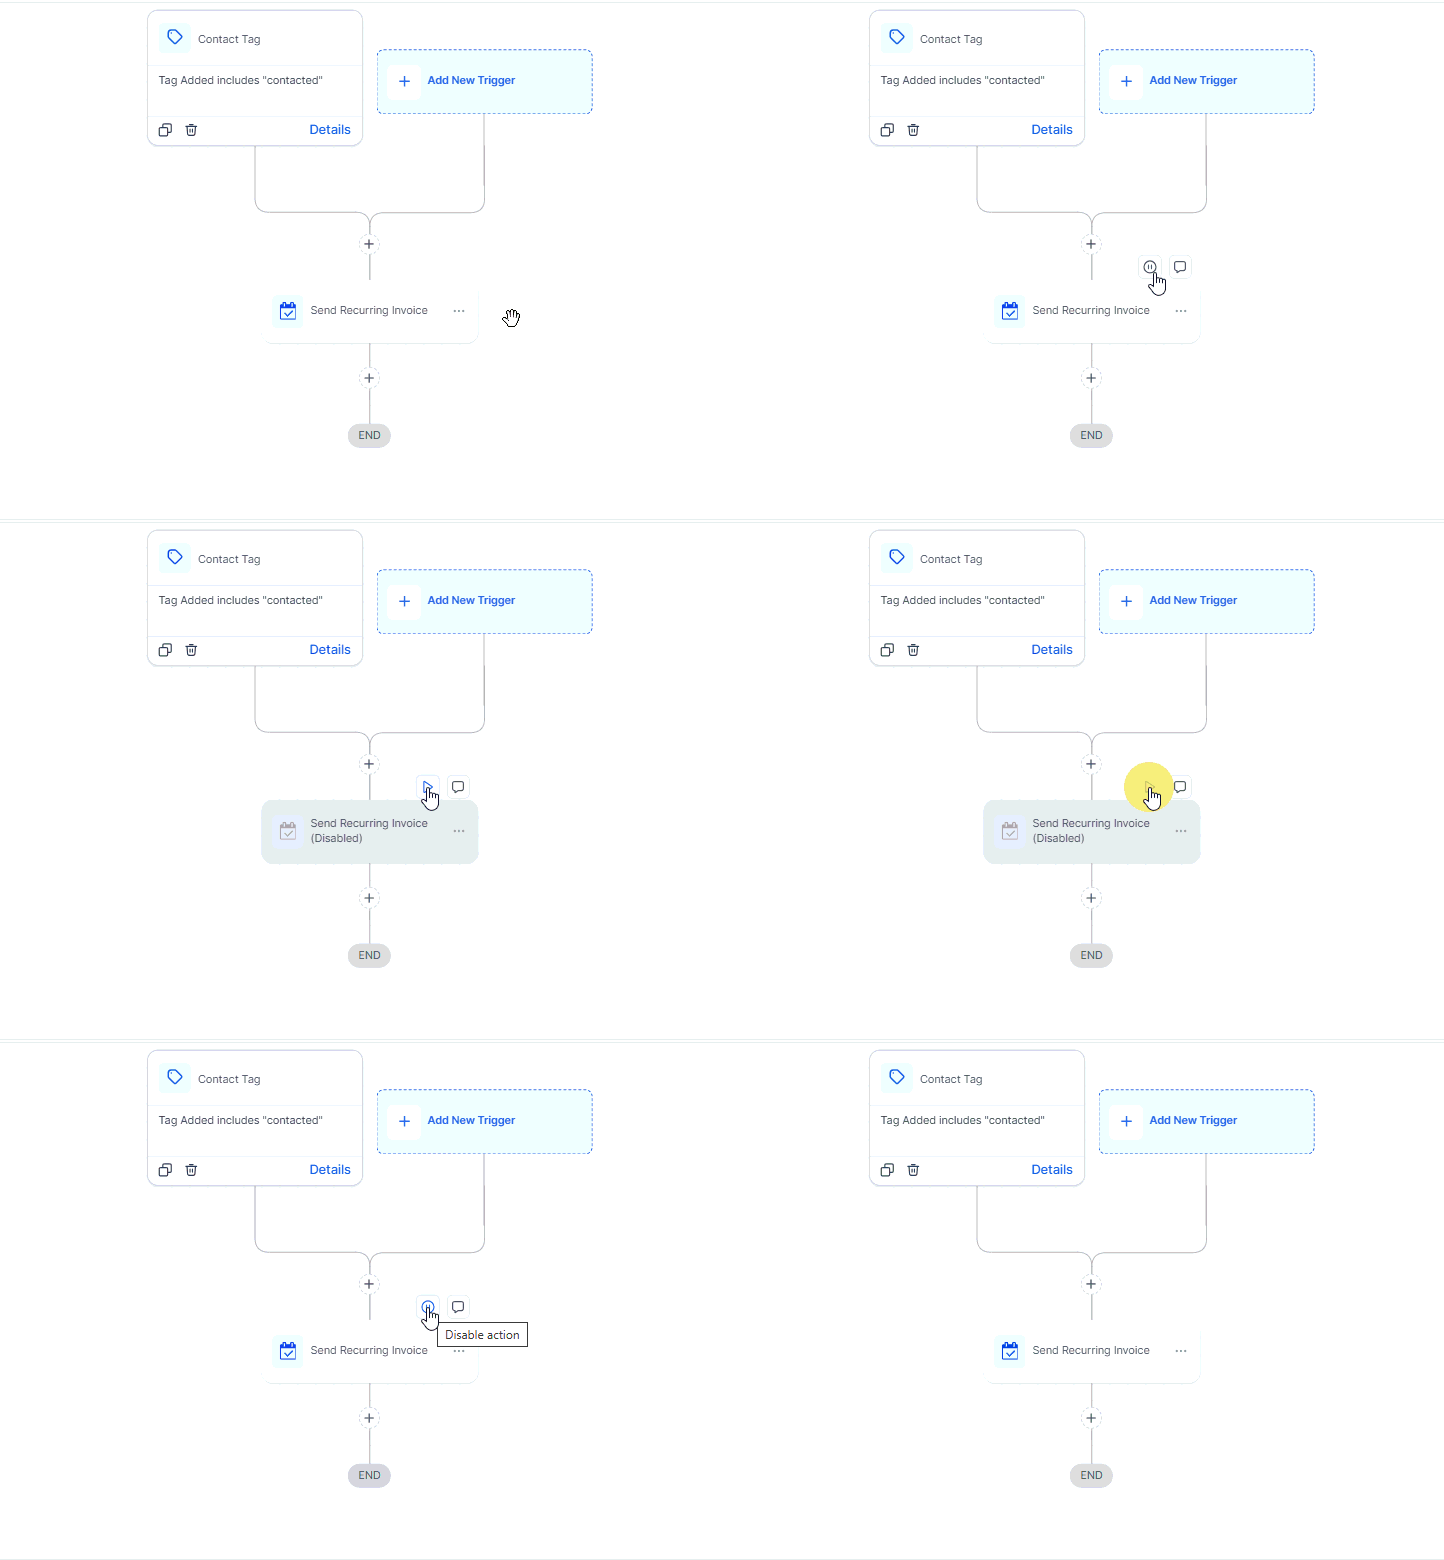
Enable or disable individual workflow actions by hovering over them and clicking the pause/play icon. This allows you to test and debug your workflow without disrupting the overall process.
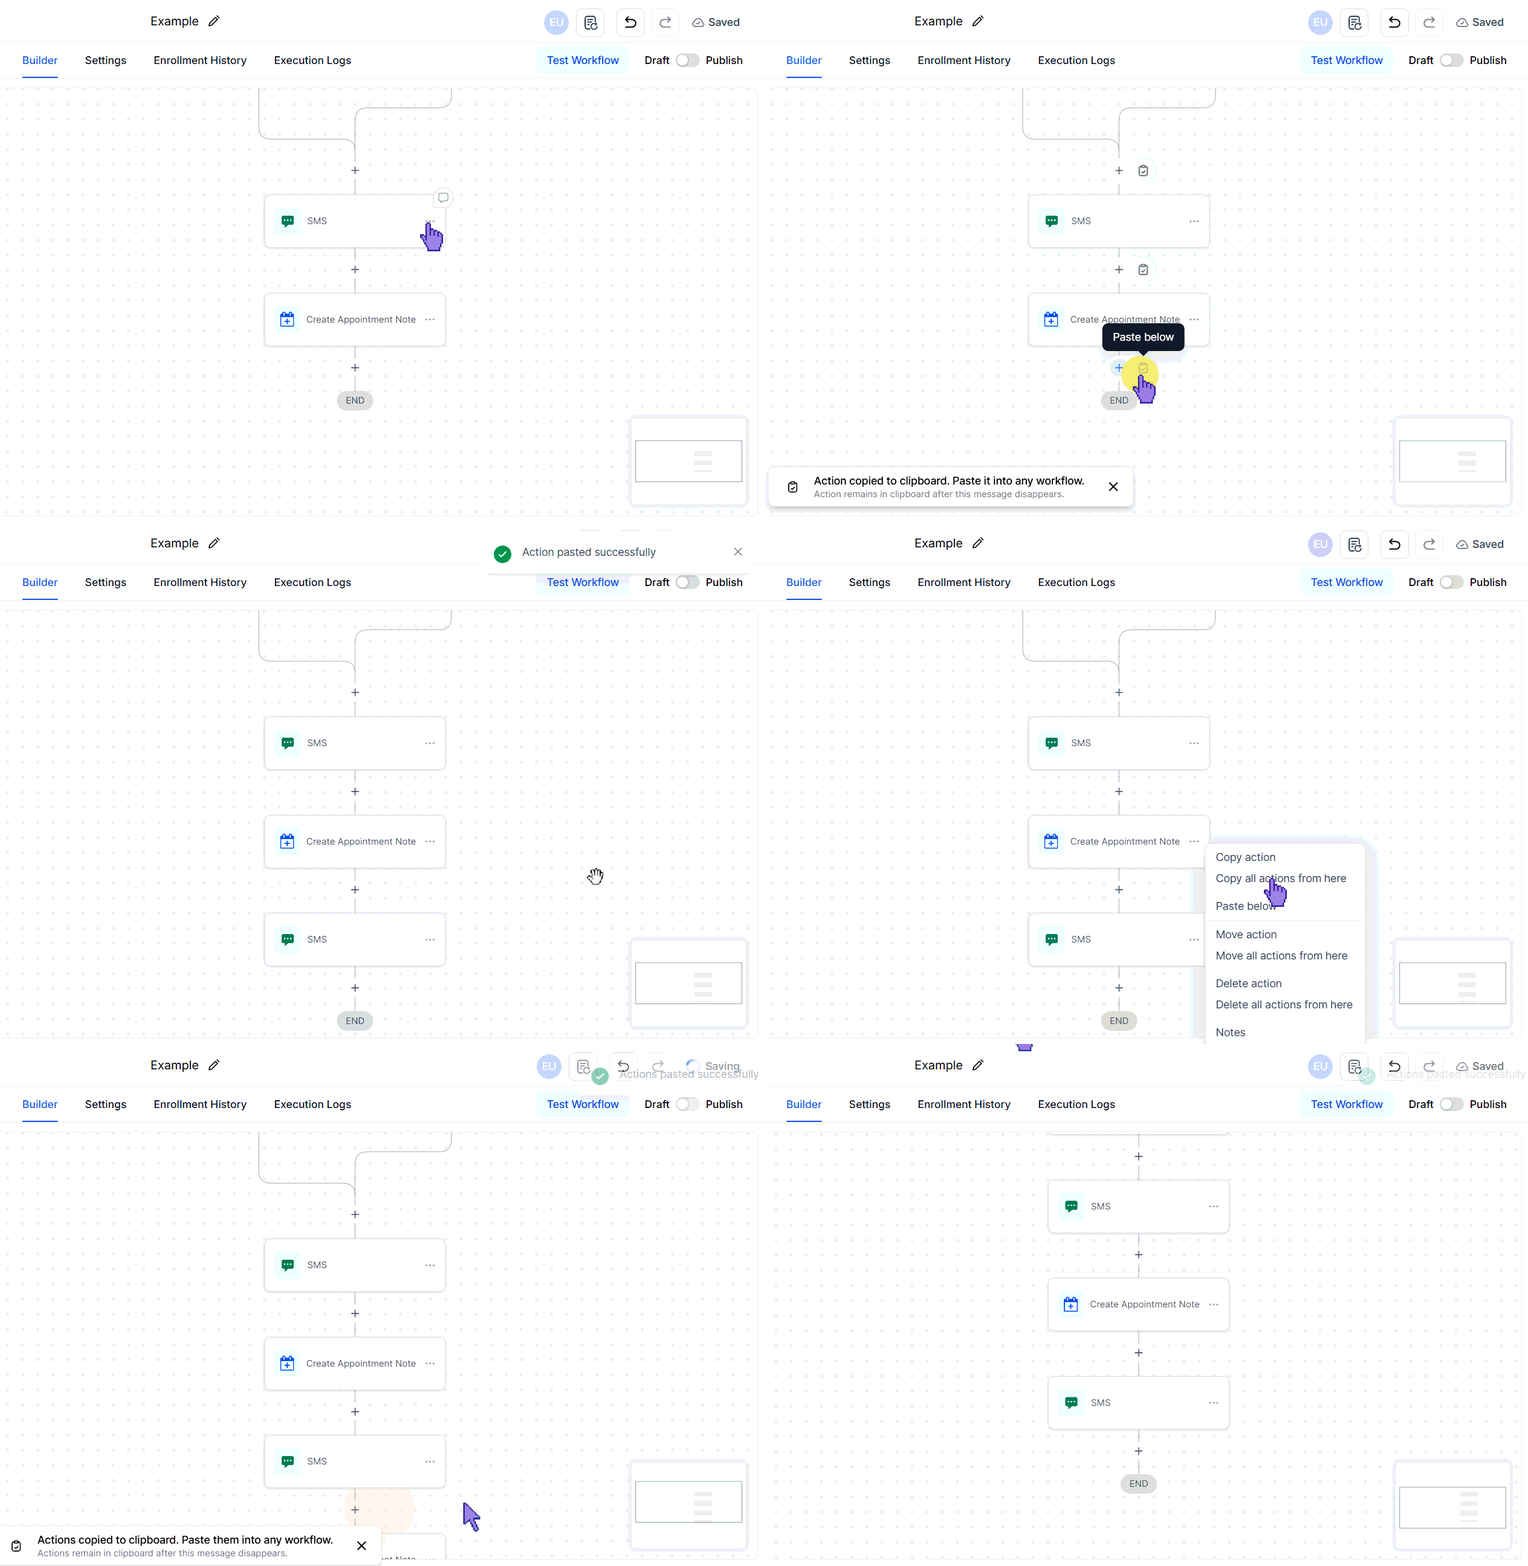
Additionally, you can copy and paste an action by clicking the three-dot icon next to or right-clicking your action module, then clicking the clipboard icon to add it.
To reposition an action within a workflow, click and hold the six vertical dots to the left of the action, then drag and drop it into the desired location.
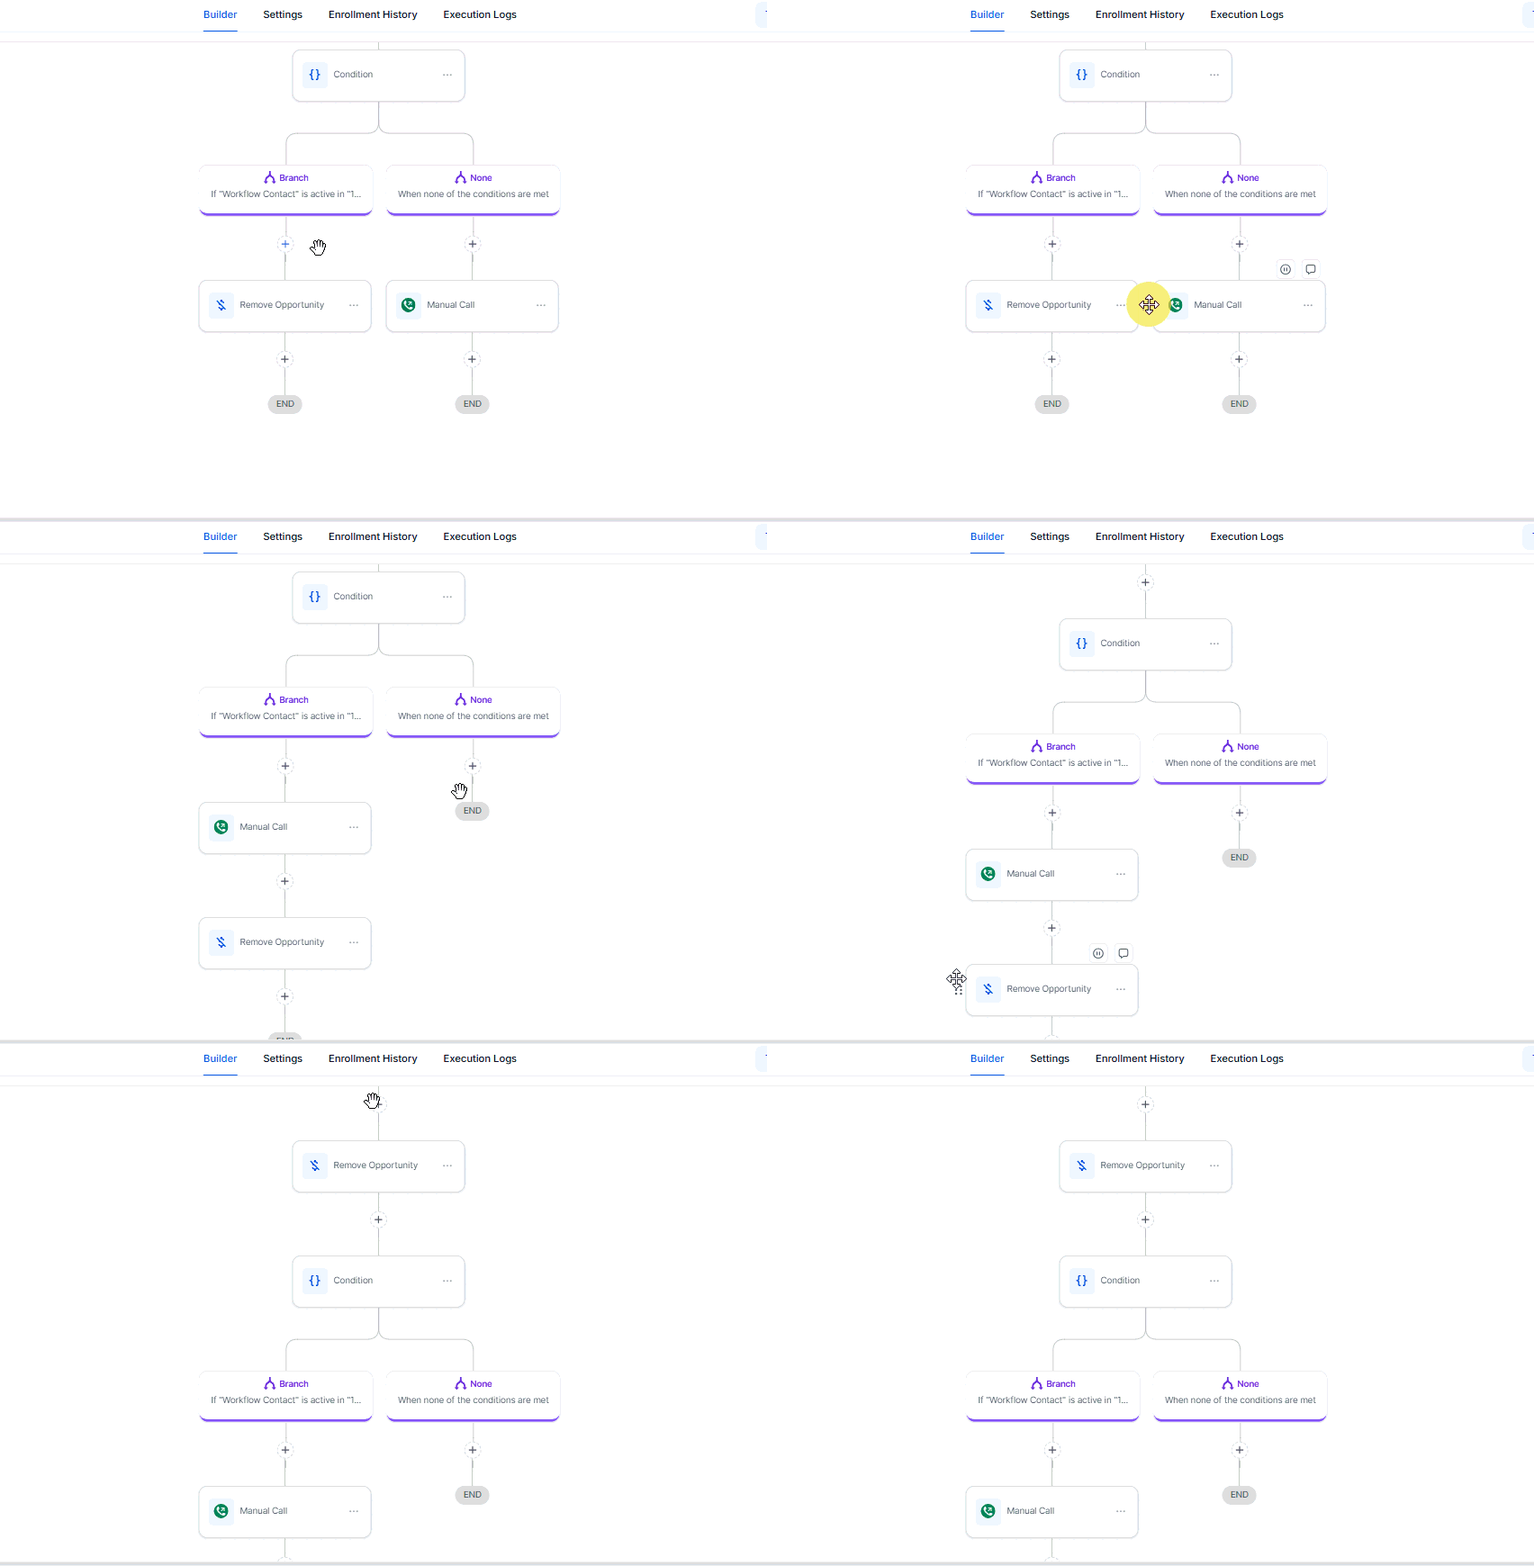
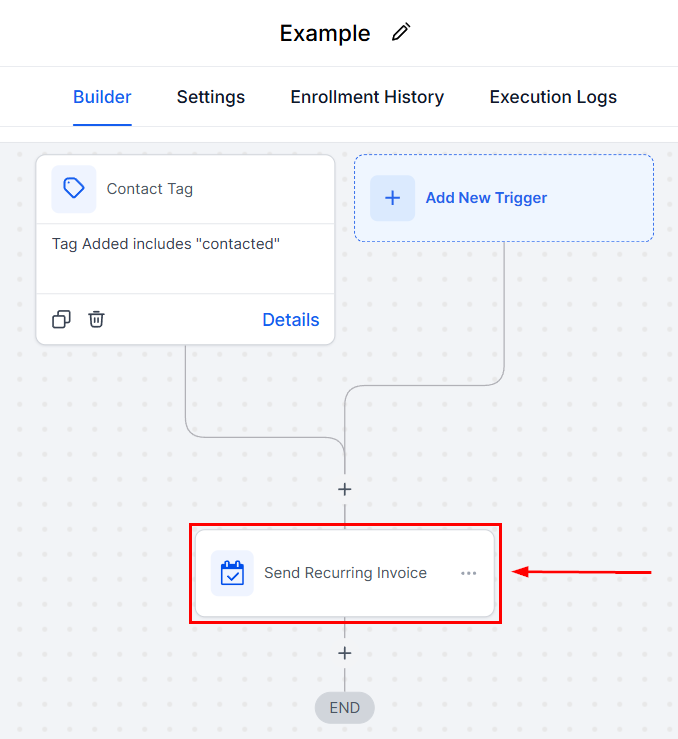
Each action you add will be displayed with an icon representing it and the name you entered during setup.
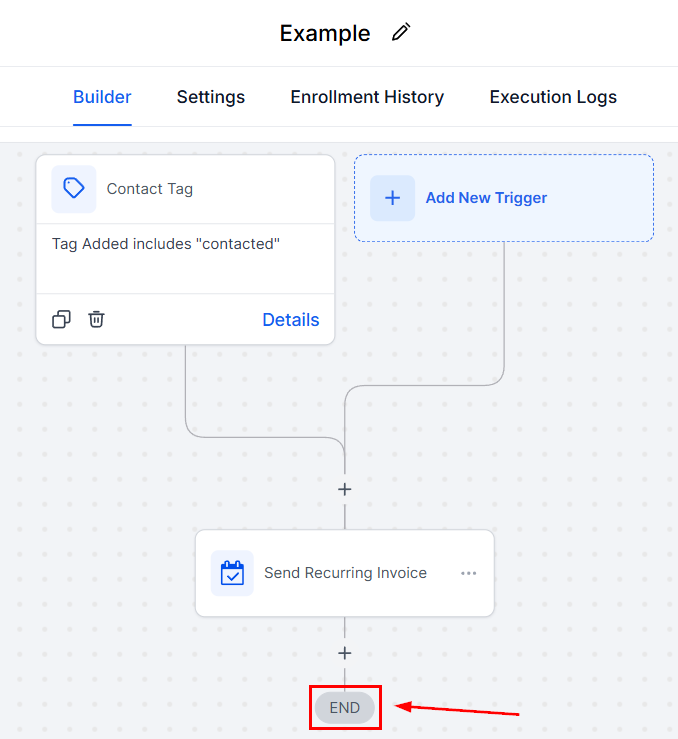
The END icon shows you the last point of your workflow, signaling that no more actions will be performed.
Publishing Options
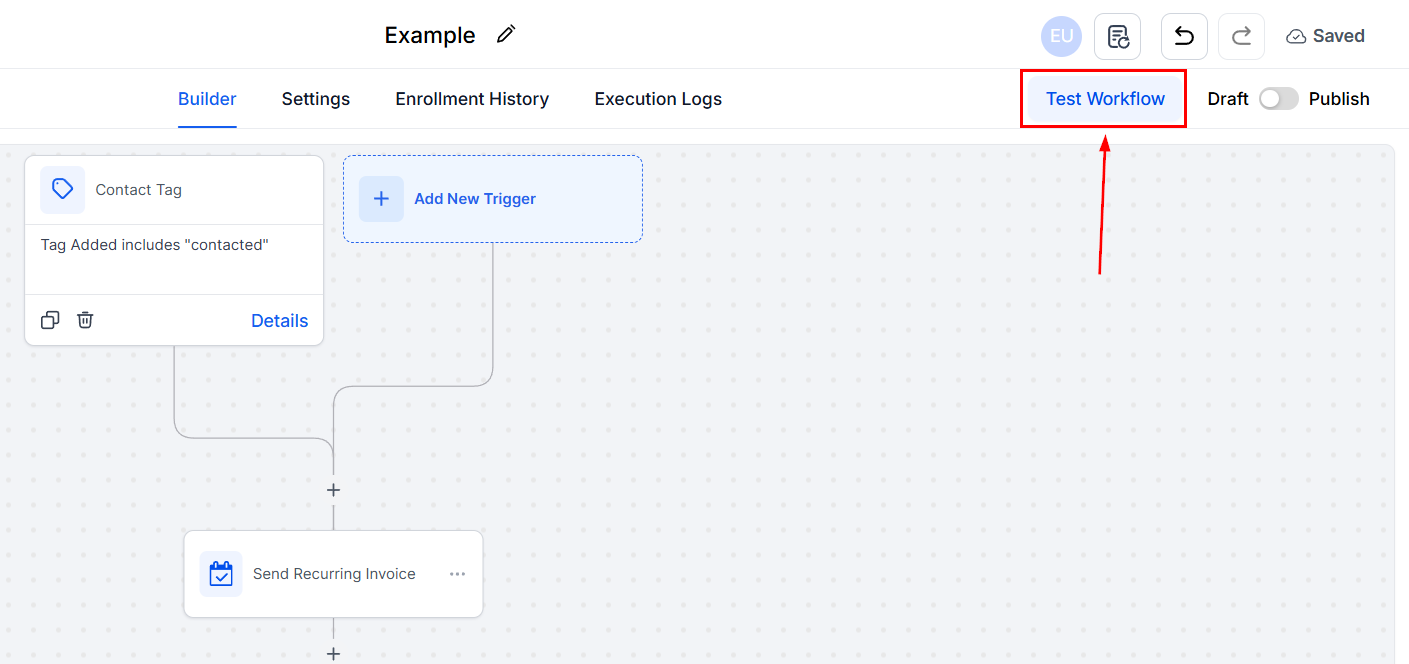
At the top-right corner of the page, you will find a few options to save, monitor, or change your workflow’s creation process and, once you’re ready, make your workflow active for usage.
Test Workflow
Testing ensures your workflow functions as intended before it goes live. To do this, click the “Test Workflow” button, select a contact to test the workflow on, and run the test to simulate how the workflow will operate in a real scenario.
Draft or Publish
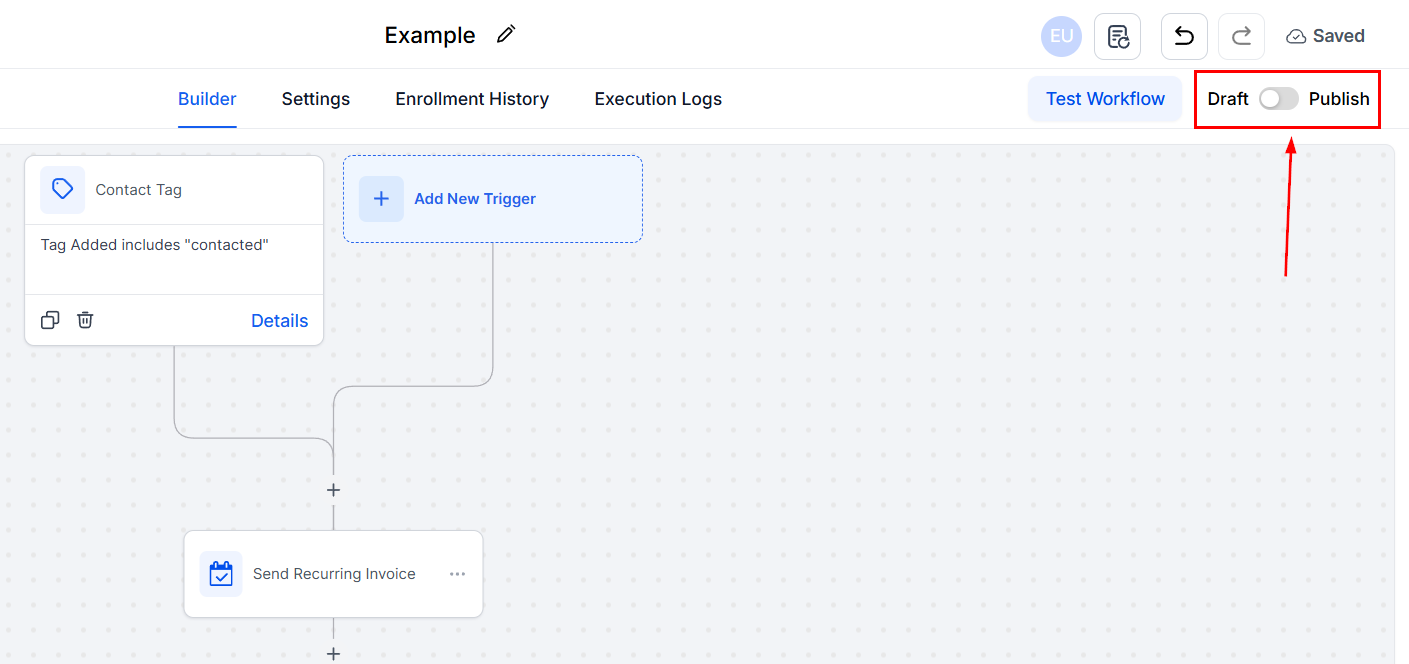
Workflows can exist in two states: Draft or Published. “Draft” mode is ideal for creating or editing workflows without activating them, and “Published” mode makes your workflow live and ready to execute tasks. To change this state, use the toggle next to Test Workflow.
Recent Changes
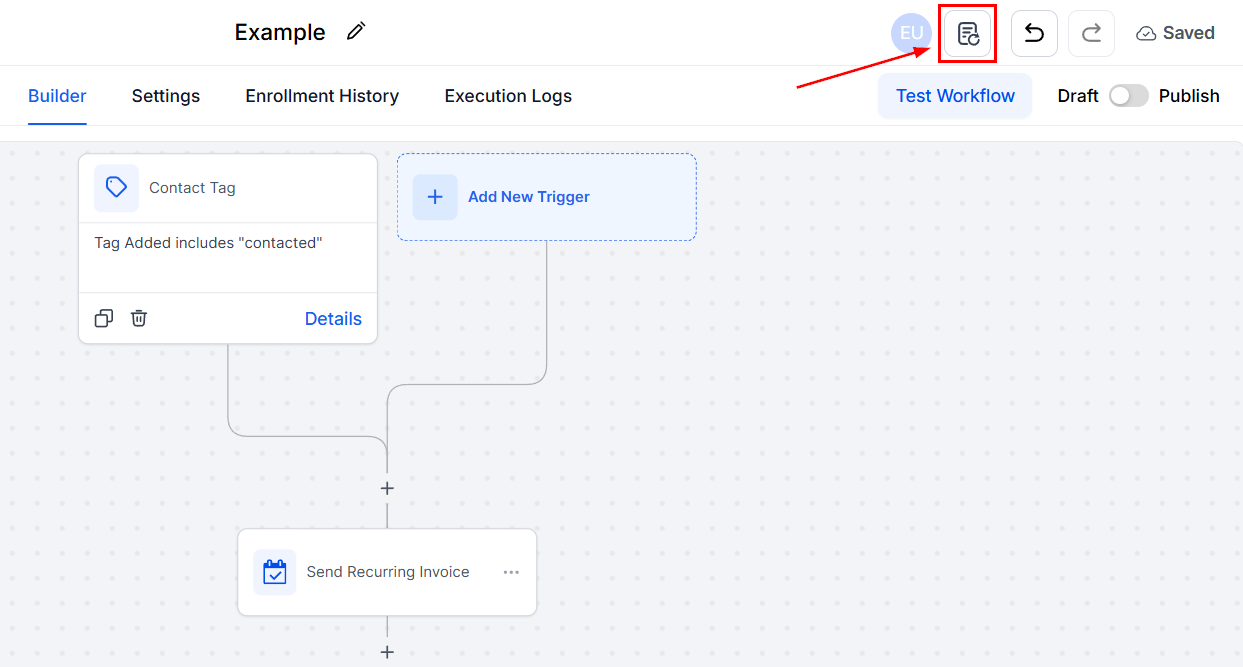
Every change you make to your workflow is logged and timestamped to ensure an accurate record of updates and help you troubleshoot any issues. To view this log, click the page icon.
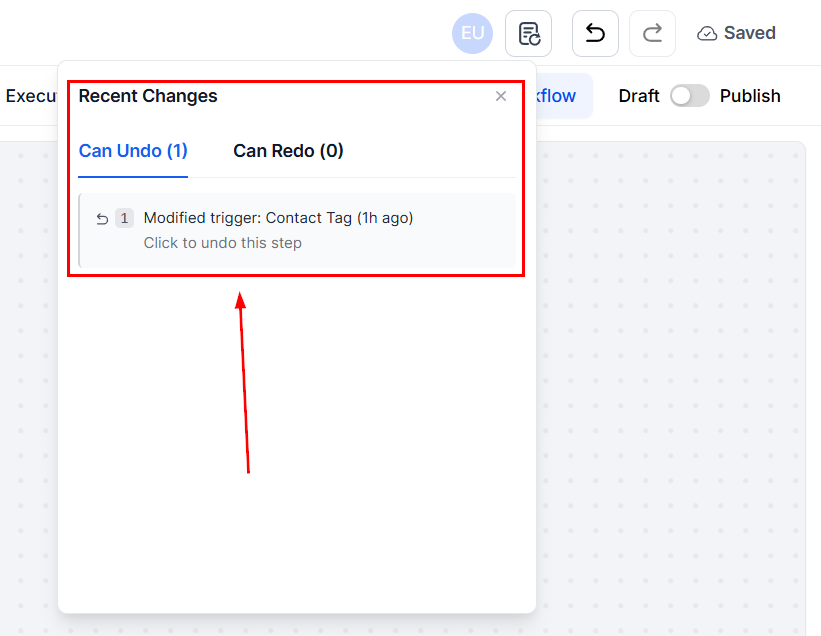
This will show you a list of recent changes you can undo or redo.
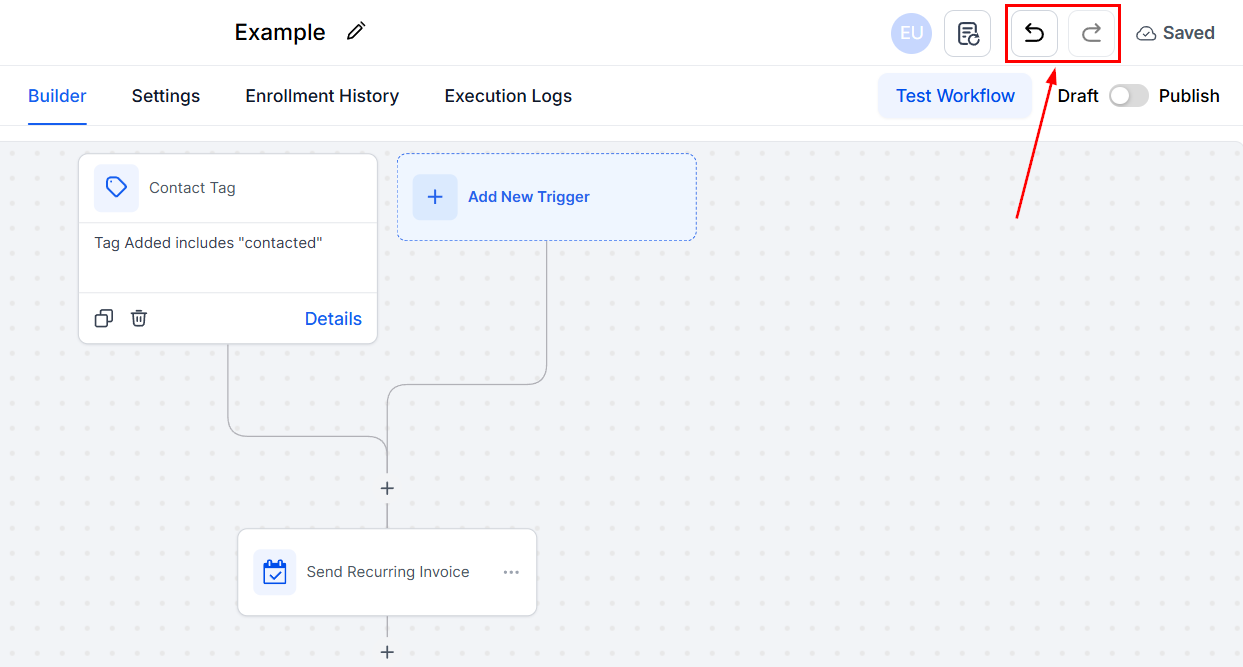
You can also easily undo or redo your most recent changes by using the arrow icons.
Update and Save
Once you’ve customized the workflow to your needs, click the Save button at the top-right corner of the page. This final step locks in all changes, ensuring your workflow is ready to use.
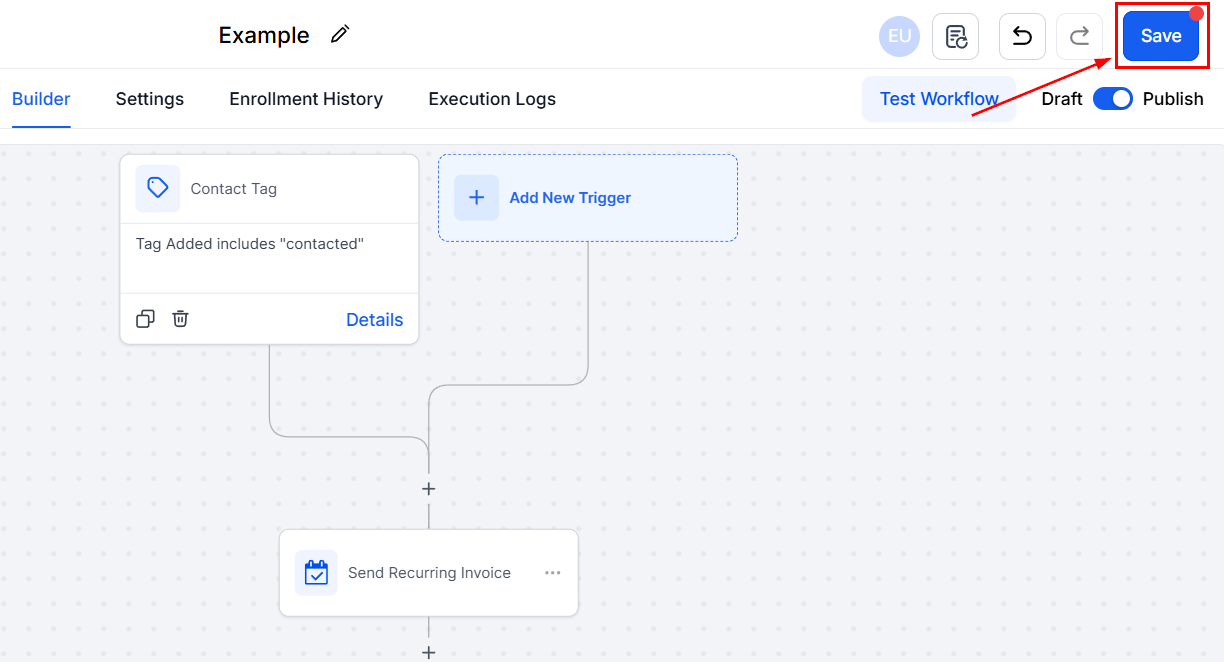
📌Note: All changes made to a workflow after publishing will require this method of saving. However, as long as a workflow is set as Draft, changes will save automatically.
Left-Side Menu
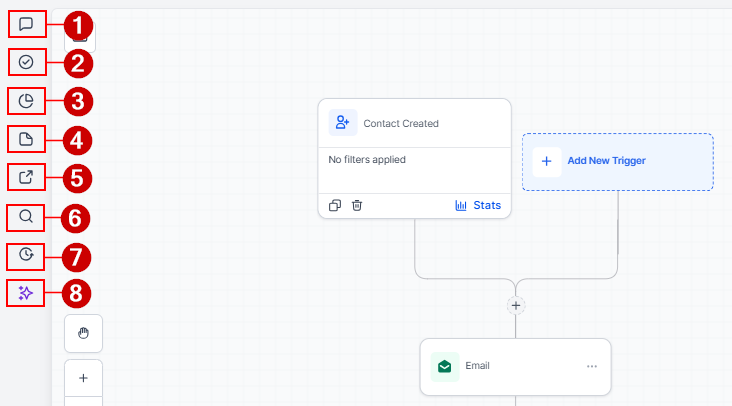
The left side of your workflow builder contains a few quick actions you can perform on your workflow. These actions are:
- Notes: The Notes feature enables you to add quick, contextual information about your workflow. These notes serve as reminders or explanations for specific steps, ensuring clarity when revisiting or sharing workflows with team members.
- Troubleshooting: Whenever your workflow isn’t performing correctly, you can use this section to check the components for errors and provide solutions.
- Stats View: After publishing your workflow, use this feature to analyze its performance. View workflow performance stats, including action data from the last 30 days or a custom date range for deeper insights. For a broader date range, click on the specific action to access more in-depth statistics.
- Sticky Notes: Sticky Notes are virtual post-its that you can place directly on the workflow builder. They are used to highlight important points, provide additional context, or outline instructions for specific workflow elements.
- Workflow Switcher: If you ever need to switch or search workflows without leaving your build, use this handy tool.
- Find and Replace: This panel allows you to search across all workflow nodes and efficiently replace custom variables or tags throughout the entire workflow.
- Version History: This section allows you to review your previous changes, restore your workflow to an older version, or create a new workflow based on a previous build in either the Standard or Advanced builder, which the system automatically opens the correct builder for.
- Workflow AI: Use the Workflow AI to optimize your automation processes further. With intelligent suggestions, Workflow AI can enhance the efficiency and accuracy of your workflows, saving you even more time.
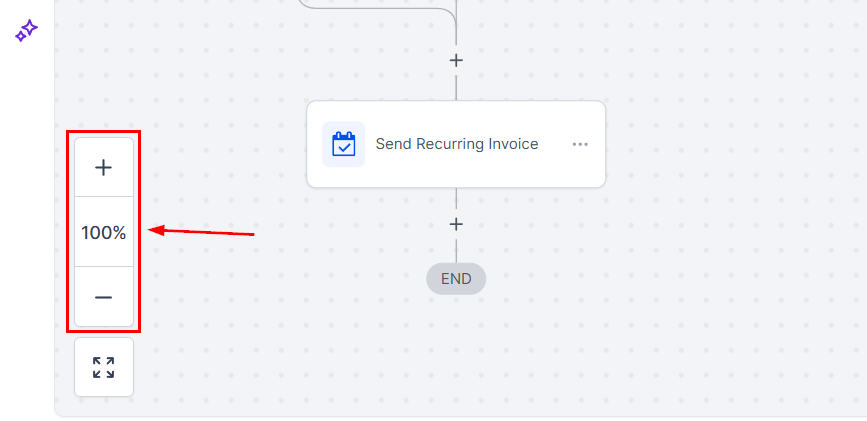
Zoom
Need to focus on a specific part of your workflow? Use the Zoom feature to zoom in or out of the workflow map. This helps you manage complex workflows with ease.
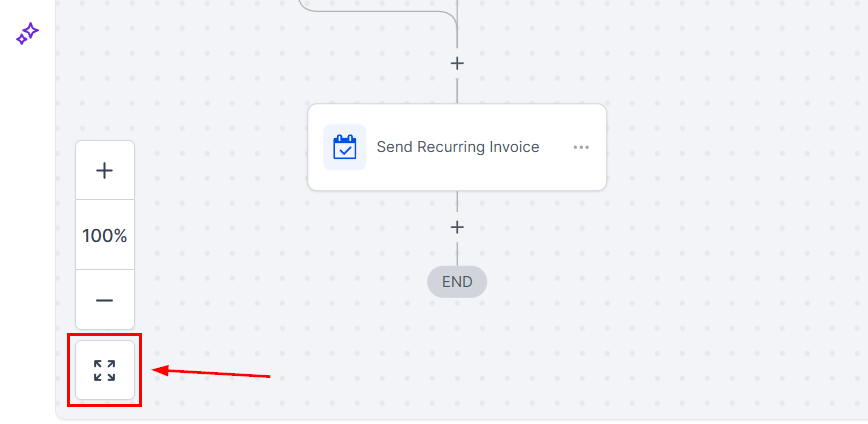
Or use the four corners icon to recenter your workflow.
By mastering the Workflow Builder and its features, you’ll transform tedious manual processes into efficient, automated systems. Whether you’re managing customer interactions, tracking sales, or enhancing team productivity, these workflows are your ticket to streamlined success.
Not a Funnelbud customer yet?
Try our all-in-one CRM for sales and marketing — free for 7 days, no commitment.