Contact Details - Information Panel
On the far right side of any contact card, you’ll find additional information about the contact in the contact information panel. The contact information panel includes seven tabs—Activity, Associations, Task, Notes, Appointments, Documents, and Payments—that provide more control over different aspects of each contact in your account and allow you to perform different actions for each contact.
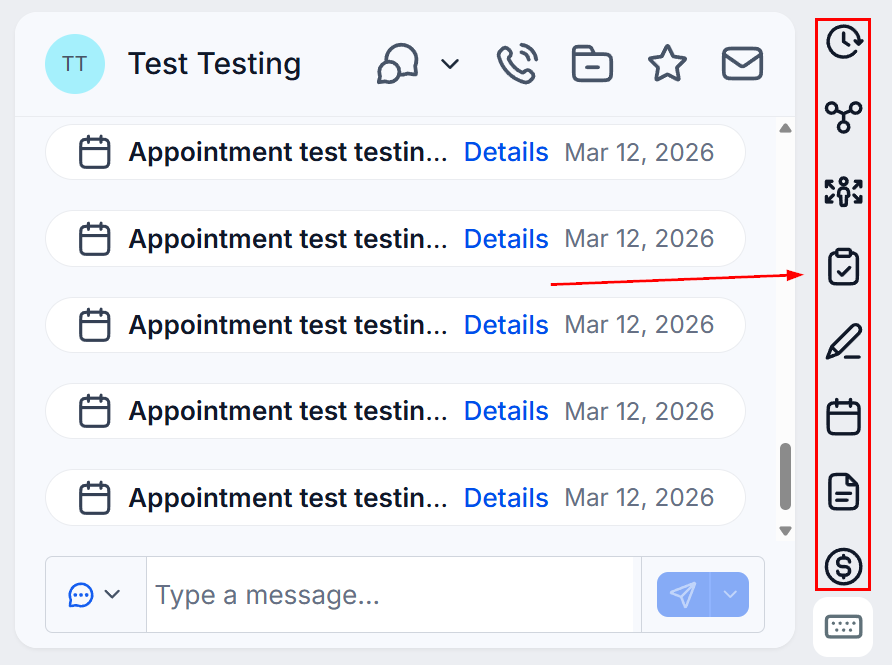
Contact Activity Tab
Contact activity is essential when tracking where the contact visited your website, how they contacted you (via email, phone, or text), and even when they made a purchase.
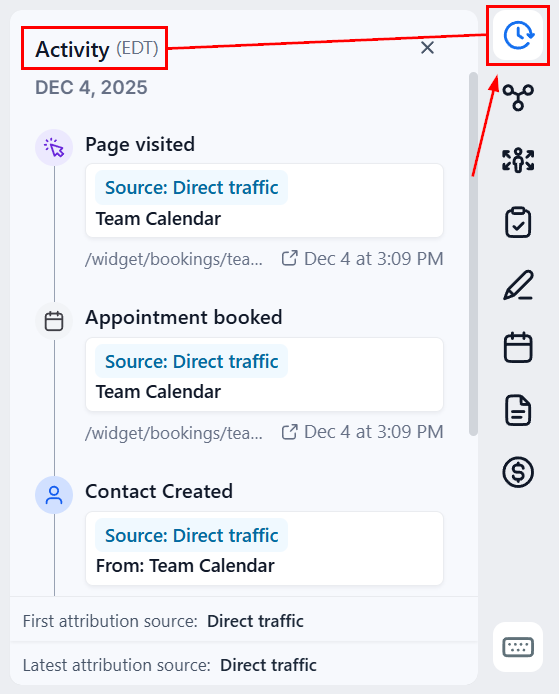
Contact Activity History
In the Activity tab, you can view historical data and a timeline of your contact’s activities, including any interactions with your website. Please note that website activity will only be displayed if your website is built within the platform.
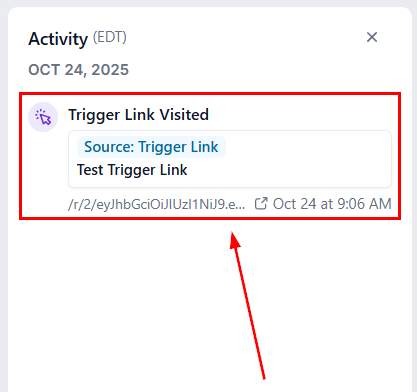
Contact Attribution
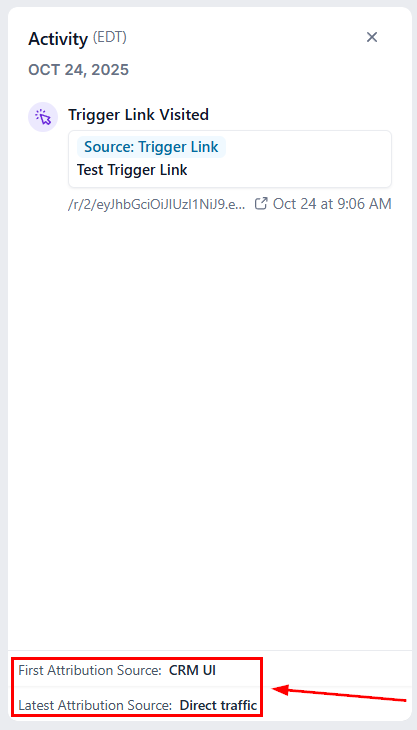
Attribution is a very important tool when understanding where your contact FIRST interacted with your company, and where they LAST interacted with your company.
Contact Associations Tab
In this section, you can view the related objects, opportunities, companies, and association labels linked to the contact.
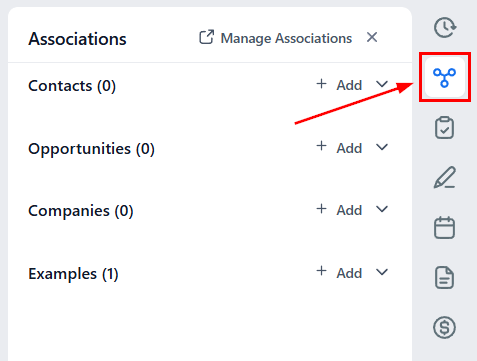
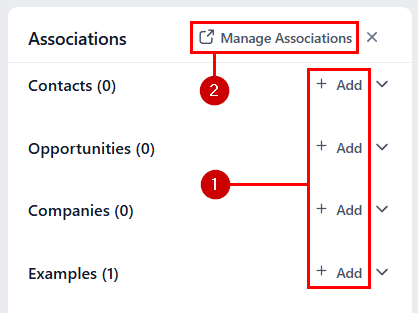
Additionally, you can add more associations by clicking the “+Add” button (1) or clicking “Manage Associations” to open the Objects section in a separate tab (2). Up to 10 association labels can be applied between two contacts.
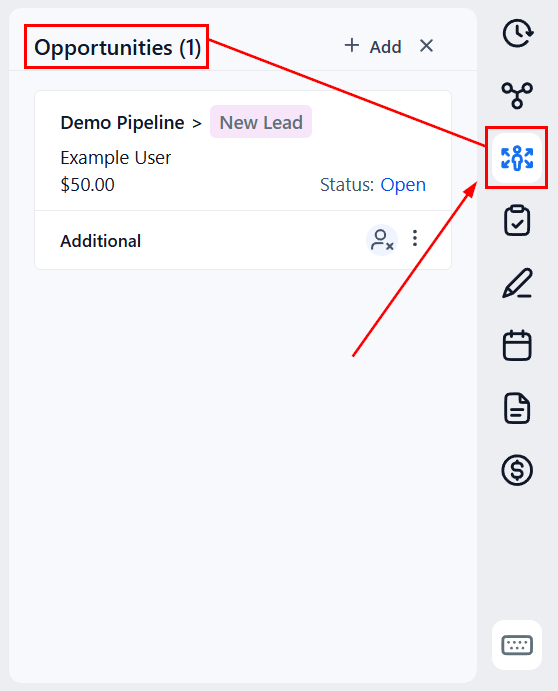
Contact Opportunities Tab
This tab provides a clear, focused view of all opportunities linked to the contact.
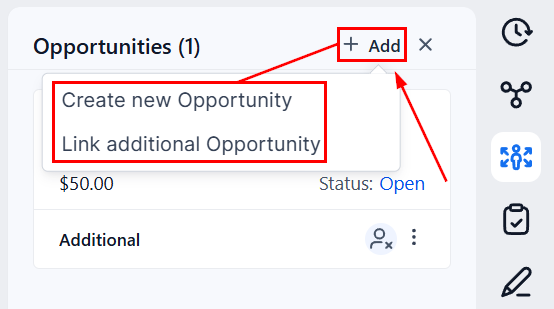
Click + Add to include more connected opportunities. You can select new or existing opportunities.
Contact Tasks Tab
You can manually create or check for pending items using the Task tab. To add a task, you need to give it a title, and a due date, then assign it to a registered user. This feature allows you to stay organized and manage your to-do list efficiently.
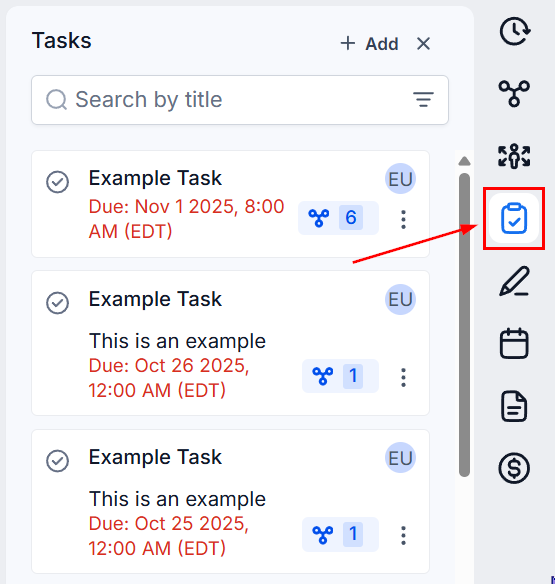
You can filter, organize, or search for specific tabs by using the options at the top.
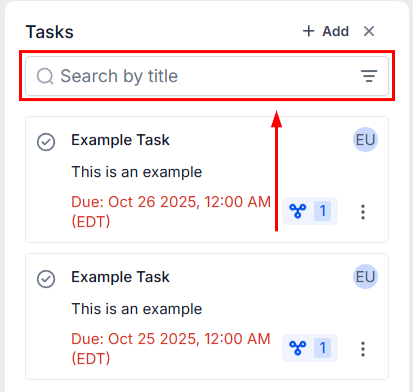
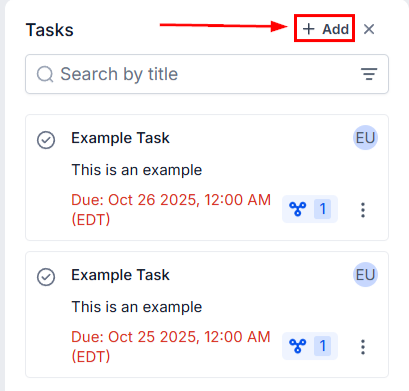
Or add new tasks by clicking the + Add button at the top.
Contact Notes Tab
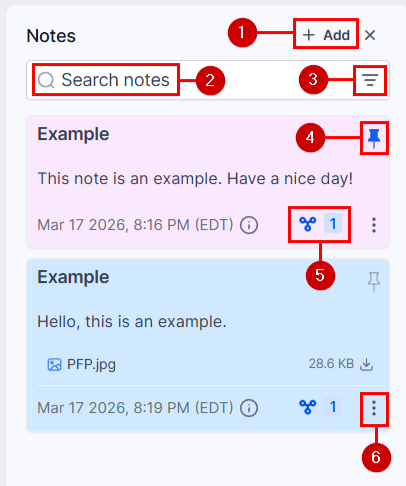
The Notes tab allows you to record additional information for each contact, which can be a valuable tool when interacting with customers and new leads.
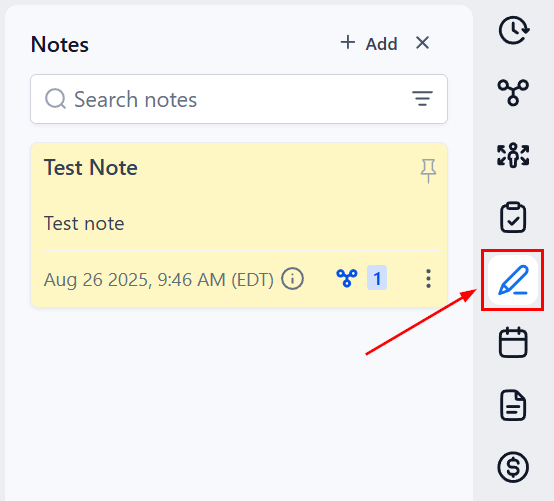
- To create a note, click + Add.
- Instantly locate specific notes using the search functionality.
- Easily locate your notes by sorting them.
- The pin icon allows you to keep your note at the top of the tab.
- Use this option to check the objects associated with the note.
- Open the action menu to edit or delete an existing note.
Contact Appointments Tab
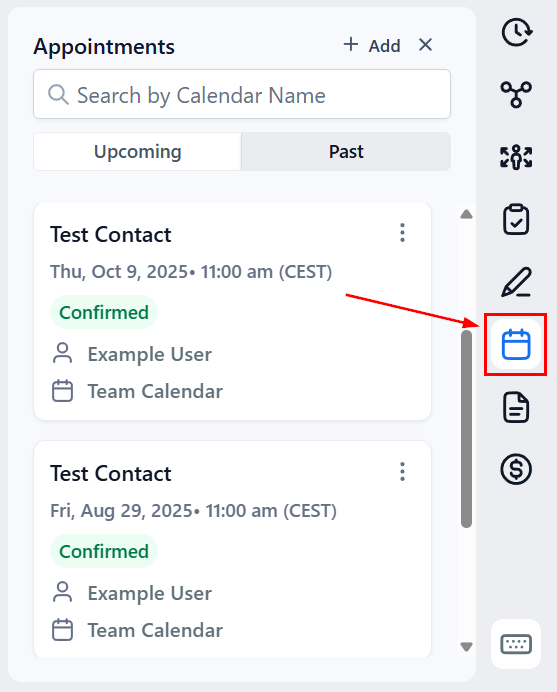
In the Appointment tab, you can schedule appointments for sales, customer support, or any other purpose, making it easier to manage your time and stay organized.
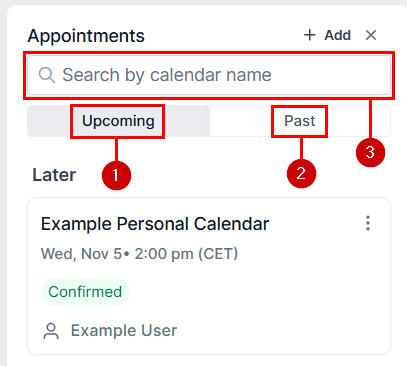
You can switch between new (1) and previous (2) appointments or search for a specific appointment (3).
Contact Documents Tab
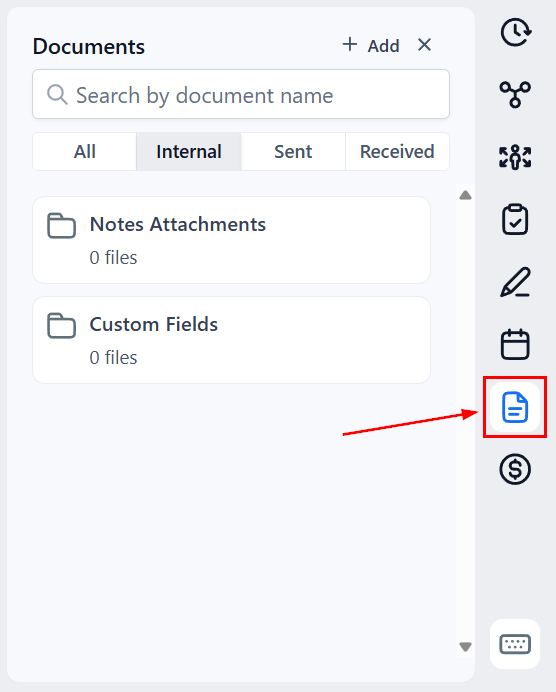
In the Documents tab, you will have a backup of all important files related to that customer, whether that be a contract you sent out to them, a PDF they sent back, or any internal documents related to that person.
Contact Payments Tab
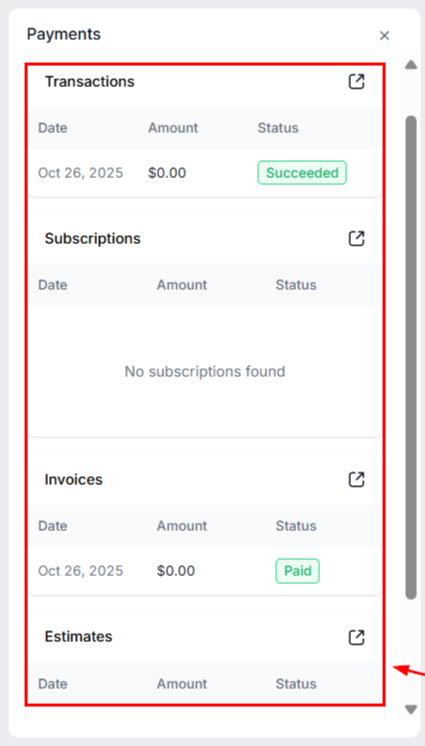
In the Payments tab, you can perform payment-related actions on your end and track transactions with your contact, including subscriptions, invoices, and fulfilled payments.
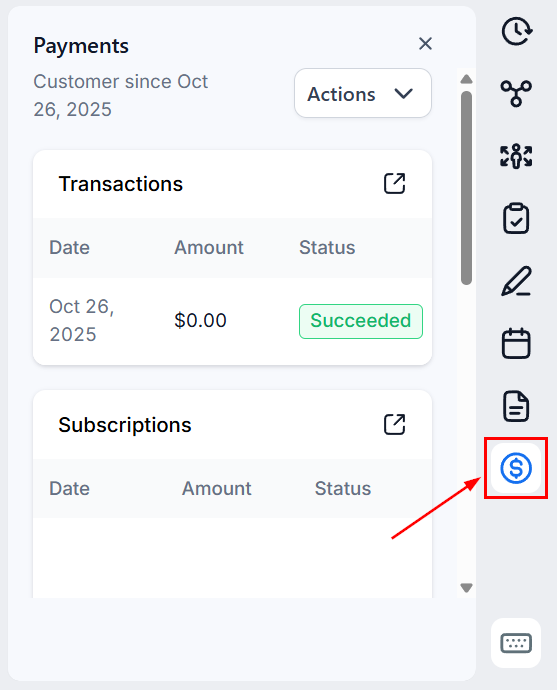
Payment Actions
These are the operations you can complete on behalf of your customers, allowing you to take the initiative and minimize errors. There are six actions that you can perform:
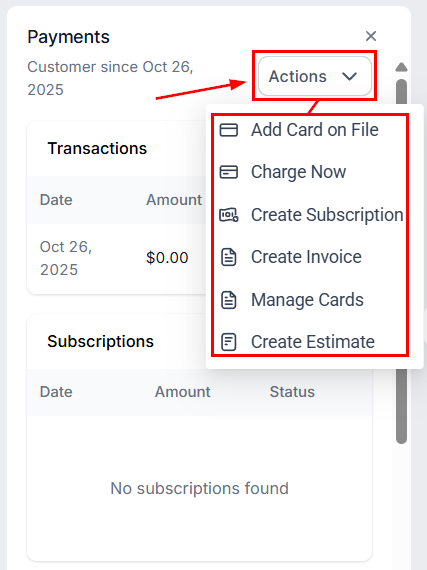
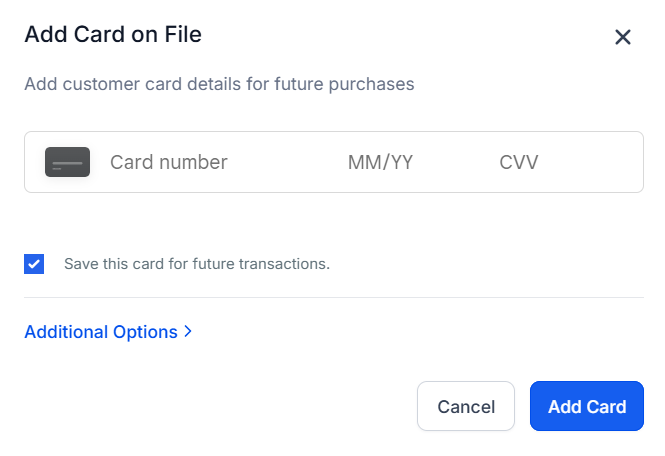
- Add Cards on File: This allows you to add credit or debit card information to a contact’s record for easy checkout, fees, and subscription payments.
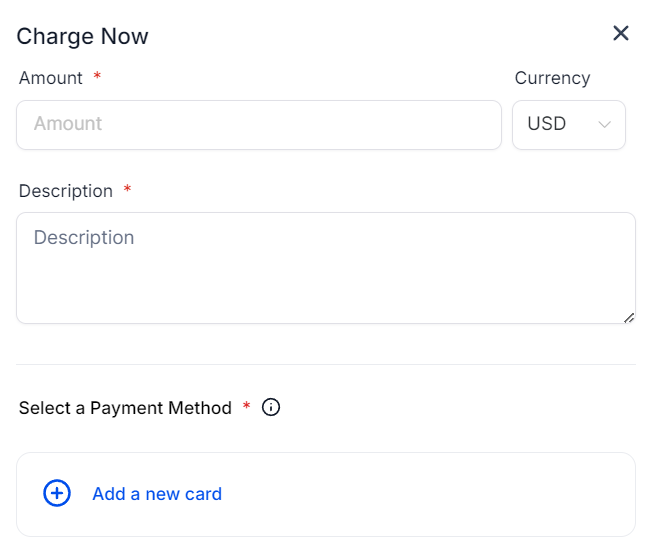
- Charge Now: With this feature, you can take payment by adding the amount and a short description, making it easy to collect payment, even when in the middle of a call.
- Create Subscription: This will open a pop-up window for you to select the starting date and products for the customer’s subscription.
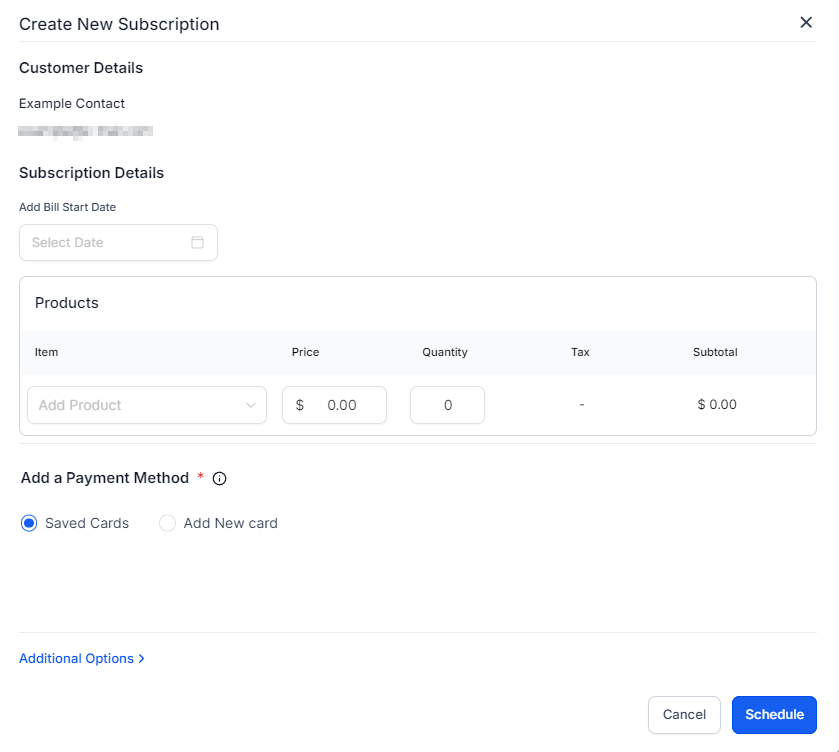
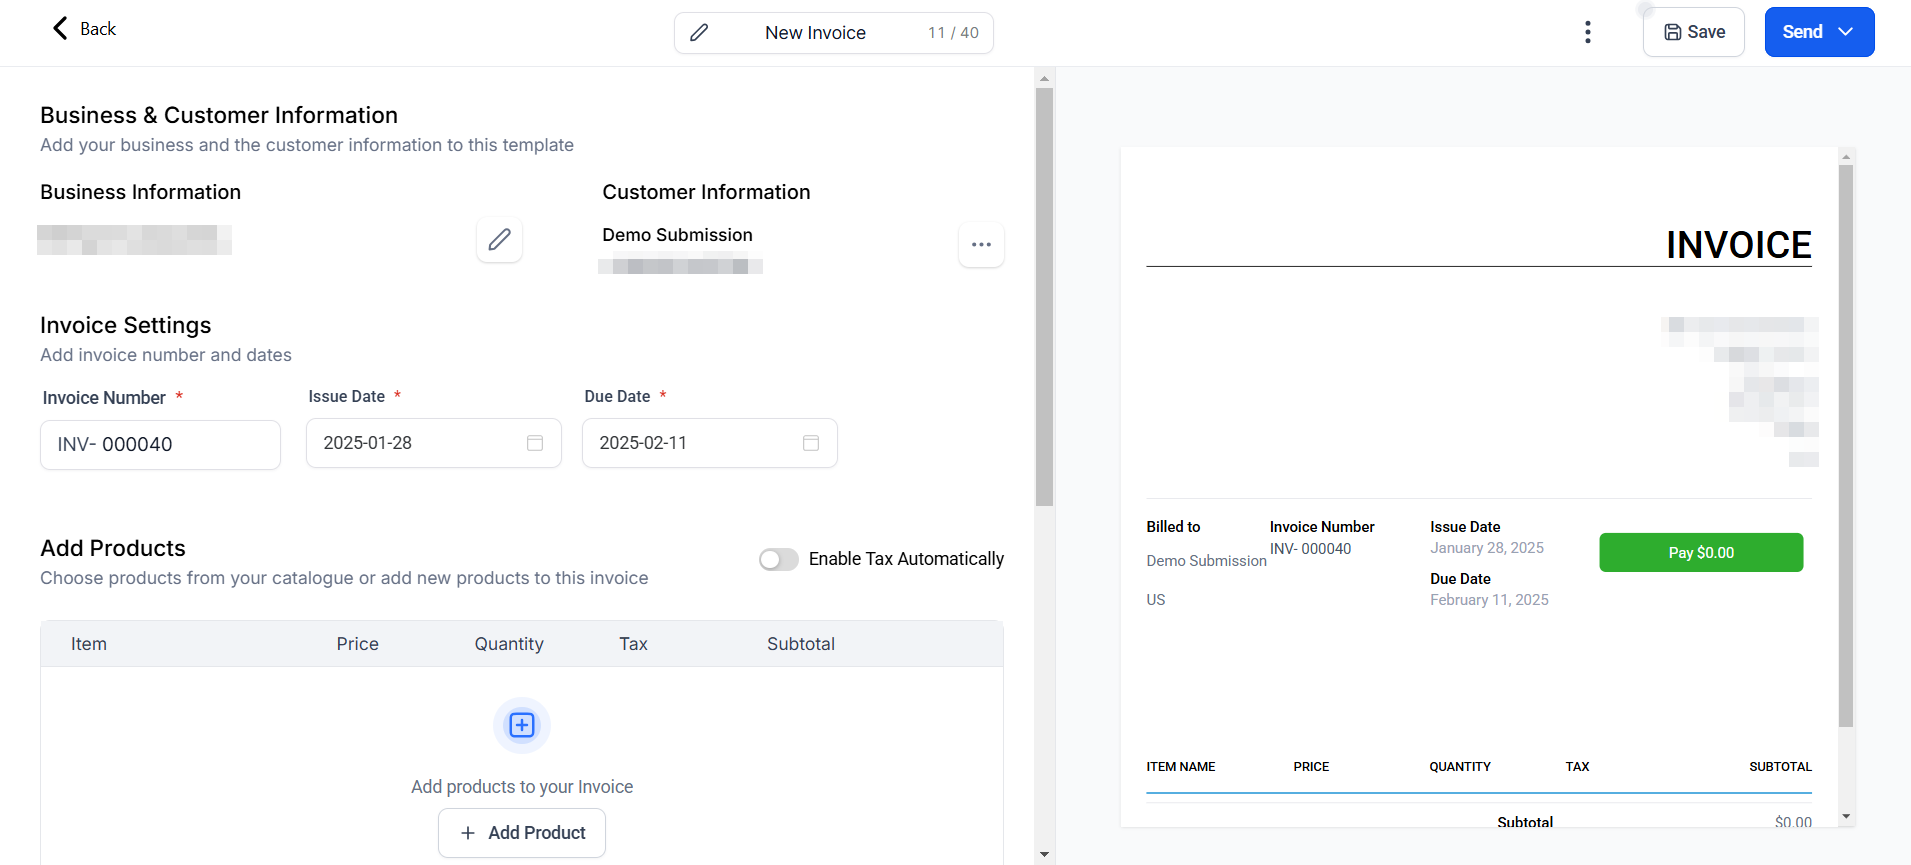
- Create Invoice: Selecting this option will redirect you to the invoice builder, where the contact details will be pre-added for you.
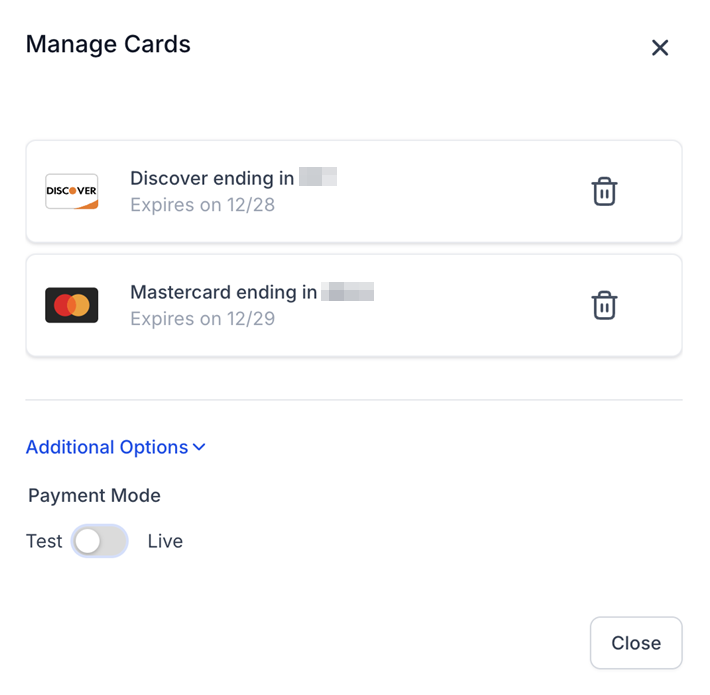
- Manage Cards: All stored cards will be displayed in a list, with each entry showing the last four digits, expiration date, and any associated label. Both test and live mode cards will appear in their respective lists and can be deleted from those lists. If a card is associated with an active subscription, a prompt will appear to notify you before confirming the deletion. Even if the card is deleted after the prompt, any subscriptions linked to the card will no longer have an associated payment method for automatic billing.
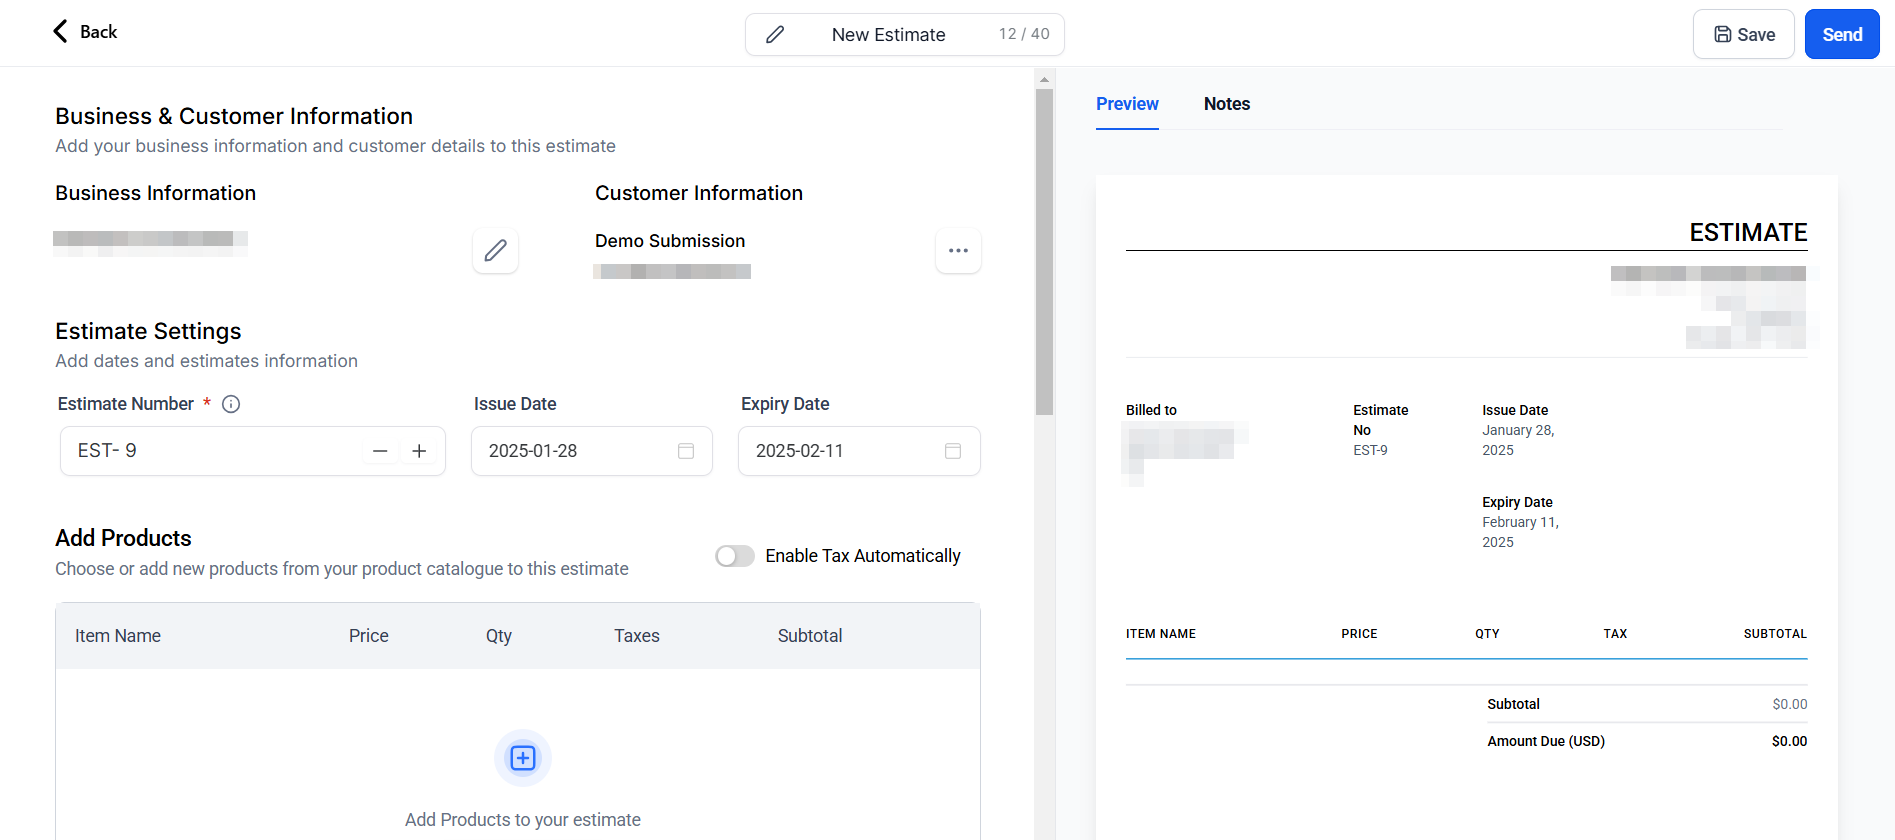
- Create Estimate: Selecting this option will redirect you to the estimate builder, where the contact details will be pre-added for you. Add the relevant products for the estimate, then verify customer and business information before sending.
Transactions, Subscriptions, Invoices, and Estimates
These tabs let you keep track of the status and details of Transactions, Subscriptions, Invoices, and Estimates that the contacts have with you.
Enhance your contact management today using these seven options in the Contact Information Panel.
Not a Funnelbud customer yet?
Try our all-in-one CRM for sales and marketing — free for 7 days, no commitment.