How to Send Bulk Emails
The ‘Send Email’ button allows you to efficiently send an email to one or multiple contacts in a single step. Simply select the desired contacts within the Contacts tab and click the “Send Email” button to begin.
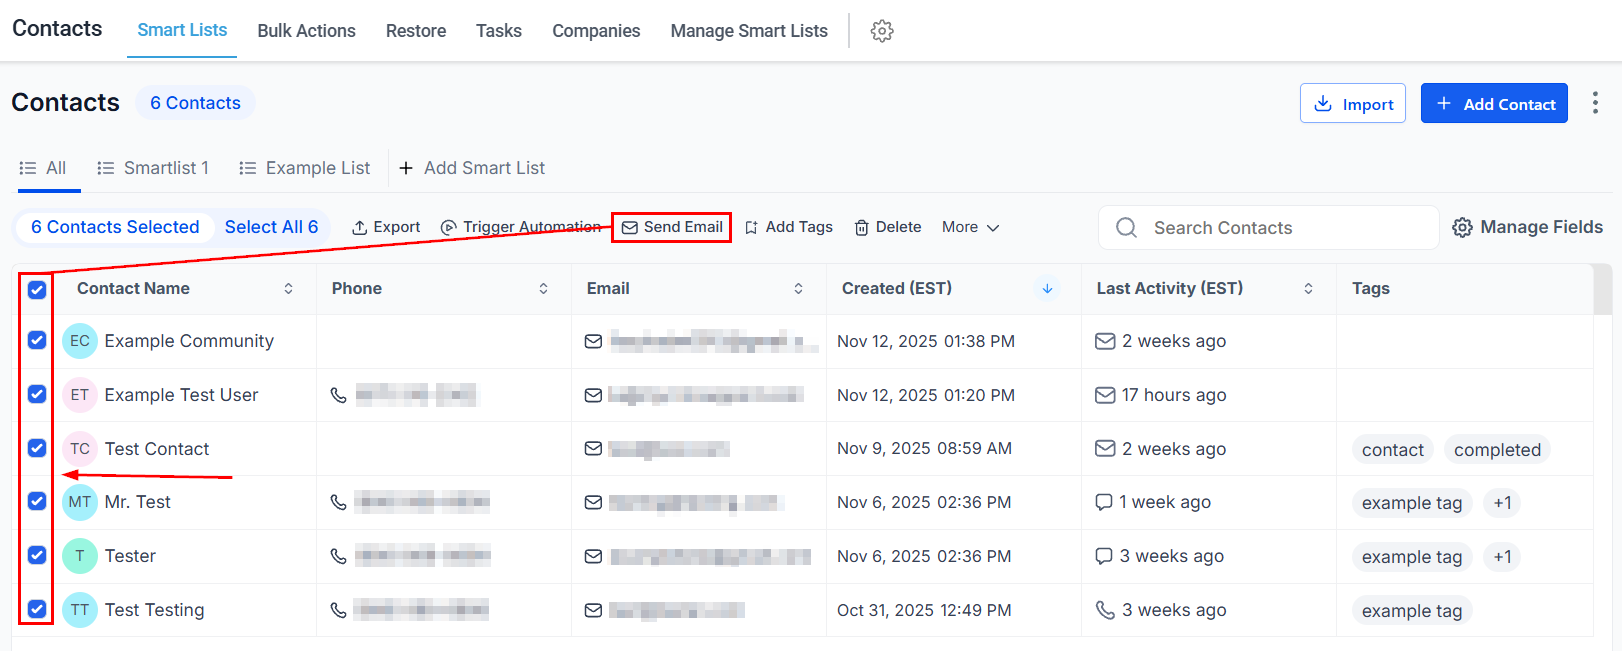
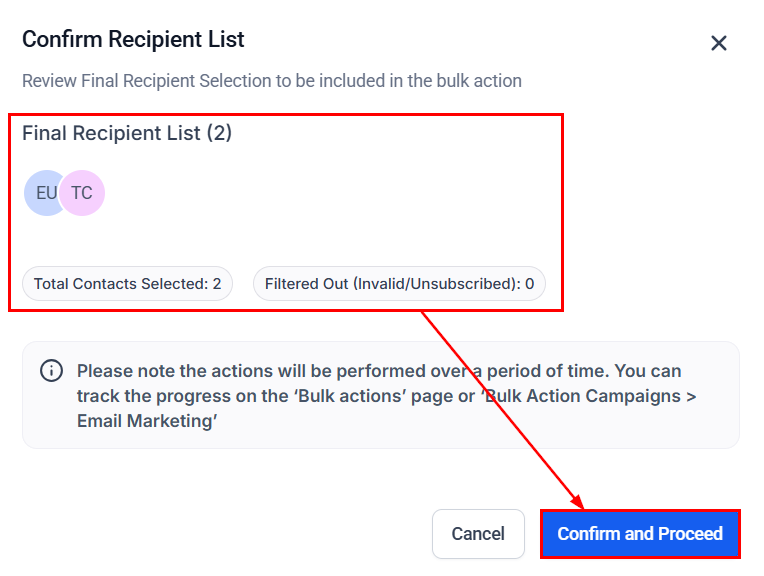
Review the recipient selection and any applicable restrictions, such as invalid or unsubscribed email addresses, then click “Confirm and Proceed” to advance to the next step.
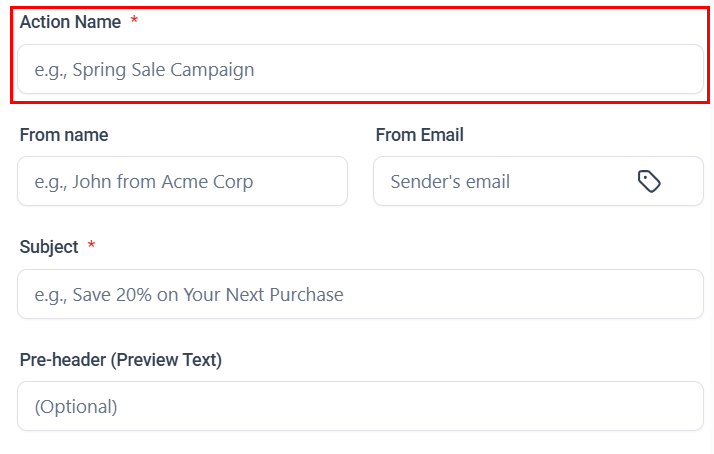
Label the action by entering a descriptive name, which will be displayed in the tracking report, allowing you to monitor the progress and effectiveness of your email campaign.
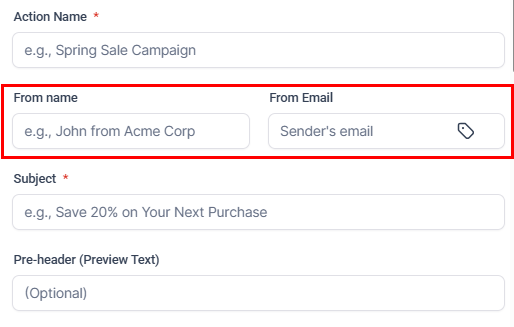
Enter the sender’s name in the “From Name” field and their email address in the “From Email” field. Click the tag icon to insert a custom value for the from email if that is preferred.
Don’t overlook the crucial step of adding a compelling subject line to your email.
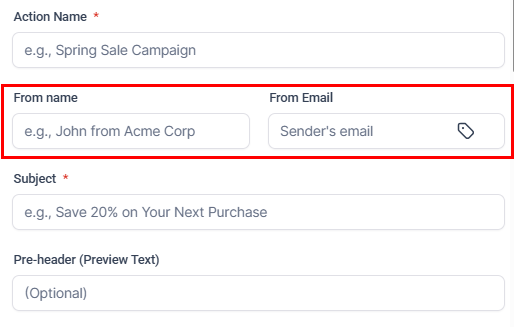
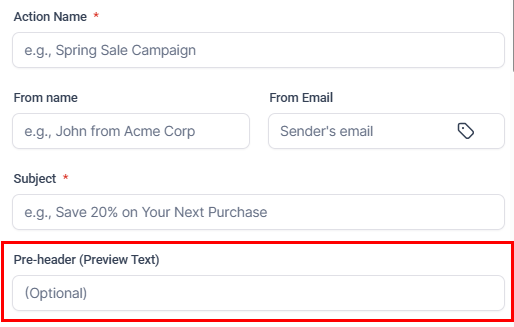
Optionally, you can also enter a pre-header or preview text.
Drafting Your Email
Once you have completed those fields, it’s time to start crafting your email or select an existing template.
Quick Compose
If you prefer a simple approach, you can create your email directly within this space. Take advantage of various customization options—adjusting fonts, colors, and sizes, adding files, and more—to craft a unique email that resonates with your audience.
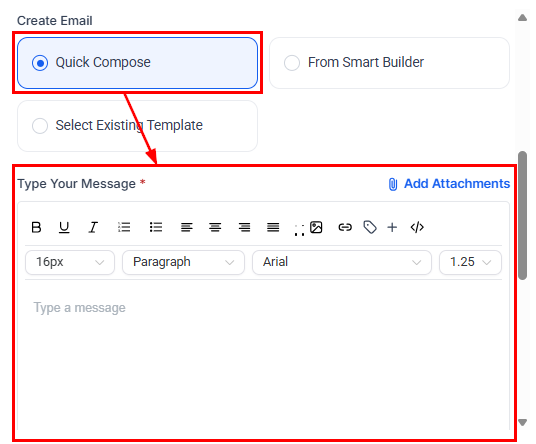
Click the “Add Attachments” button to include files up to 10mb in the email.
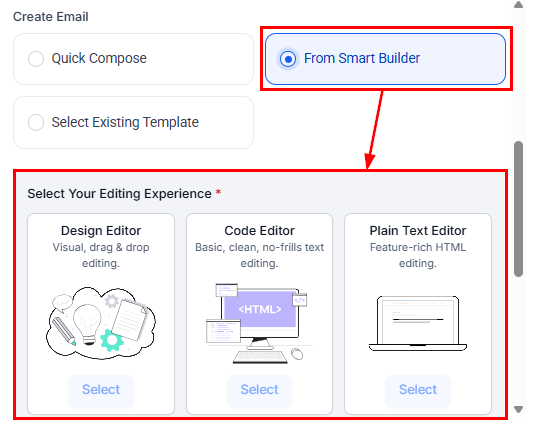
From Smart Builder
Use this option to create a new template using the Design, Code, or Plain Text editor. Click Select beneath the desired tile to open the corresponding editor in an overlay window. After finalizing your design, simply close the window to return to the bulk action view.
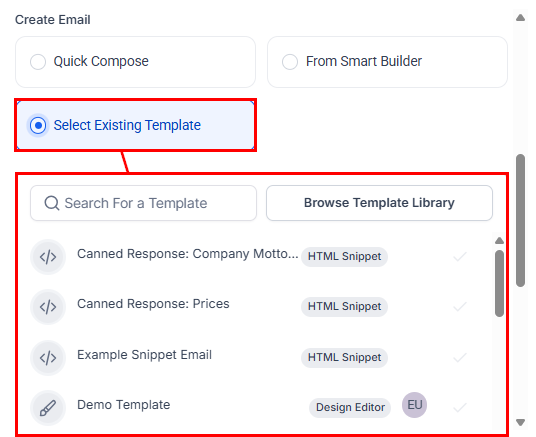
Select Existing Template
This option is ideal for users who have already prepared a template or wish to select one from the library. Use the search bar to locate templates within your account, or click the Template Library button to browse the available options.
Selecting a Sending Mode
Now that you’ve created a new email or selected a template, you can proceed to send it immediately or schedule it for a later time.
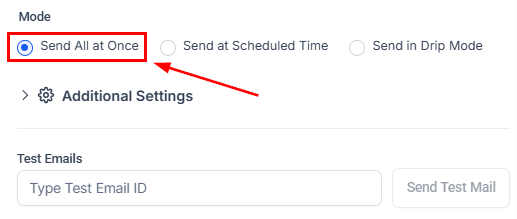
Send All at Once
Select the “Send All at Once” feature to instantly send your message to all selected contacts. This option allows for rapid execution, ensuring timely communication with your audience.
Send at Scheduled Time
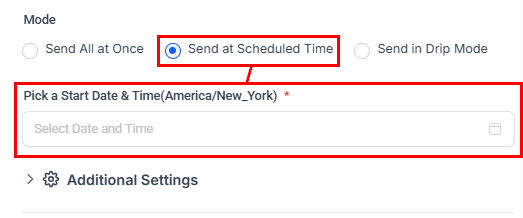
Choose the “Send at Schedule Time” option to plan your message delivery at a specific date and time. This feature ensures that your communications are strategically timed.
- Pick a Start Date & Time: Set the date and time for your email to be delivered. This customization ensures your message is sent at the most impactful time for your audience.
Add in Drip Mode
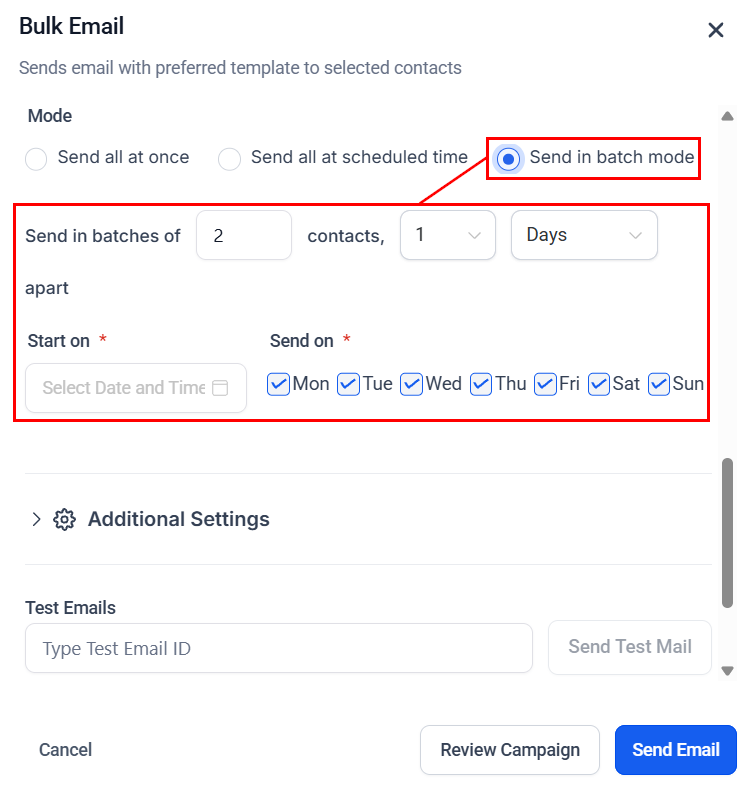
When sending emails to a large number of contacts, using ‘Drip Mode’ is recommended. This feature allows you to send emails in batches according to your selected settings, ensuring a controlled and organized delivery process.
- Pick a Start Date & Time: Select the date and time for message delivery to your contacts to begin.
- Number of Messages per Batch: Specify the number of contacts to receive in each batch of emails.
- Repeat After: Choose the interval between sending each batch, ranging from seconds to days.
- Send On: Select the specific days of the week you wish to send each batch.
- Time Window (Optional): Define the interval during which the batches will be sent.
Additional Settings
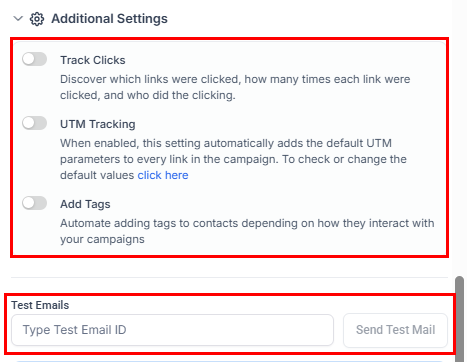
Expand the Additional Settings section to enable Click Tracking, UTM Tracking, and to add relevant tags. Beneath this section, you’ll find an option to test your email by entering an email address in the provided field and sending a preview before finalizing your bulk action.
Send Email
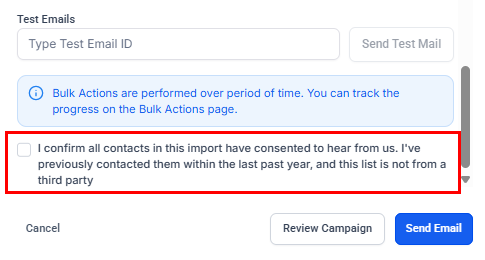
Check the consent box to confirm you’re allowed to contact your selected recipients.
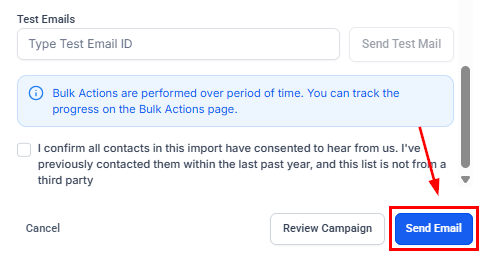
Queue the bulk email action for sending according to your selected preferences.
This ensures that your email communications are not only effective but also tailored to your specific needs, maximizing impact and engagement with your audience.
Not a Funnelbud customer yet?
Try our all-in-one CRM for sales and marketing — free for 7 days, no commitment.