What Are Custom Fields?
Custom fields are used to capture any information you would like to collect from a customer through your surveys or forms.
Organizing Custom Fields
In this section, you have the capability to generate your own custom fields. Custom fields serve a crucial role in forms and surveys, capturing unique data and information that goes beyond the boundaries of standard inquiries such as “Name, Email, and Phone Number”. They allow for more personalized and targeted data collection, enabling you to gather insights that are specifically relevant to your business needs. Whether you need to know a respondent’s job title, their favorite product from your line, or any other piece of information that isn’t typically requested, custom fields provide the flexibility to tailor your data collection tools to your specific requirements.
NOTE: Depending on your user permissions, you may not have access to all of the components
All Fields
Upon accessing the Custom Values tab, you will encounter a detailed compilation of every custom field that has been established to date. This comprehensive overview allows you to effortlessly review and manage all your created custom fields in one place.
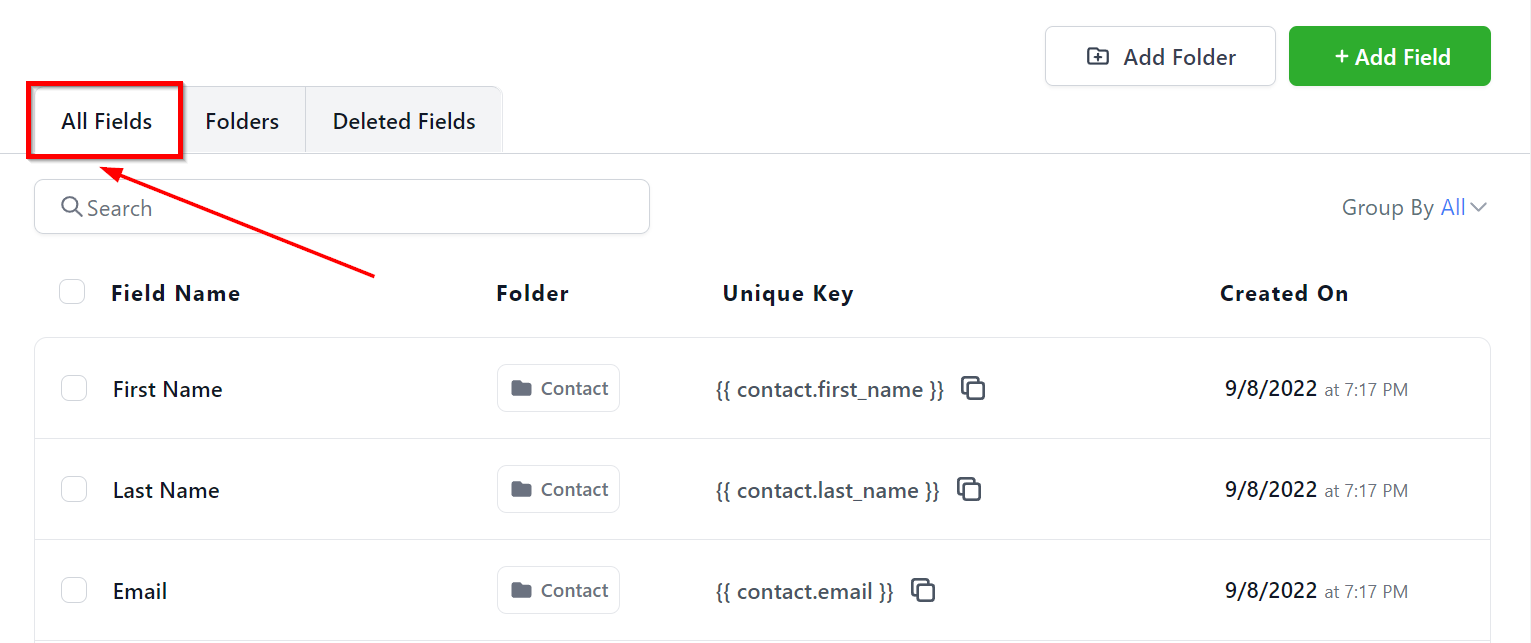 All Fields
Search Menu
In just a few moments, you can easily find the desired custom field by making use of the handy search bar feature. This eliminates the need for time-consuming scrolling of each item listed, streamlining the process of locating specific custom fields within your records.
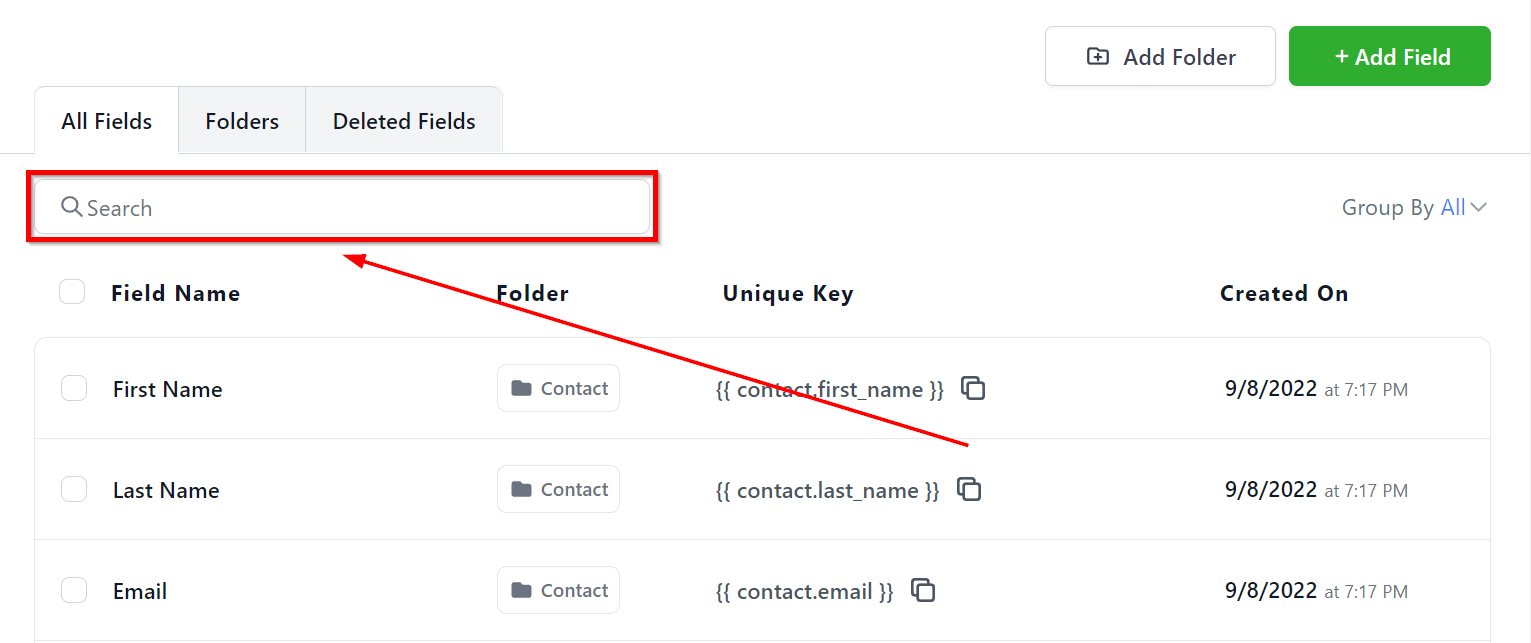 Search Menu
Group Filter
With group filter tab, you can decide how you would like the system to display the custom fields. Lets cover each filter one by one.
All - This will show all of the custom fields from all groups.
Contact - This filter when selected will show the custom fields created for Contacts.
General Info - This filter when selected will show the custom fields created for General Info.
Additional Info - This filter when selected will show the custom fields created for Additional Info.
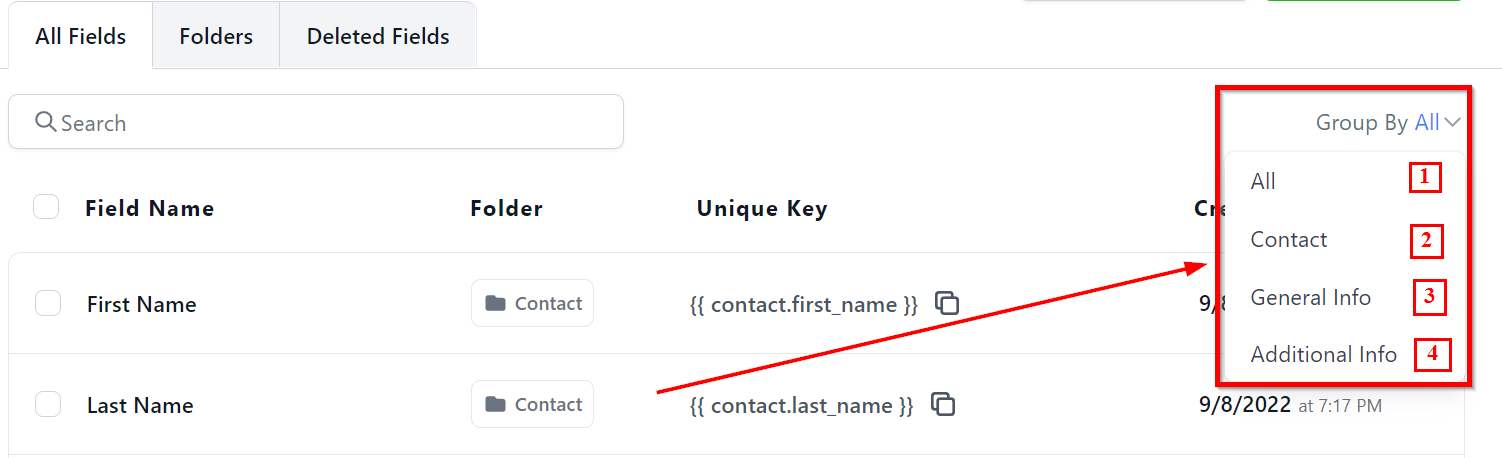 Group Filter
Field Actions
The checkboxes give you the power to perform different actions. You can select just one custom field or multiple fields, depending on the action you want to perform.
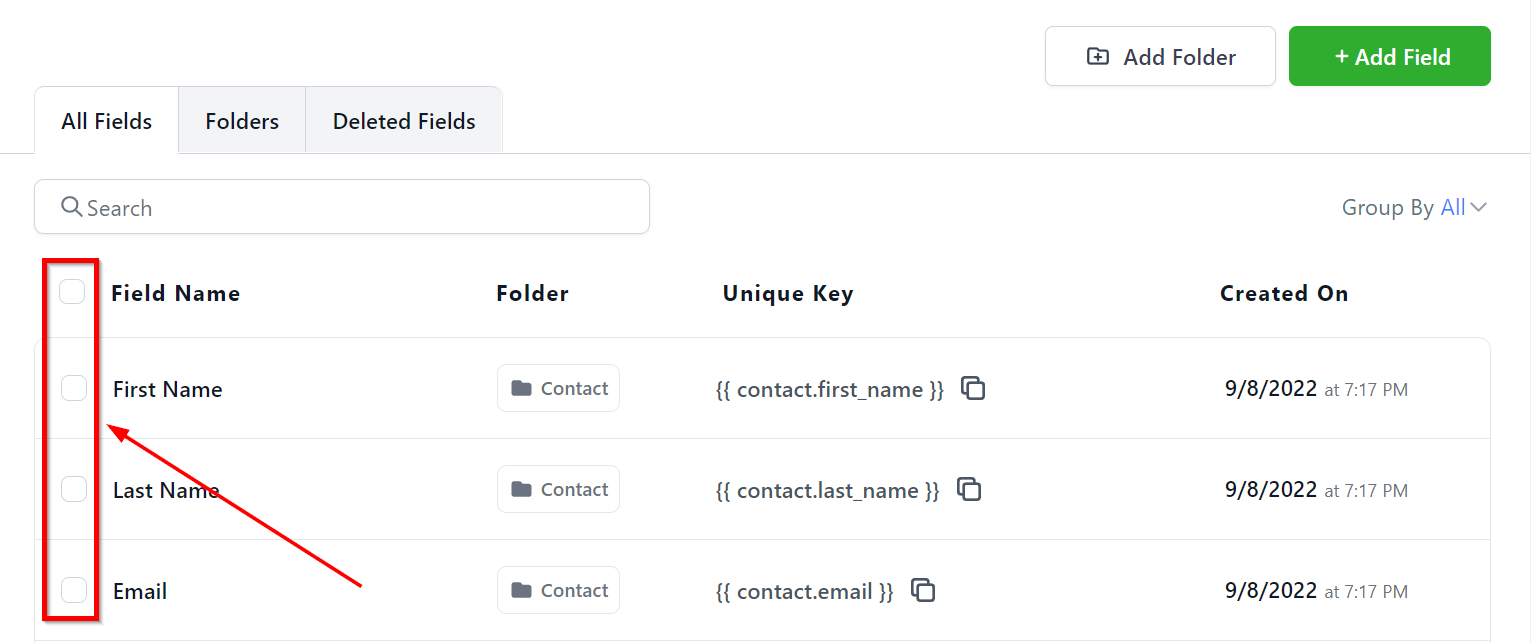 Field Actions
Bulk Action Menu
Once you choose the custom fields, you get three great bulk actions:
1. Edit - Click this icon to edit already existing custom fields.
2. Delete - To delete a custom field, click this icon. Once you delete a custom field, it is permanently deleted.
3. Move to Group - With this option, you can move the folder to a different group.
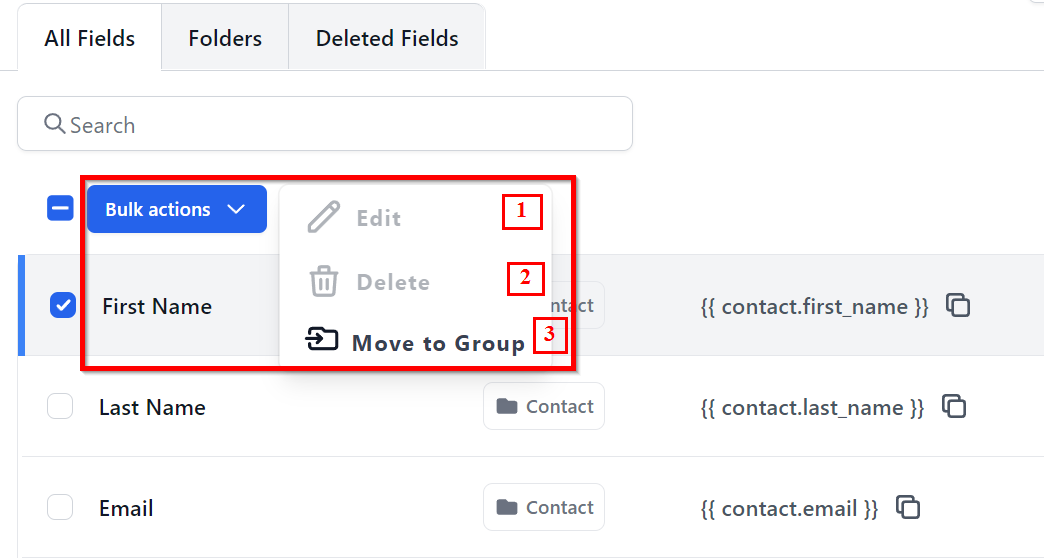 Bulk Action Menu
Field Name
Within this particular column, you will find the labels assigned to your various custom fields.
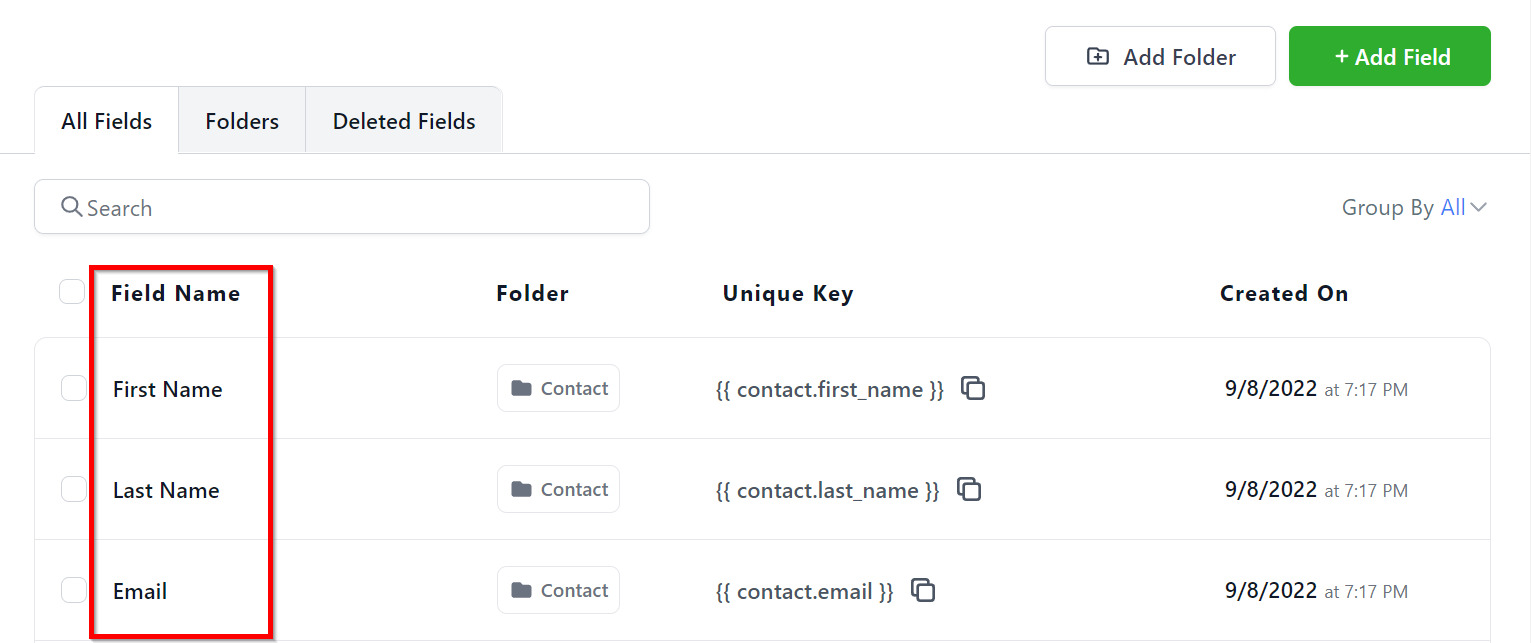 Field Name
Folder
In this section, you’ll find the corresponding folders linked to each of your custom fields. This allows you to easily identify which folder is connected to a specific custom field.
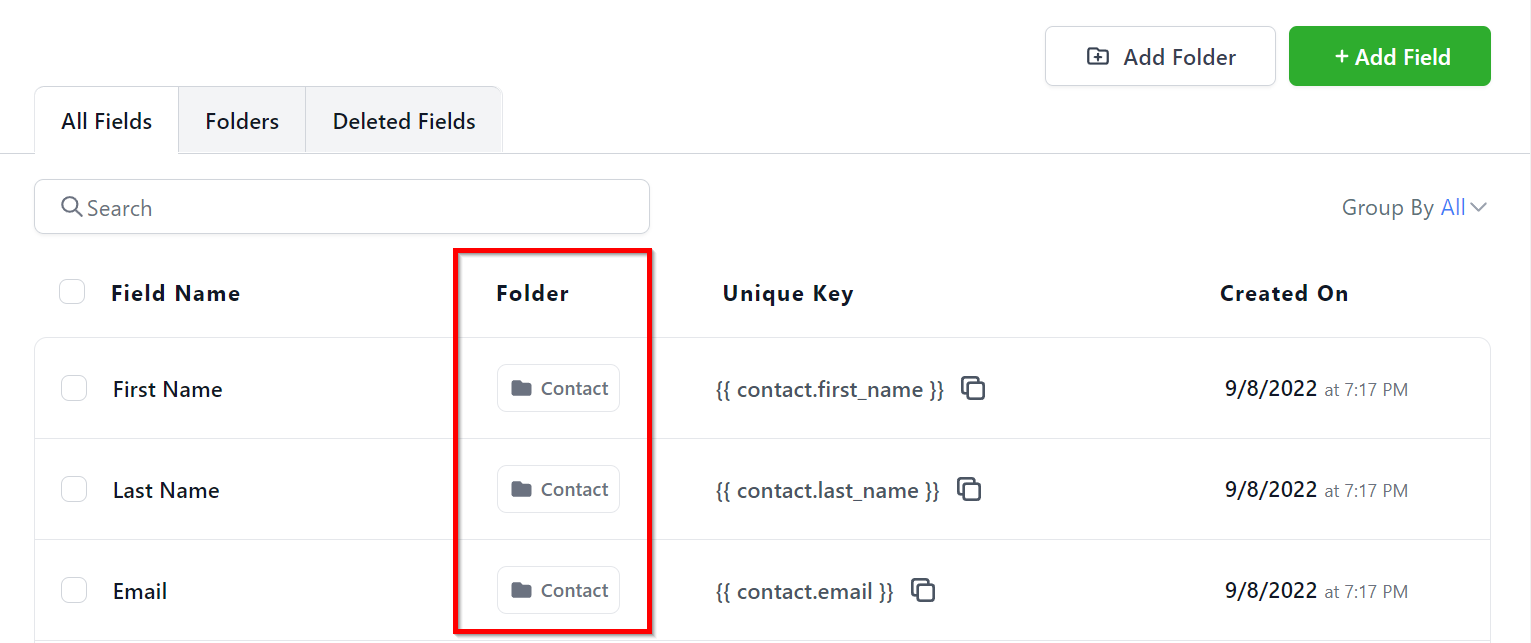 Folder
Unique Key
The Unique Key serves as an identifier when obtaining data through webhooks or incorporating custom information into communication channels such as emails and text messages. This key is generated automatically, taking the format based on the name assigned to your custom field, ensuring a seamless integration process.
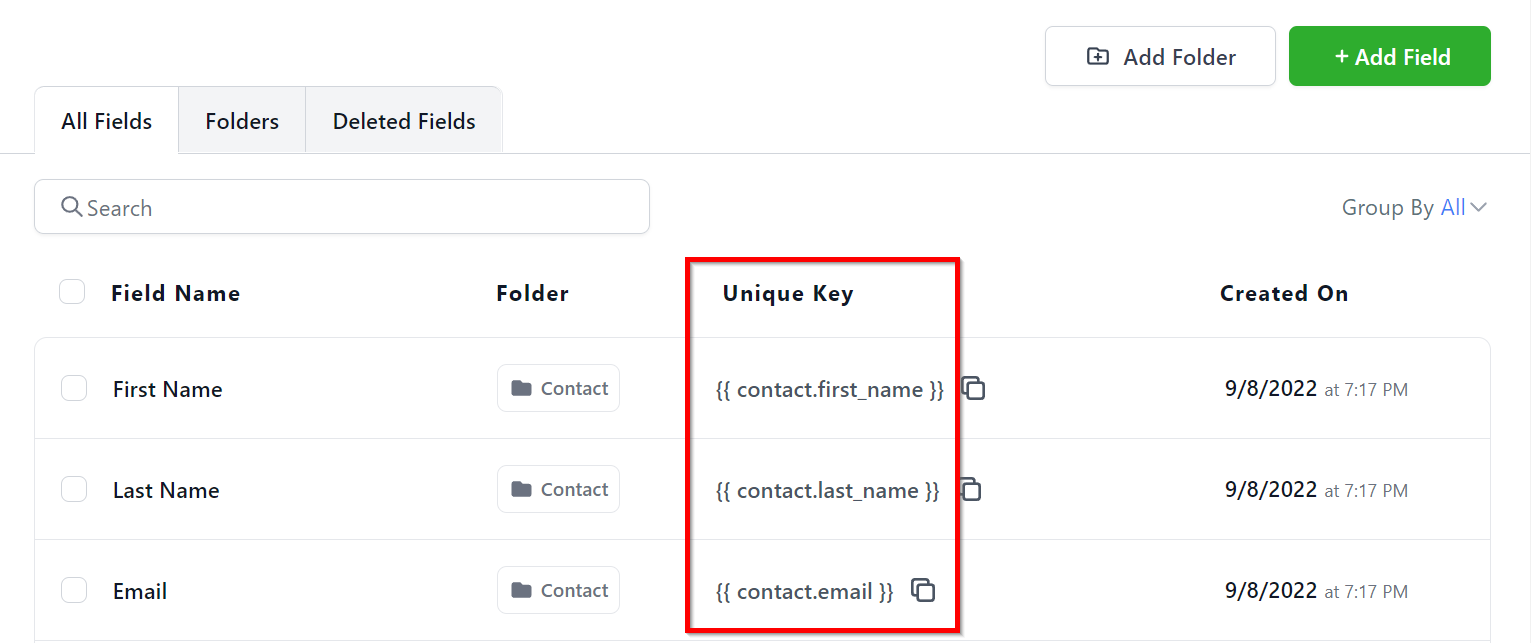 Unique Key
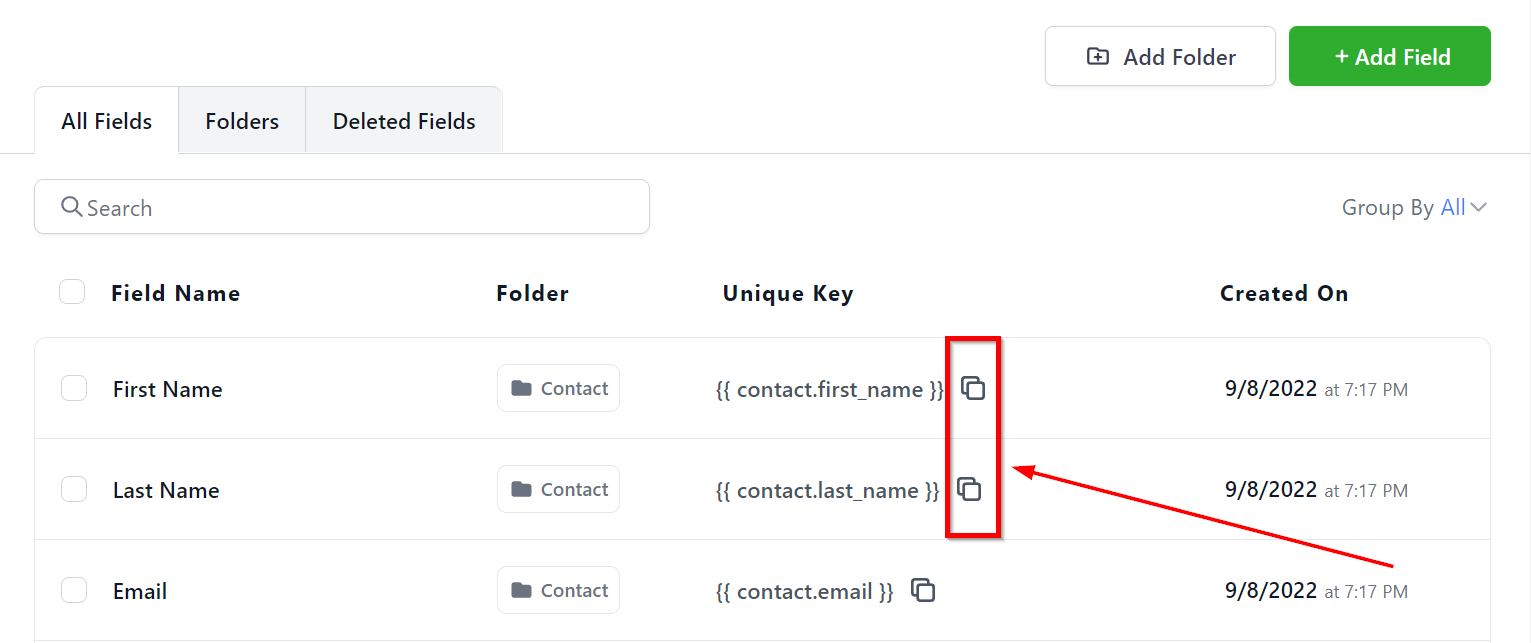
Copying Unique Key
By clicking on the dual square icon, you can effortlessly copy the unique key and subsequently paste it into your desired location.
 Copying Unique Key
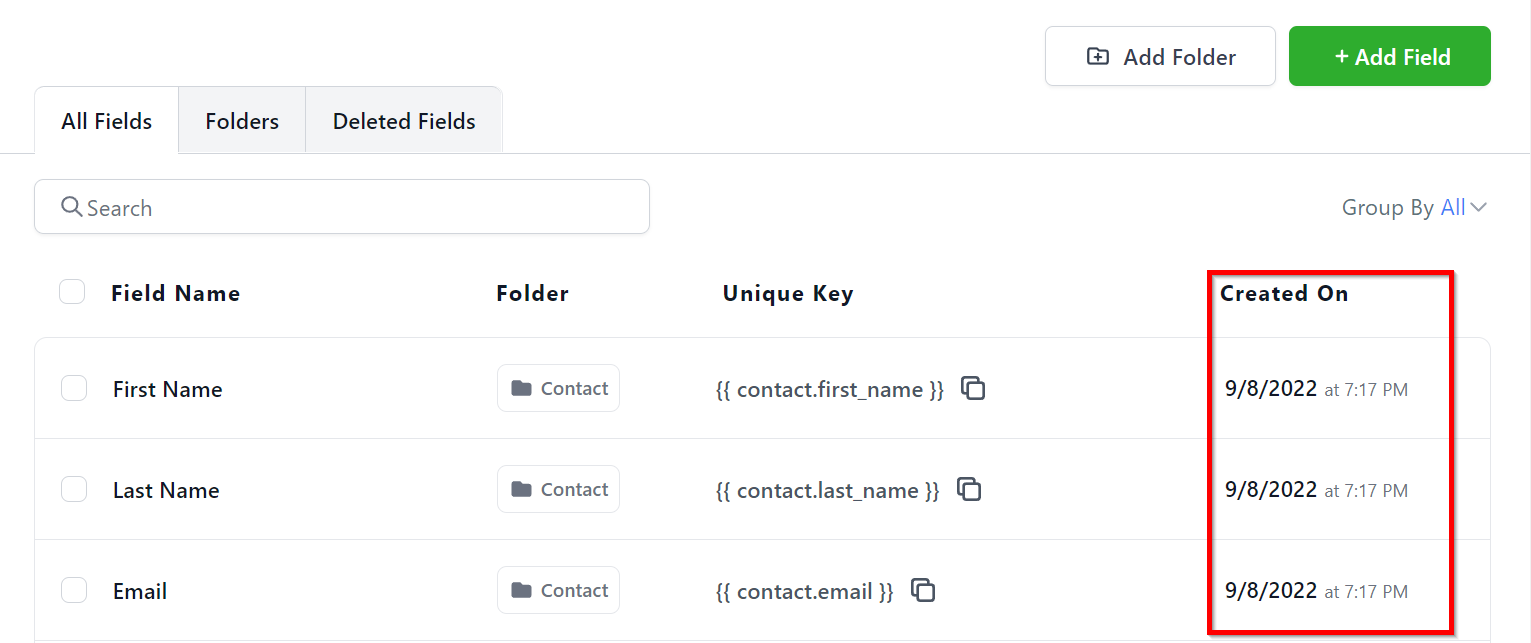
Creation Date
In the Creation Date column, you’ll find the specific date and time at which each custom field was initially generated.
 Creation Date
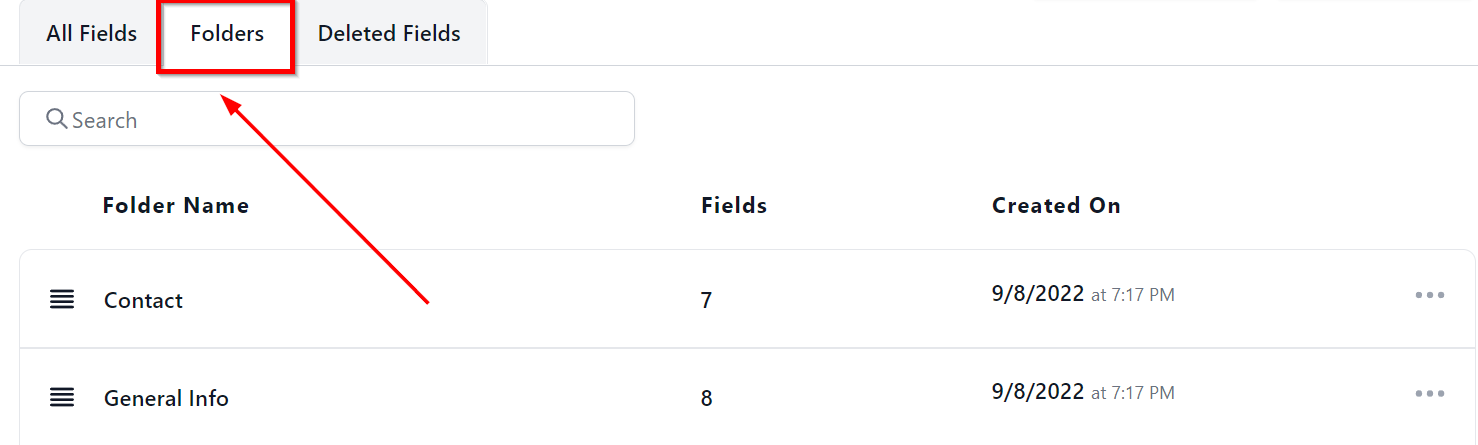
Folders
To view the folders you have created, click on the Folders tab. Here you will see a list of folders you have created.
 Folders
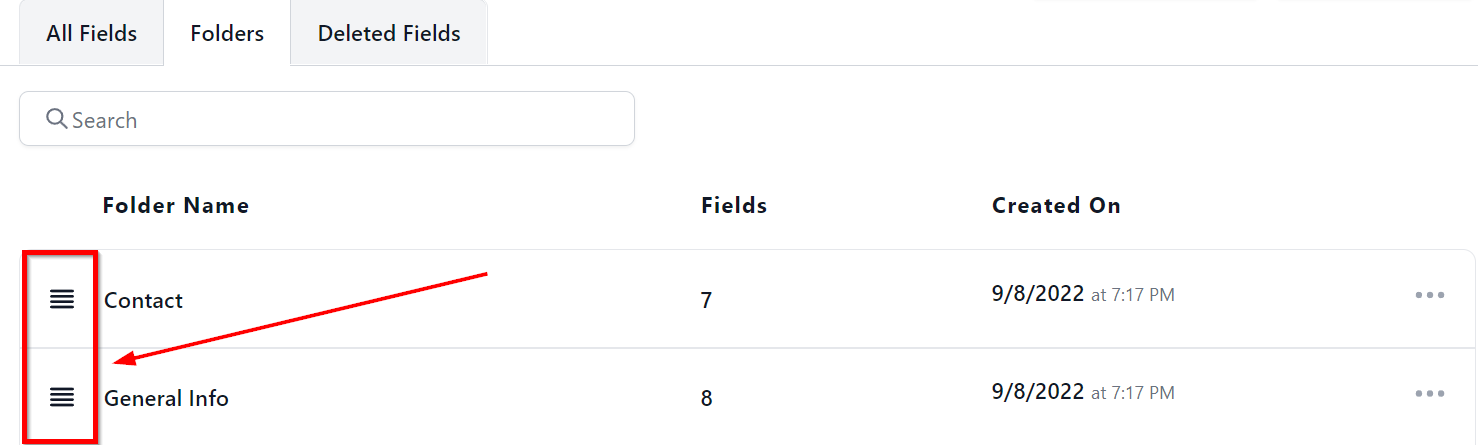
Hamburger Menu
You can use this icon to drag and drop custom fields you have already created in order to organize them.
 Hamburger Menu
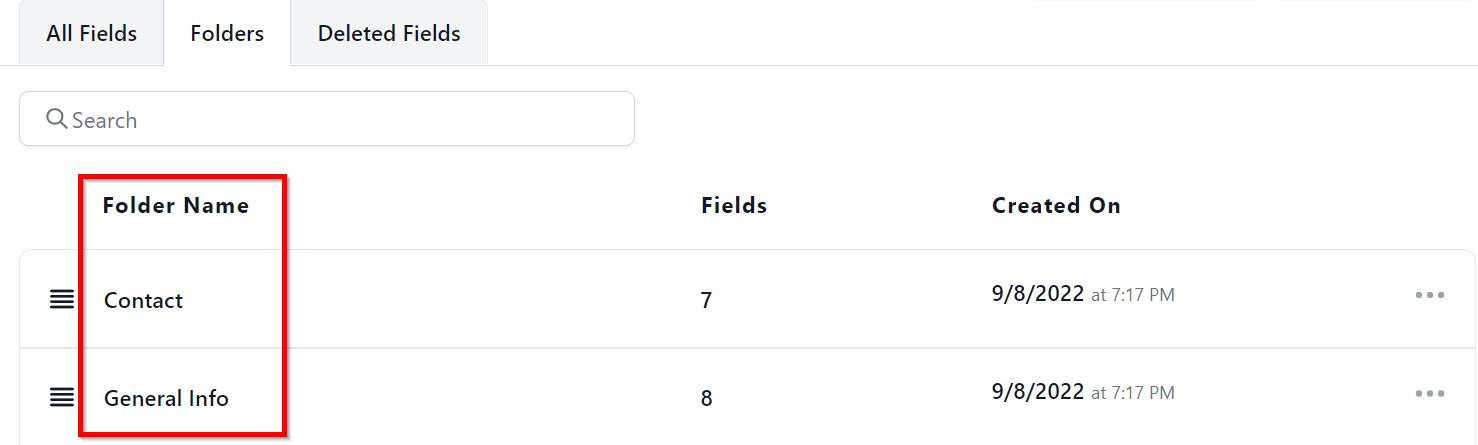
Folder Name
This column will show the name of each folder. This can always be edited if required.
 Folder Name
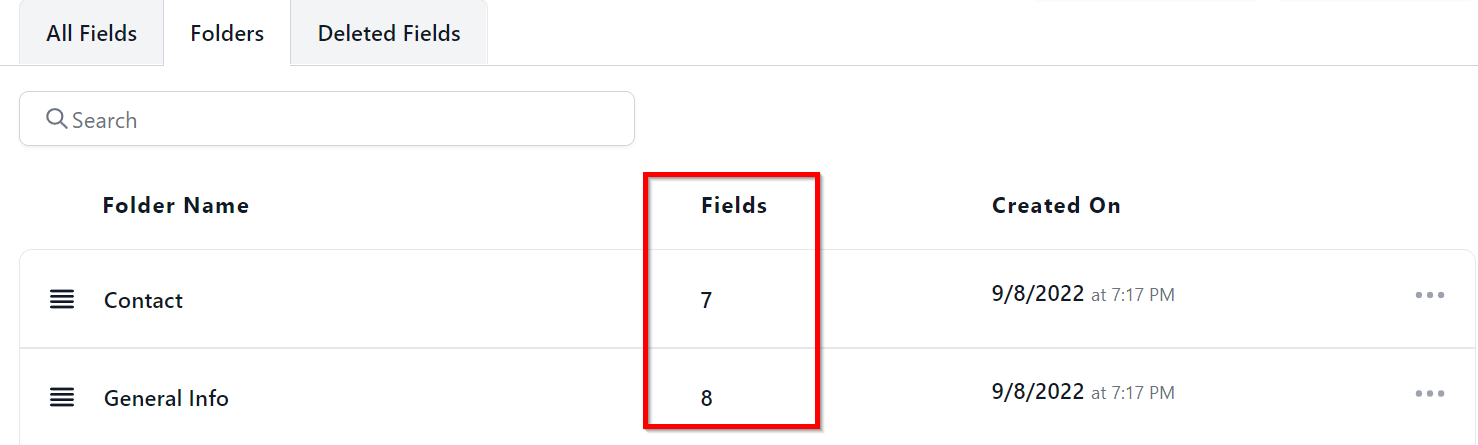
Fields
Here you can see the number of fields created inside each folder shown in the list.
 Fields
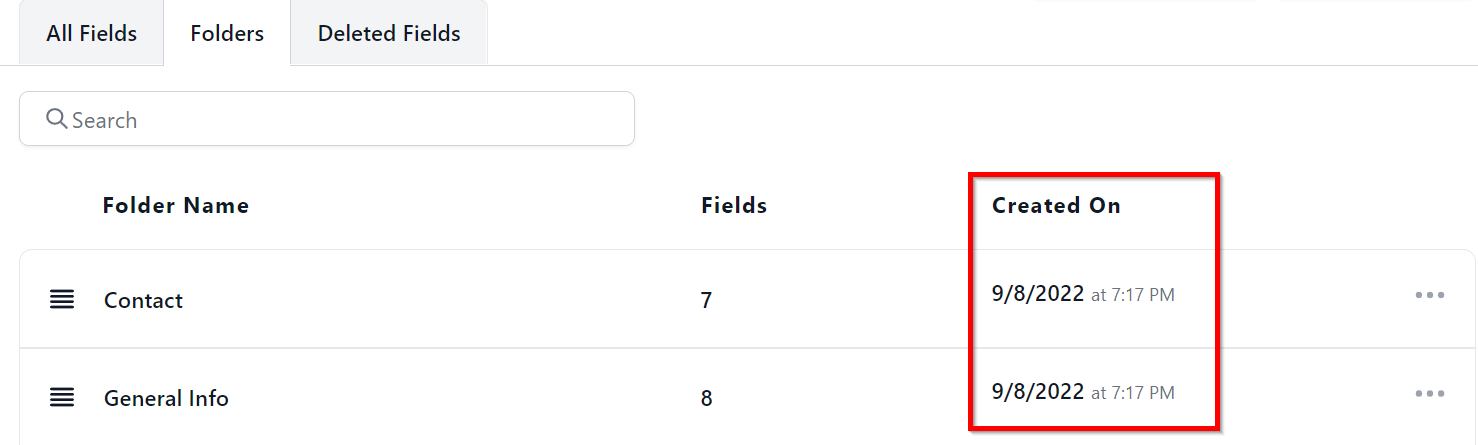
Created On
This column will show the date and time when each folder was created.
Folder Actions Menu
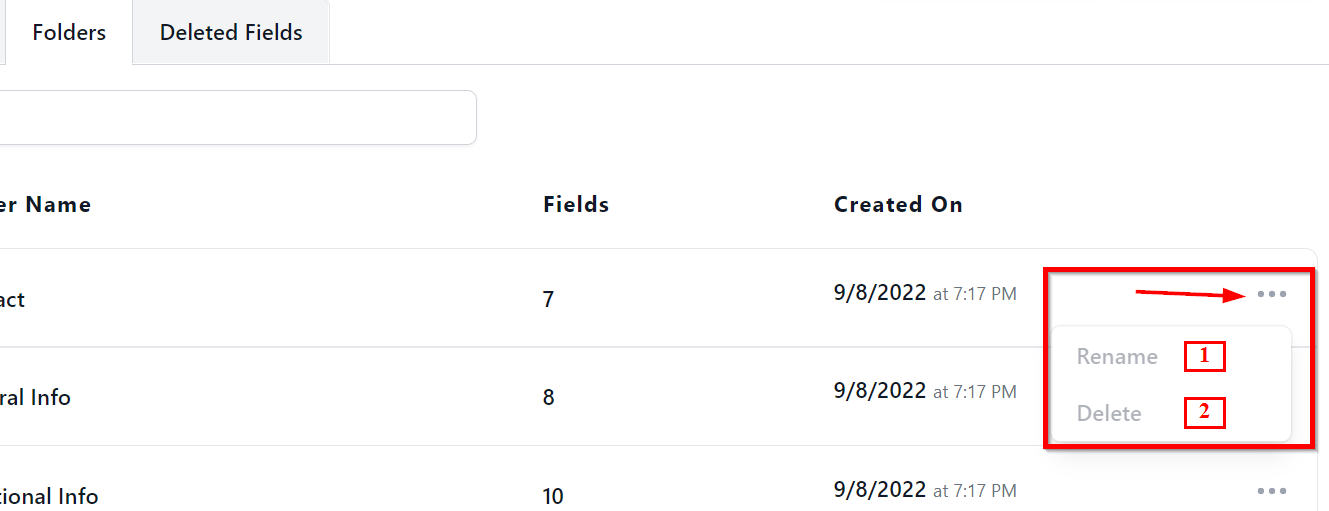
As shown in the image below, the three dots menu will open up a action menu.
1. Rename - Lets you rename the folder.
2. Delete - Lets you delete an individual folder.
 Folder Actions Menu
Deleted Fields
In the Deleted Fields tab you will be able to view the custom fields that have been previously deleted. Clicking on the redirect link will take you to the audit page in your CRM where you can view items previously deleted in.
 Deleted Fields
Adding a Folder
You have the ability to create a new folder specifically for your customized fields by simply selecting the ‘Add Folder’ button.
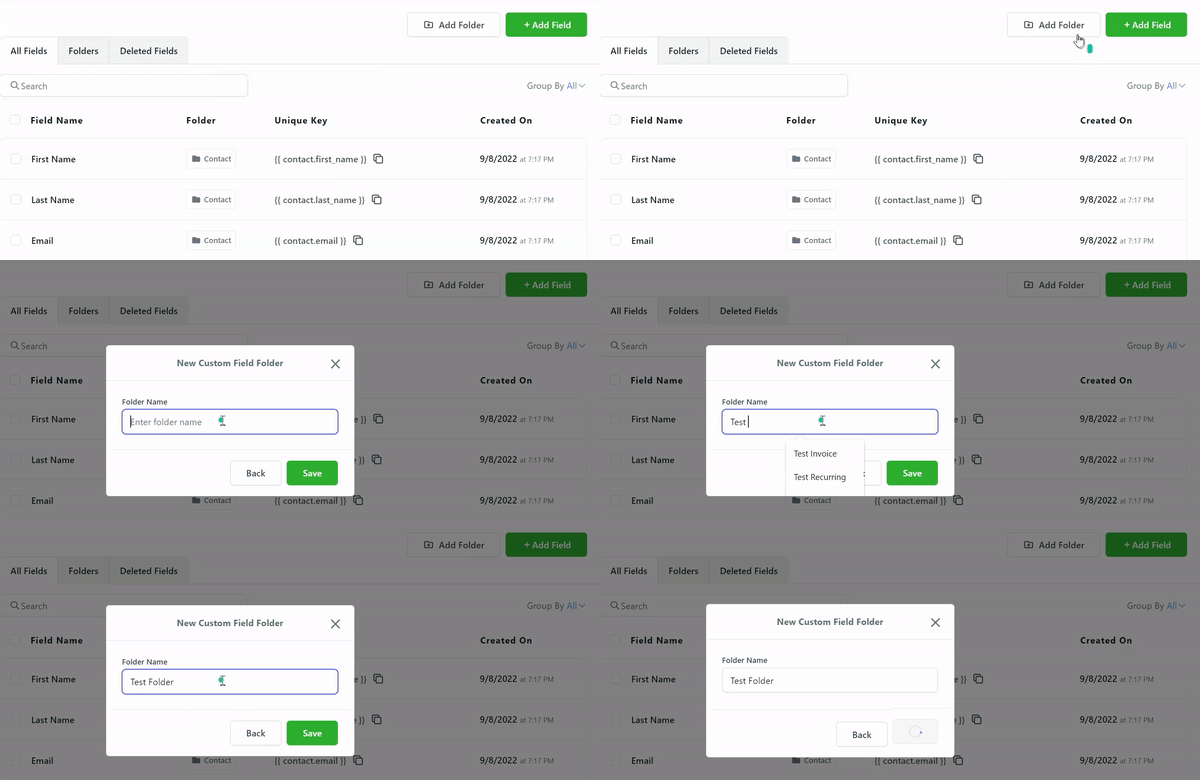 Adding Folder
Adding a Field
To create a custom field, locate the green “Add Field” button at the top right of the screen, give it a click and watch a popup appear. In it, you can complete all of the details needed to add your custom field.
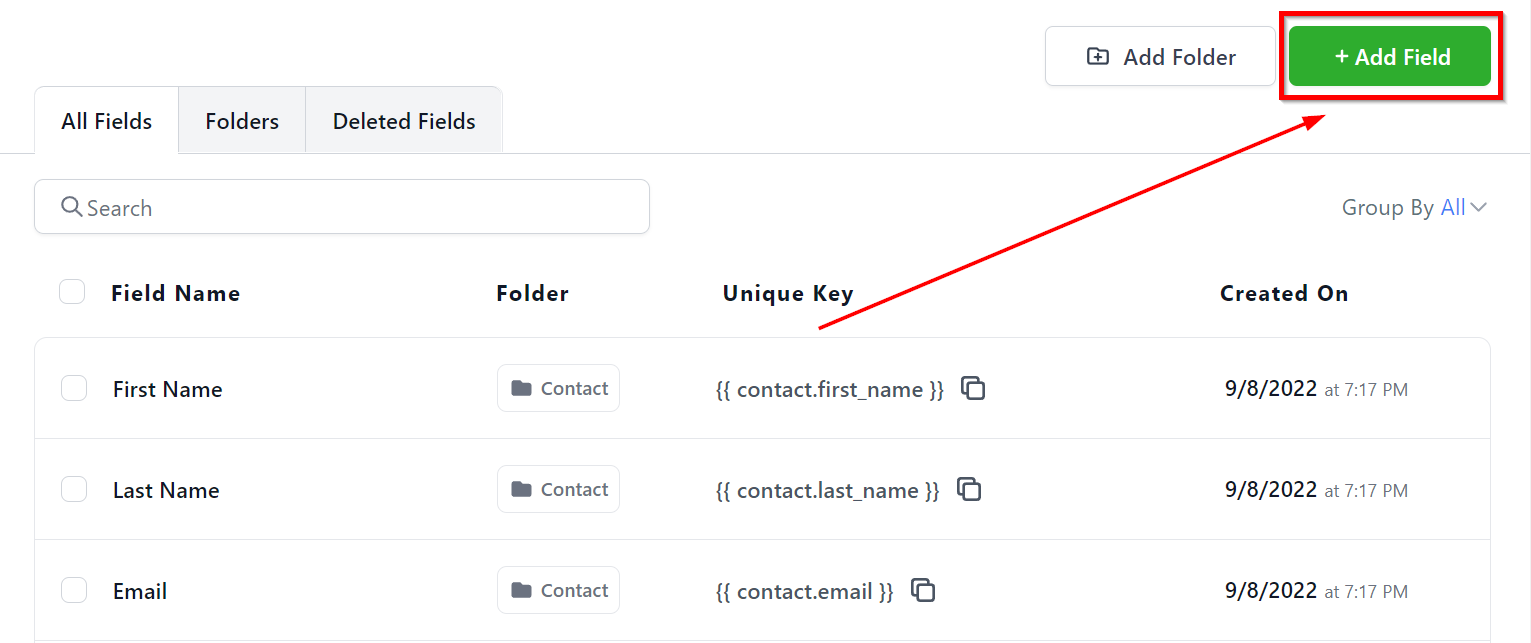 Adding a Field
Not a Funnelbud customer yet?
Try our all-in-one CRM for sales and marketing — free for 7 days, no commitment.