1-Step Order Form
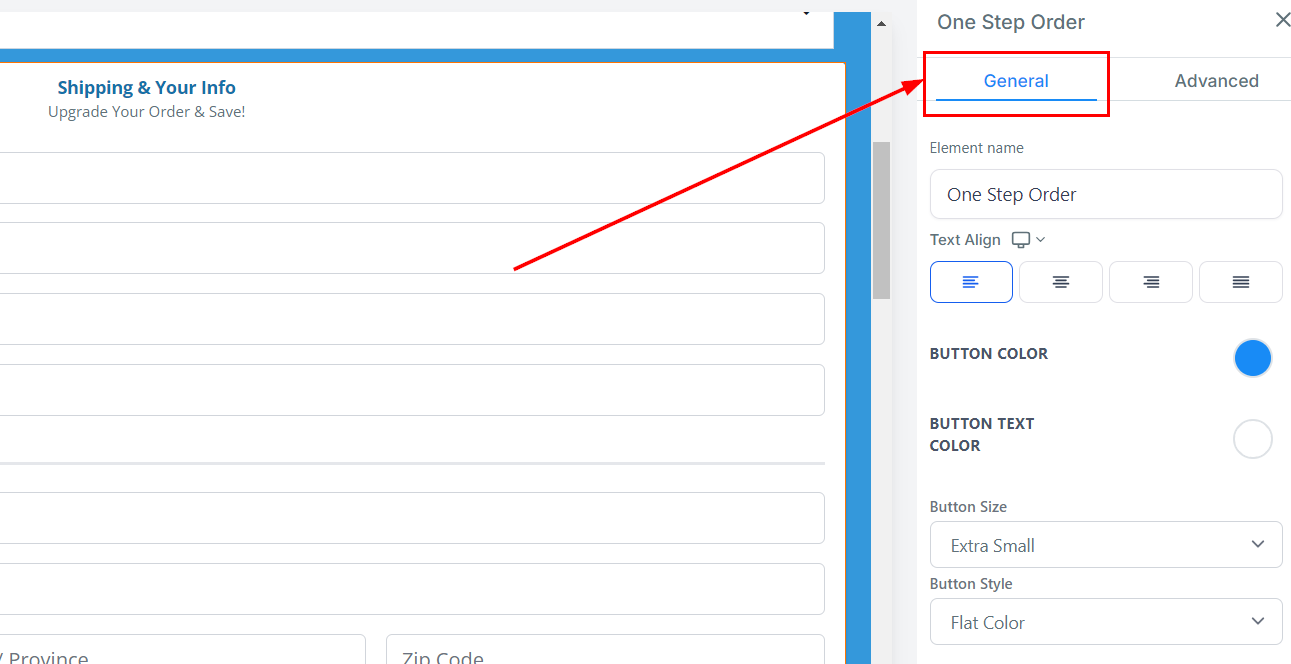
Using the 1-Step Order Form Element is a great way to obtain shipping details regarding your customer, along with other useful information. Select the element to open its settings on the right-hand side of your builder.
General Settings
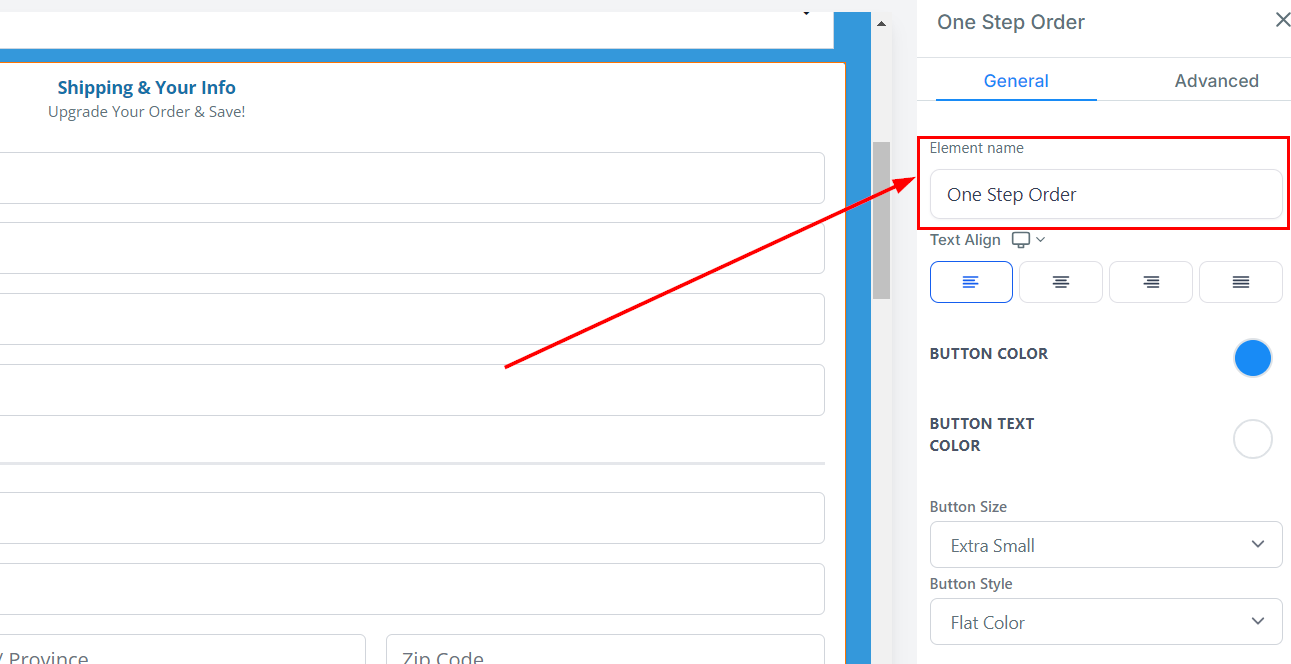
Element Name
You have the option to keep the default title or rename it according to your preferences.
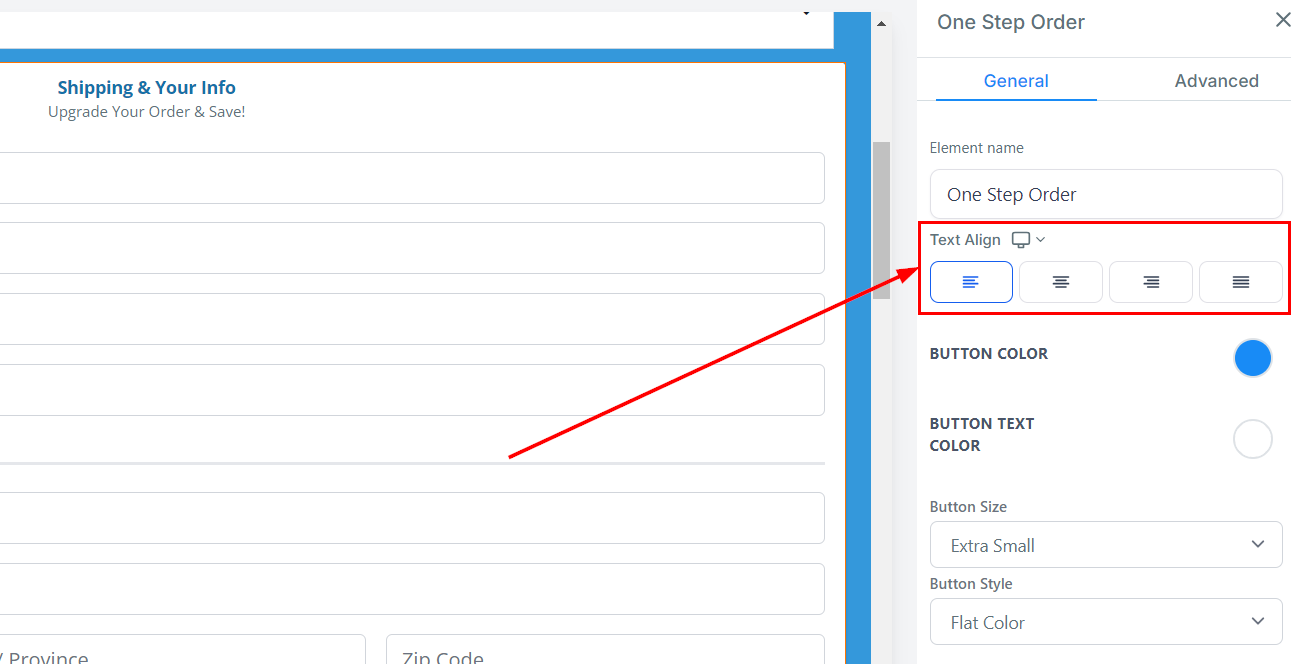
Text Align
Under the Text Align option, you can adjust the position of your text, either left, center, or right, or justify it.
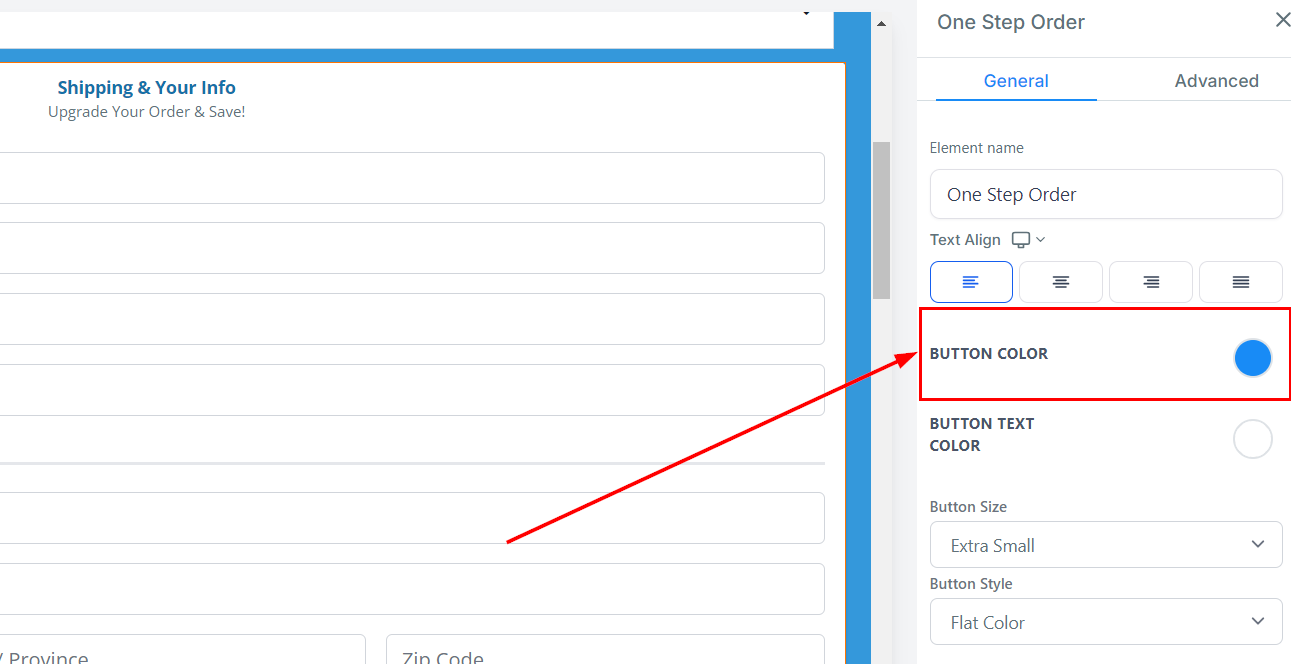
Button Color
To customize the button color of your order form, simply click on the desired color from the available options. If the desired color is not available, you can add a custom color by typing its code in the designated field and clicking Add Color.
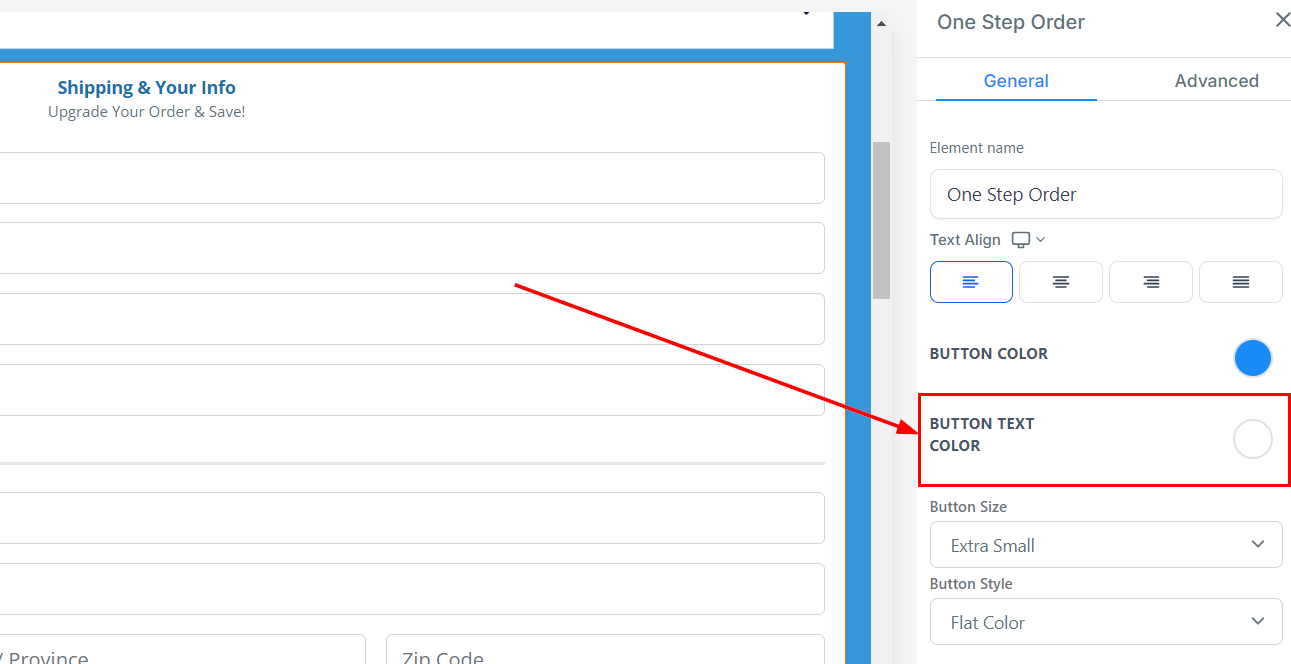
Button Text Color
Similarly, under Button Text Color, you can customize the color of the text displayed on your order form button by selecting the desired color option, or add a custom color by entering its code in the provided space and clicking Add color.
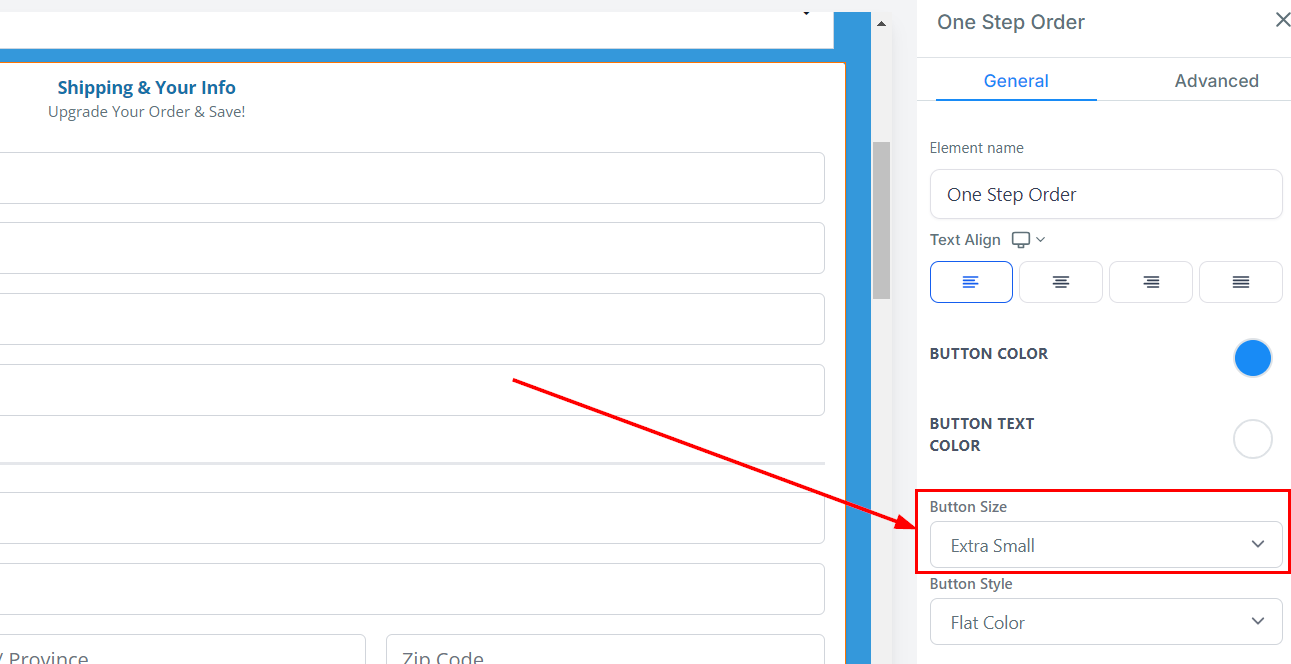
Button Size
Under Button Size, you can adjust the size of your button according to your preference. You can choose from Extra Small to Extra Large sizes.
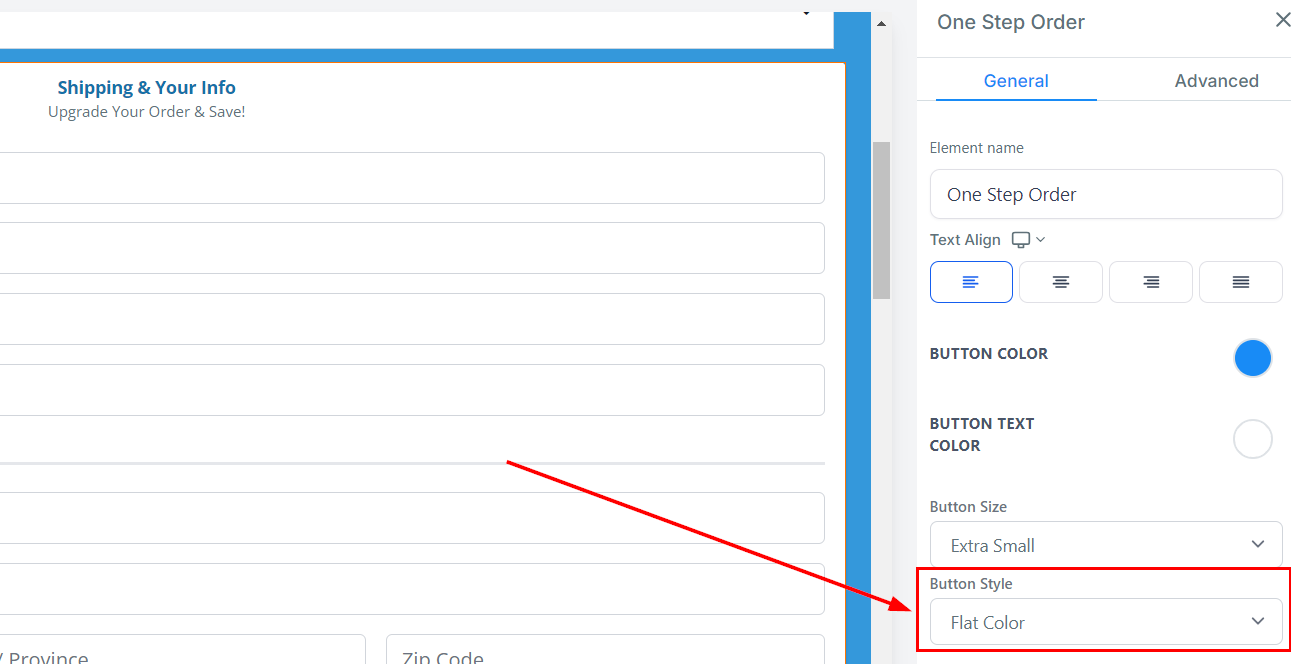
Button Style
For Button Style, you can select a style for your button by choosing from the available options: Flat Color, Gradiant, Subtle Style, and Border Bottom.
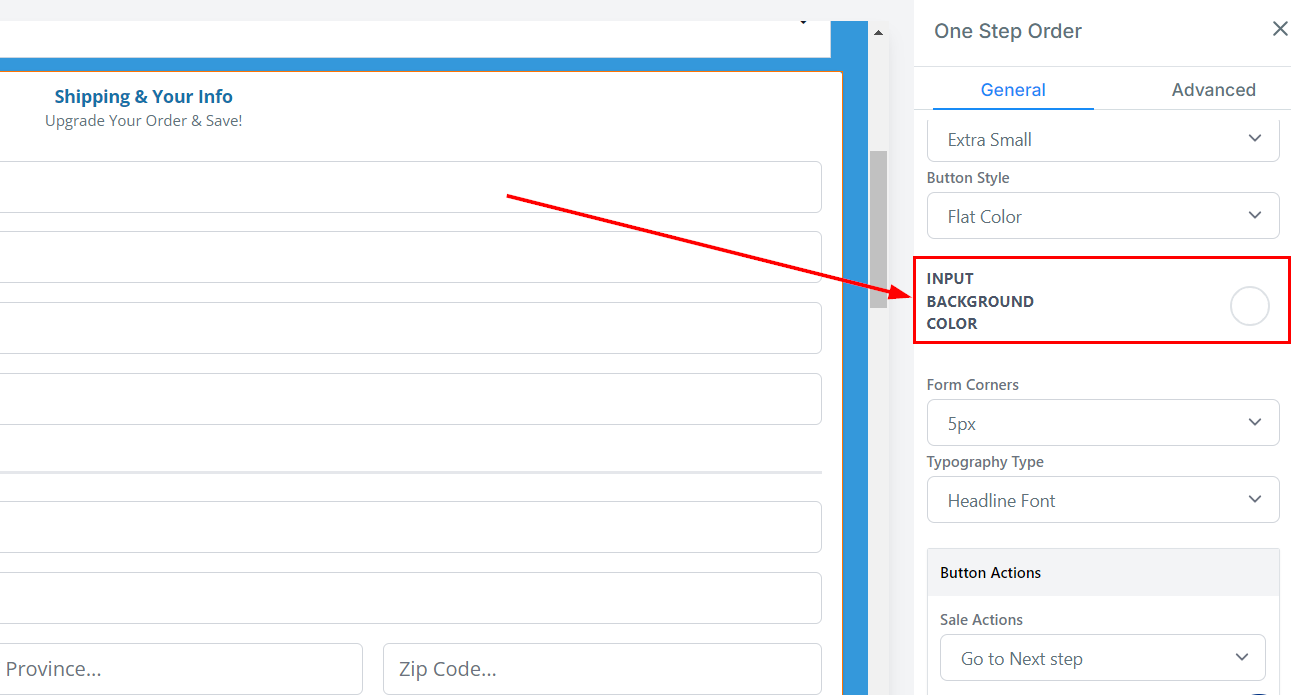
Input Background Color
Under the Order Form Customization feature, you can add a background color to your order form input by selecting the desired color.
If the desired color is not available, you can add a custom color by entering its code in the provided field and clicking Add Color.
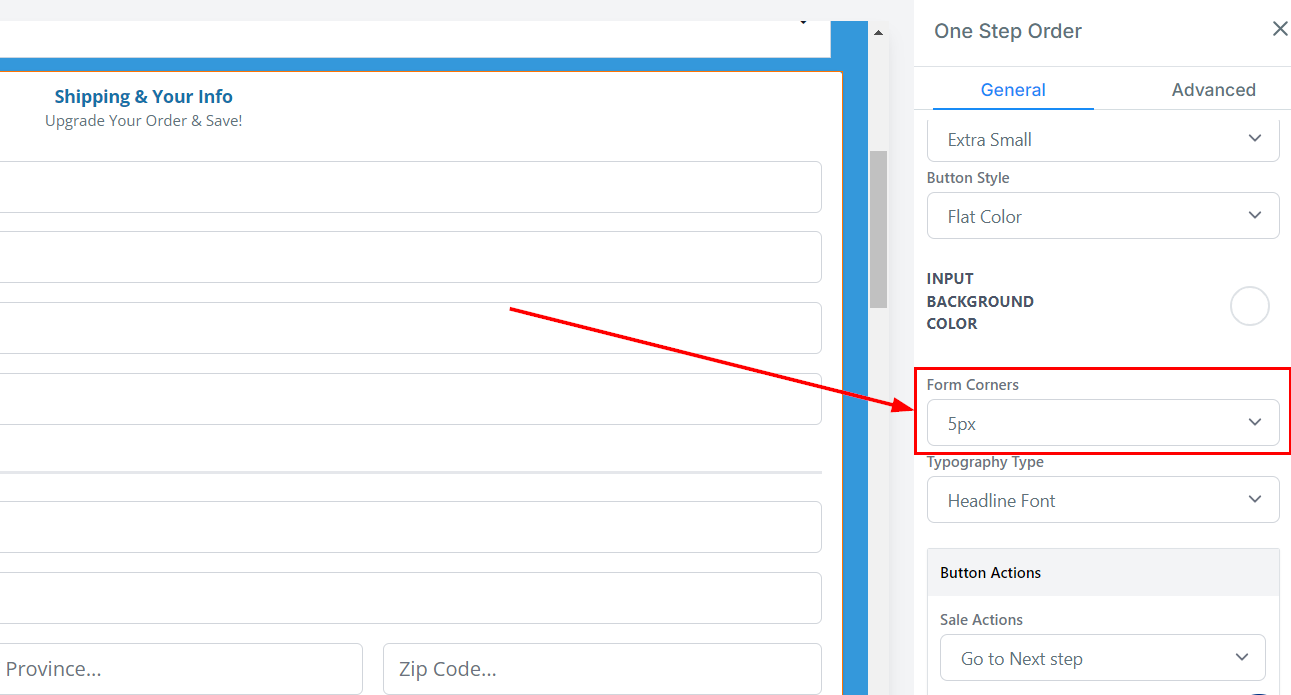
Form Corner
Under Form Corner, you can adjust the degree of curvature for the edges of your form fields.
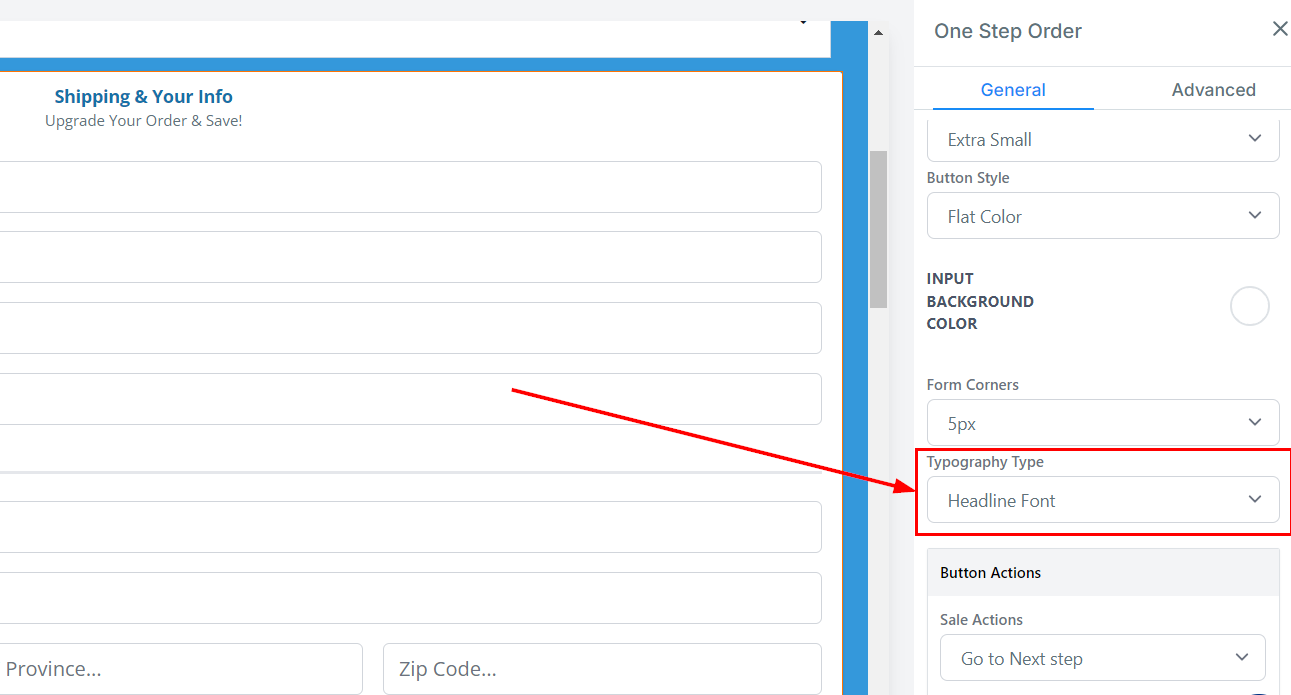
Typography Type
For font customization, you can choose the font type for your form by selecting options from the dropdown. You can opt to use the headline or content font that was set up in the settings or select a custom font from the provided dropdown, giving you a vast selection of fonts to choose from.
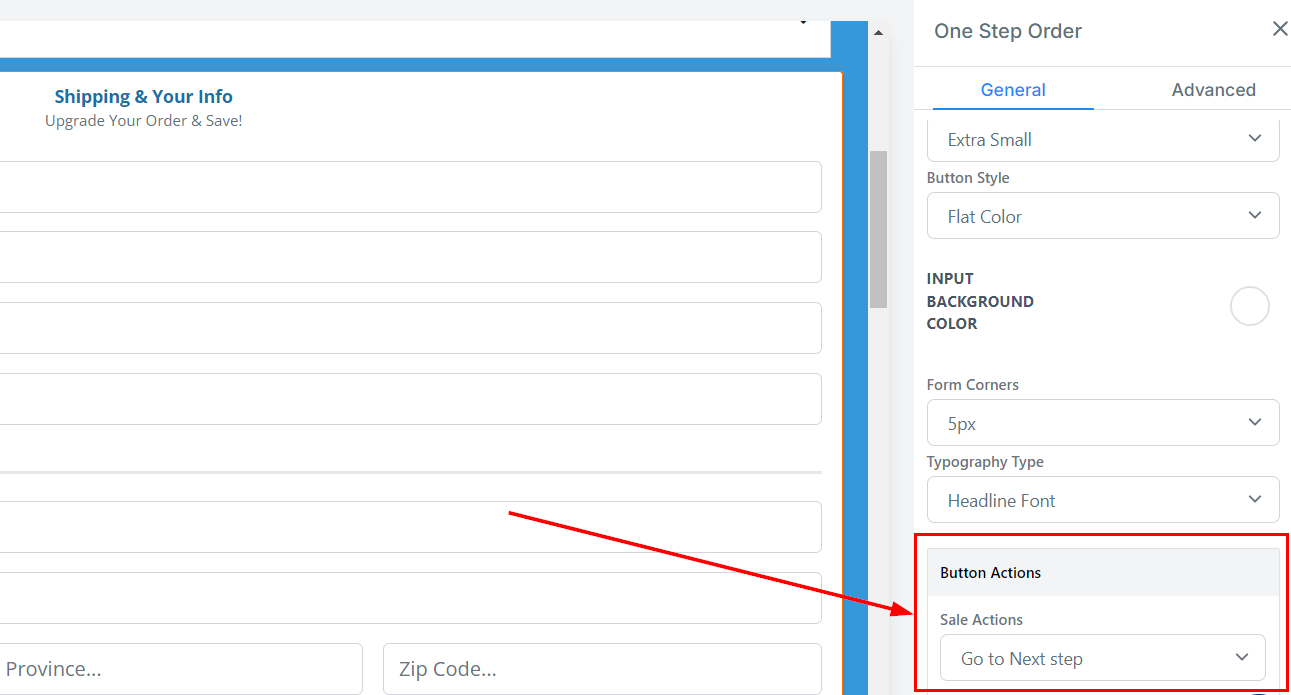
Button Action
Under Button Action, you have the option to choose between going to the next step, a website URL, or to another step within the funnel or website.
- Go to Next Step: When selected, the customer will be taken to the next step in your funnel/ website builder.
- Go to website URL: When selected, this option will require you to enter the URL the order form should be redirected to when submitted.
- Select a Step: This option allows you to choose another step in your funnel/ website which the order form should display when submitted.
Advanced Settings
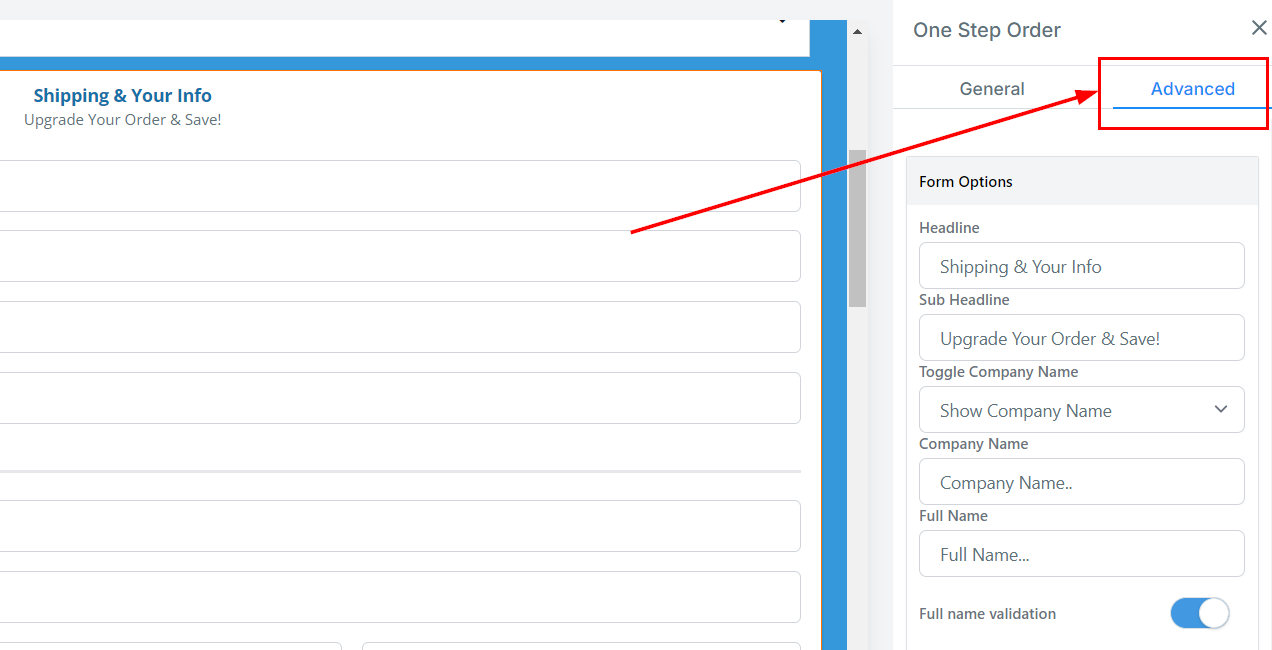
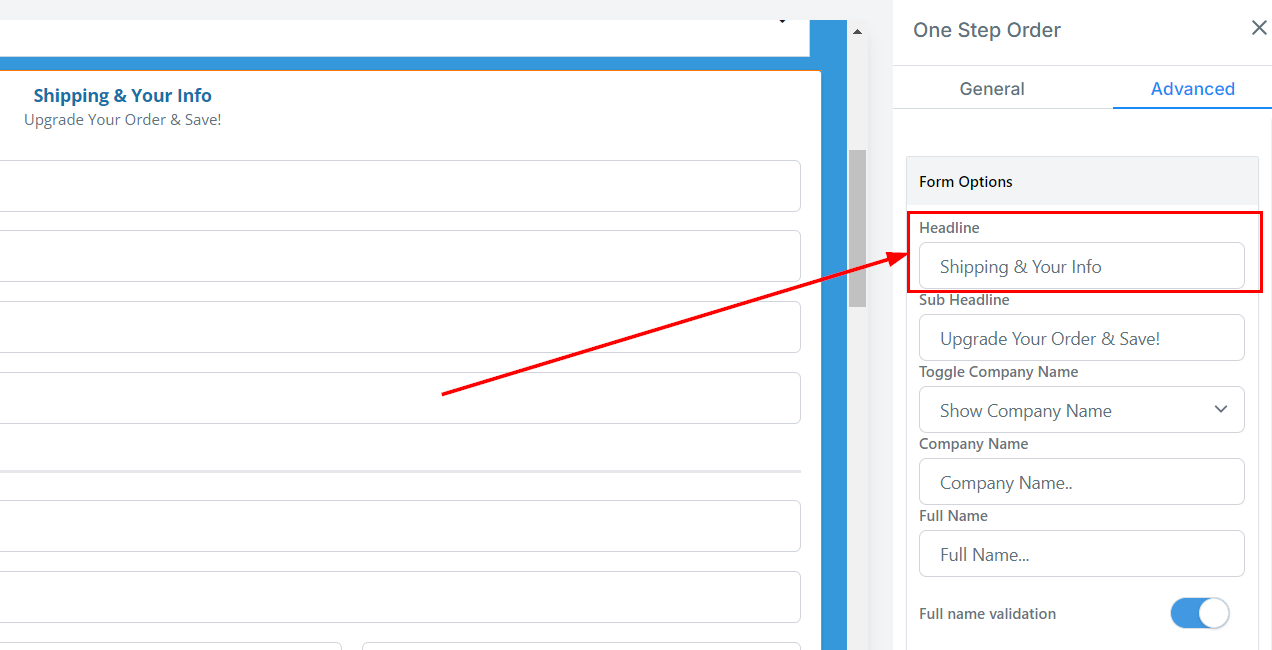
Headline
You will see the default headline name here, and you can either keep it as is or rename it.
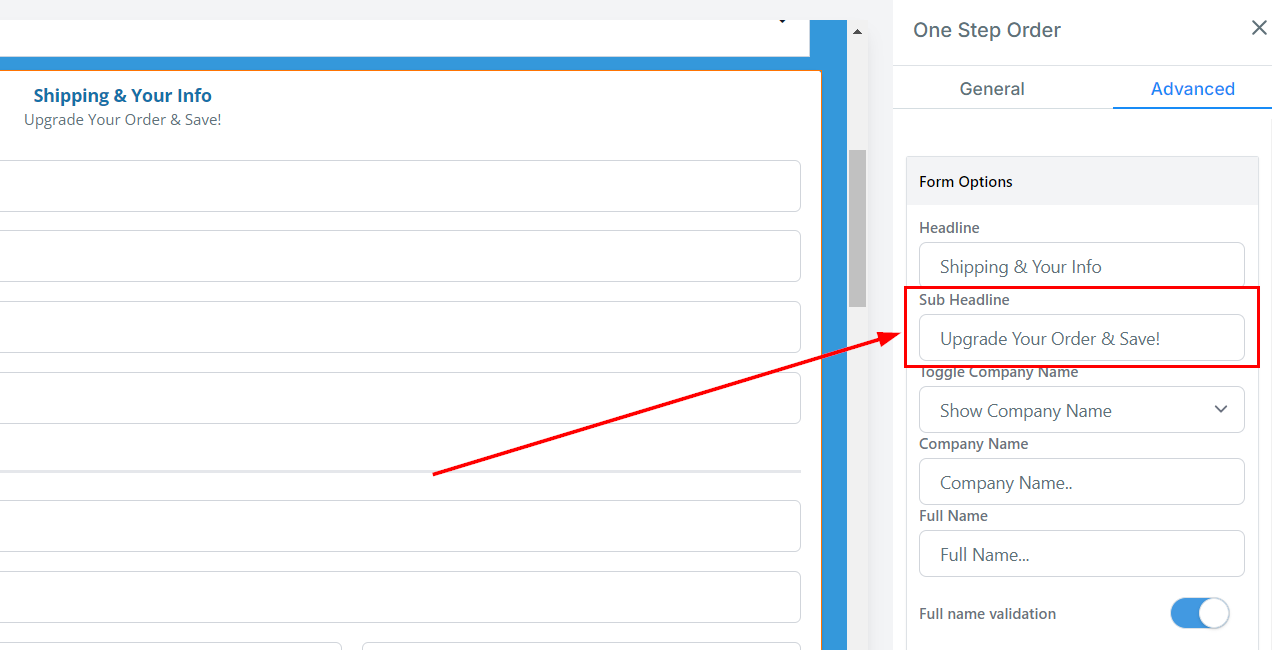
Sub-Headline
Similarly to the Headline, you can decide to change it or leave it as it is.
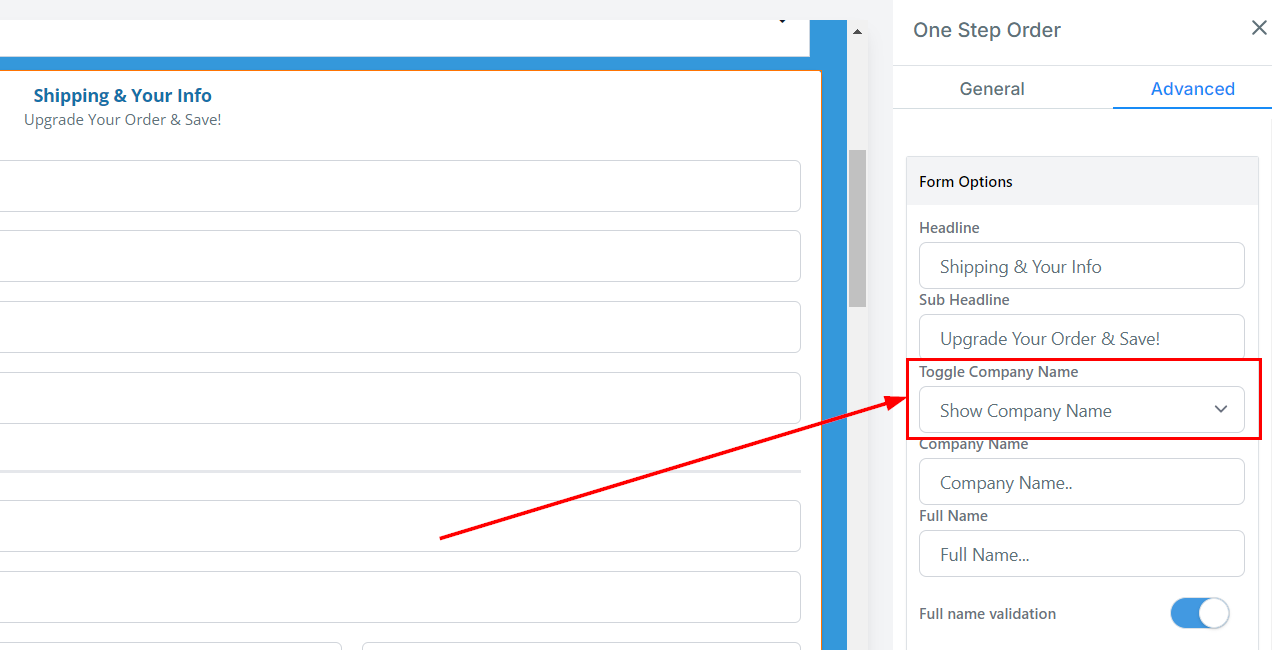
Toggle Company Name
Choose whether to display or hide the “Company Name” form field, based on your preference.
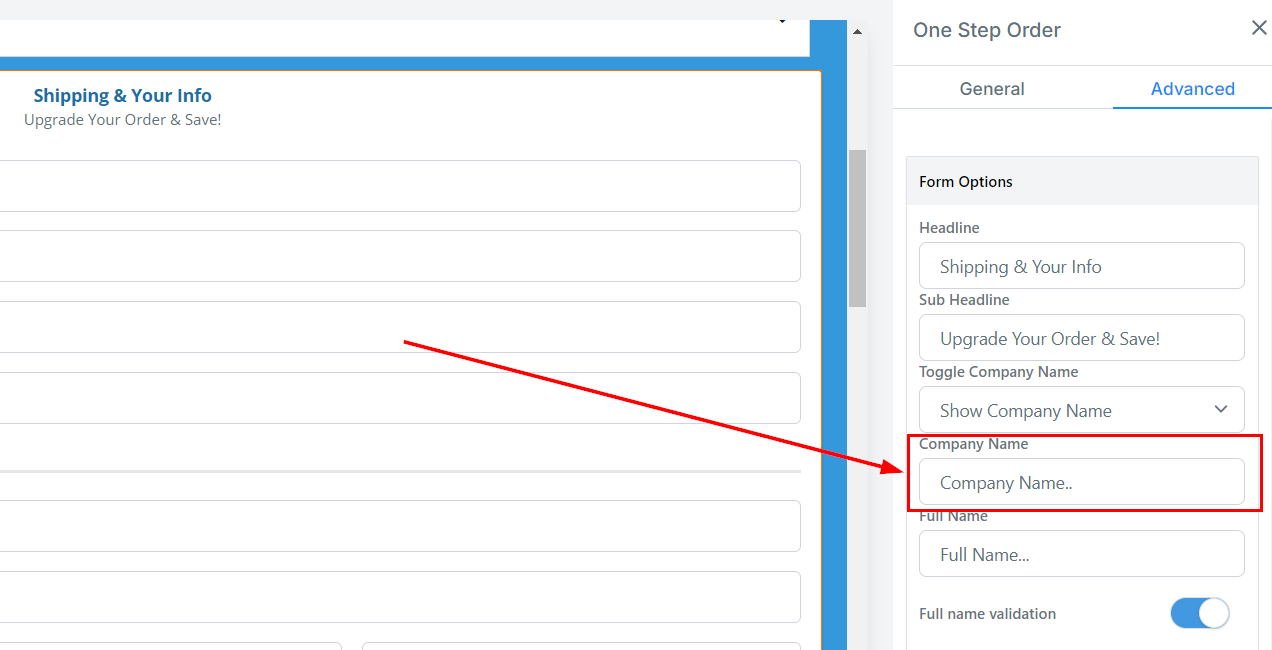
Company Name
Edit the description in the company name form field here.
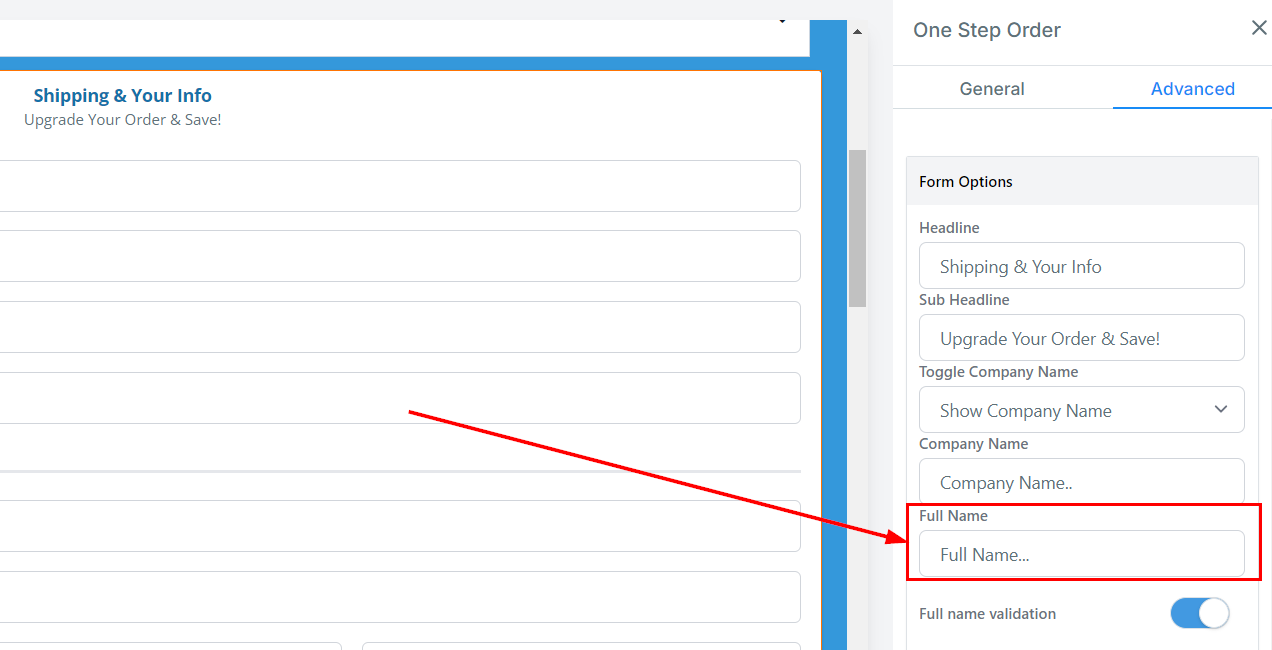
Full Name
Edit the description of the full name form field here.
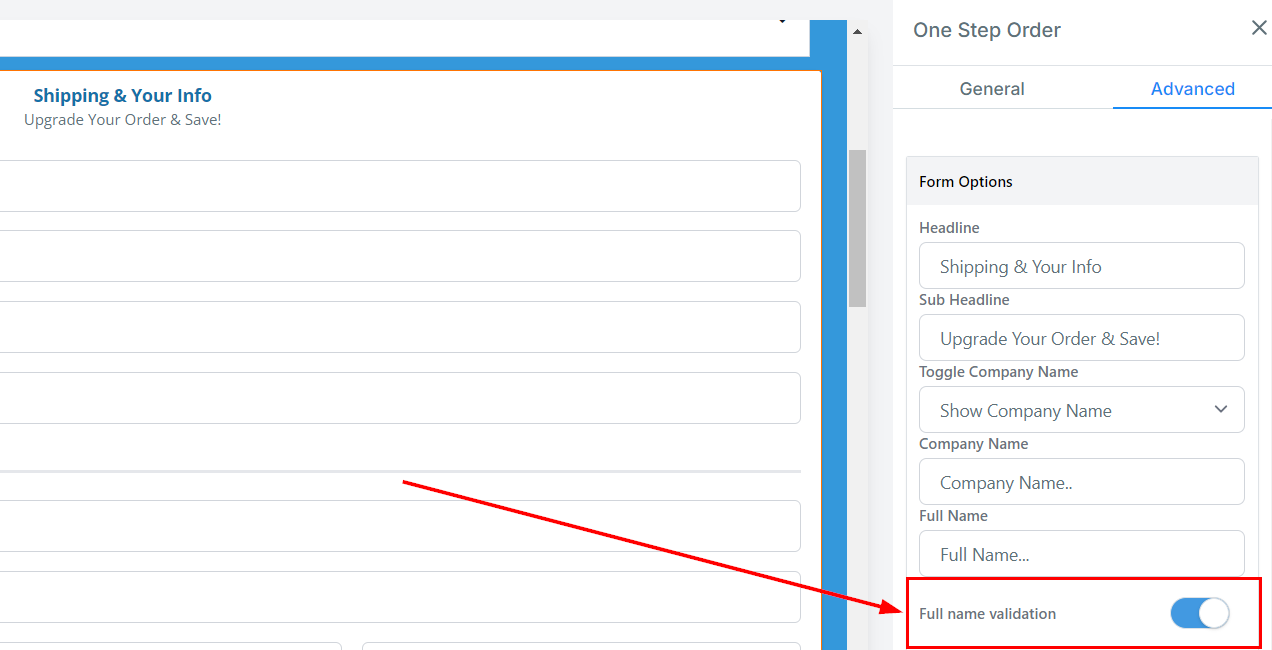
Full Name Validation
Enable this option to check for valid full names. When this feature is enabled, names entered must consist of at least two parts. Additional validations will be applied, such as disallowing names with two consecutive special characters and restricting the use of certain special characters.
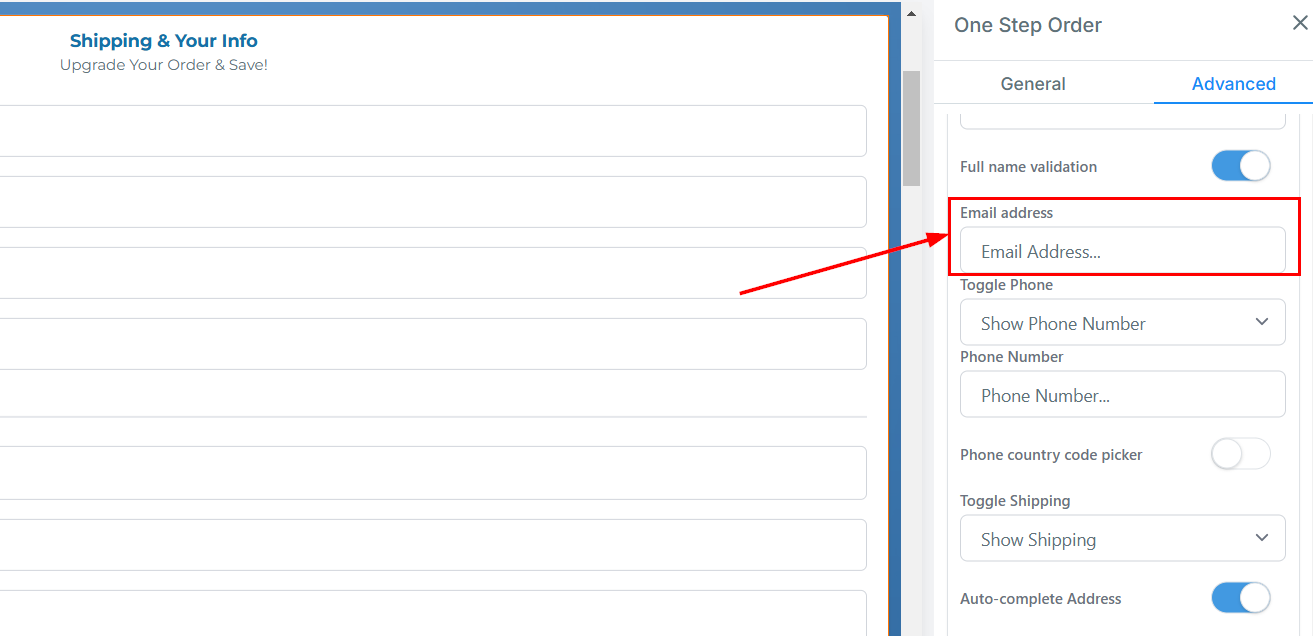
Email Address
Edit the description of the email address form field here.
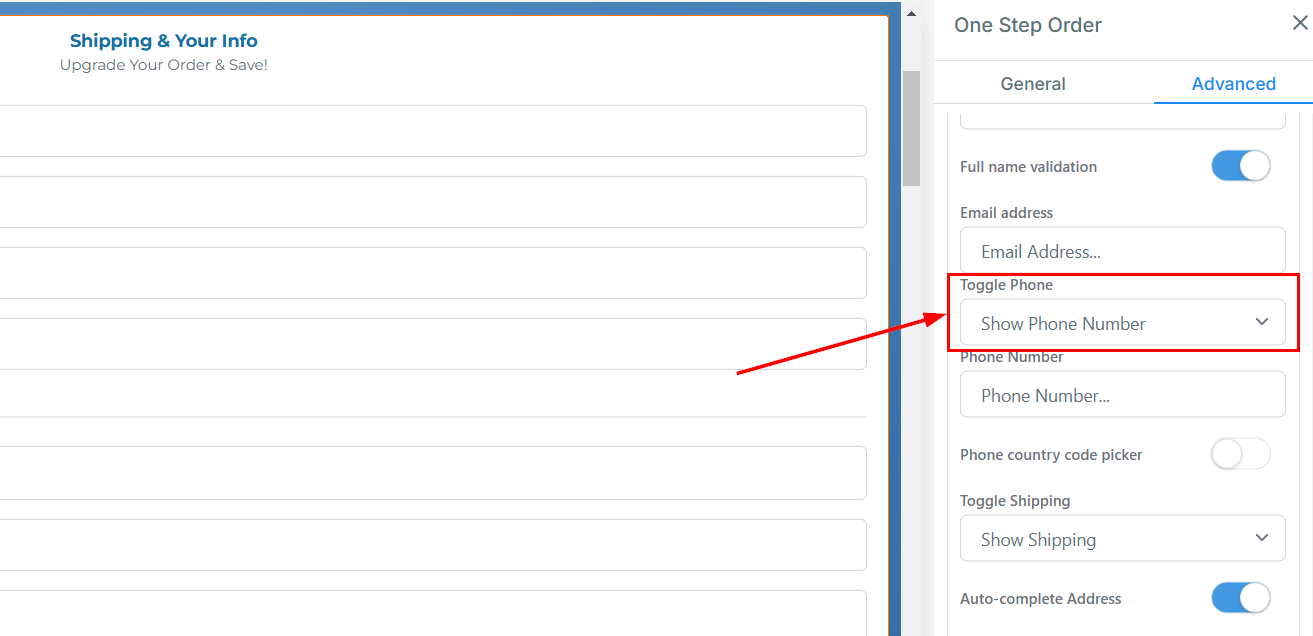
Toggle Phone
Choose whether to show a form field for the Phone number or hide it.
Phone Number
You can edit the description in the Phone number form field here.
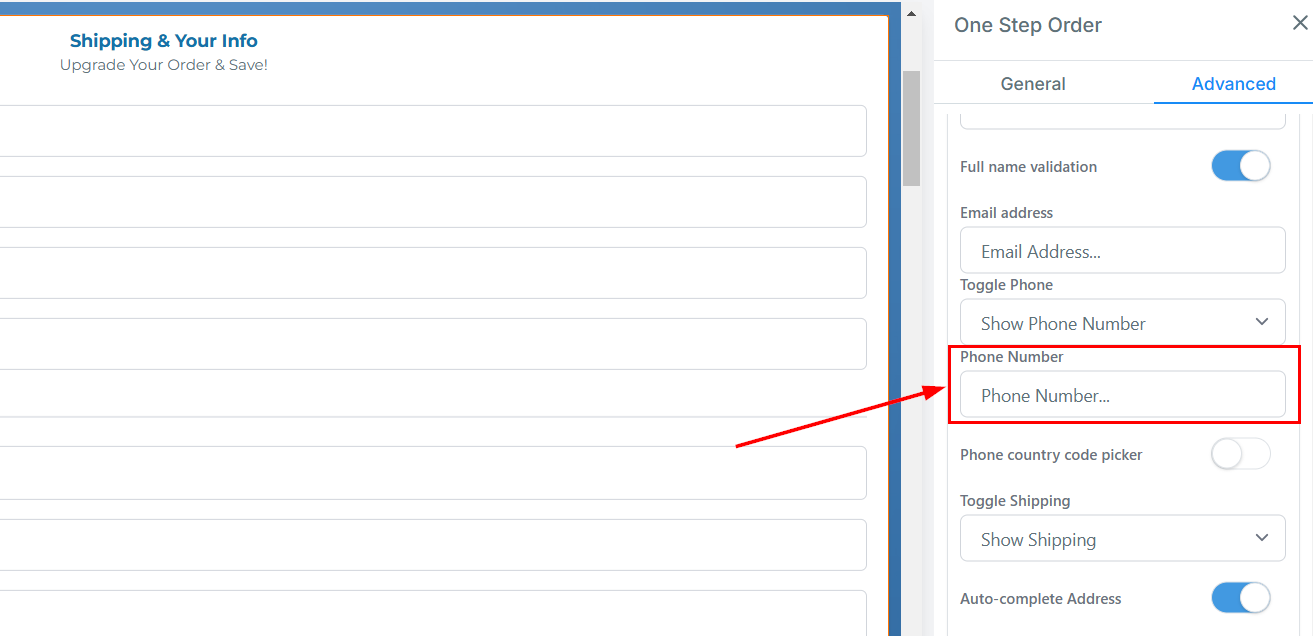
Phone Country Code Picker
Enable or disable the country picker by toggling the option here. When enabled, users will be presented with a dropdown menu to select their country. When disabled, the country selection will be hidden from the form.
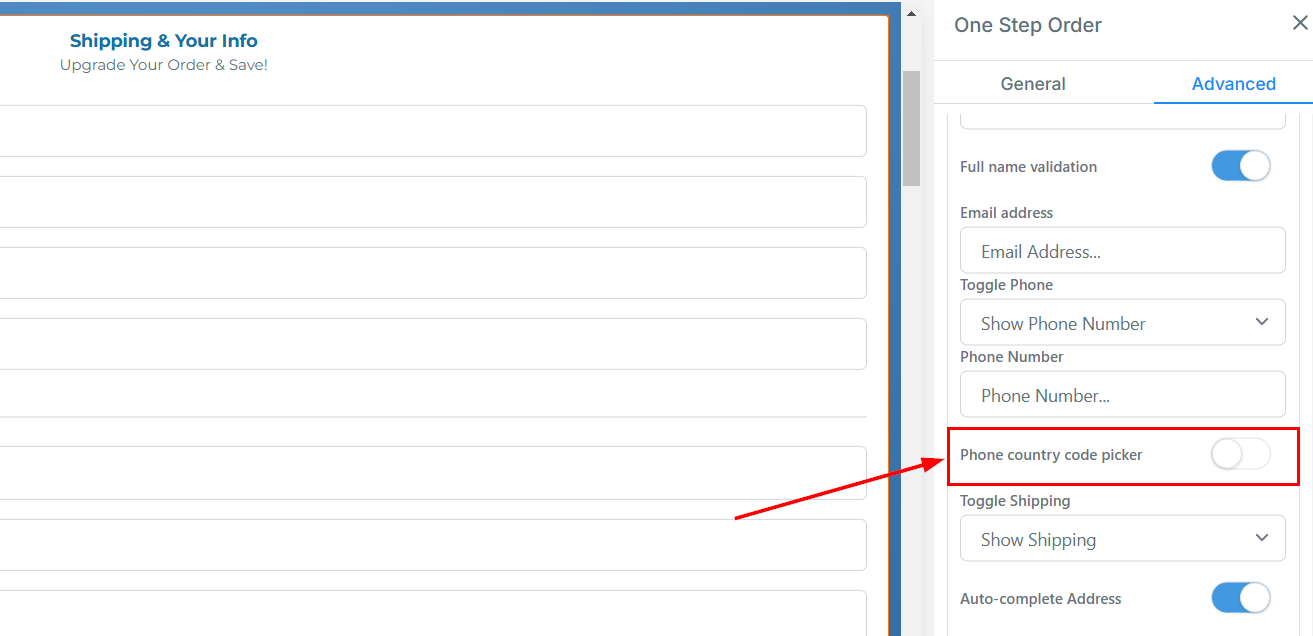
Toggle Shipping
Opt to show or hide a form field for the Shipping info.
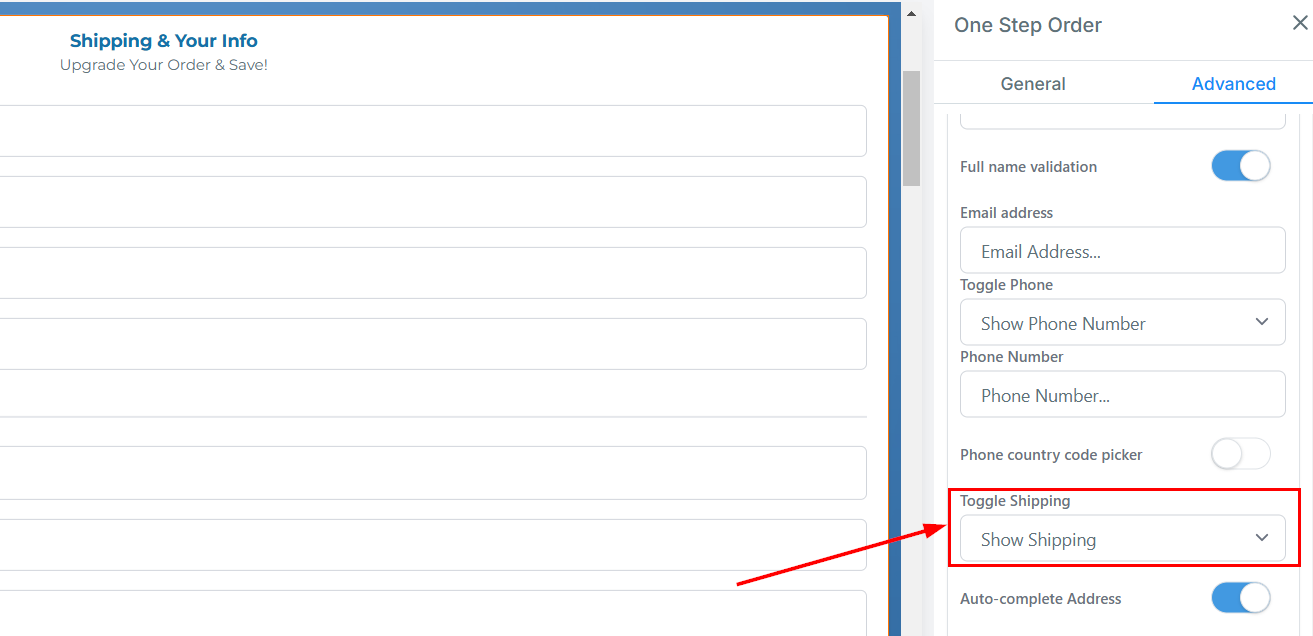
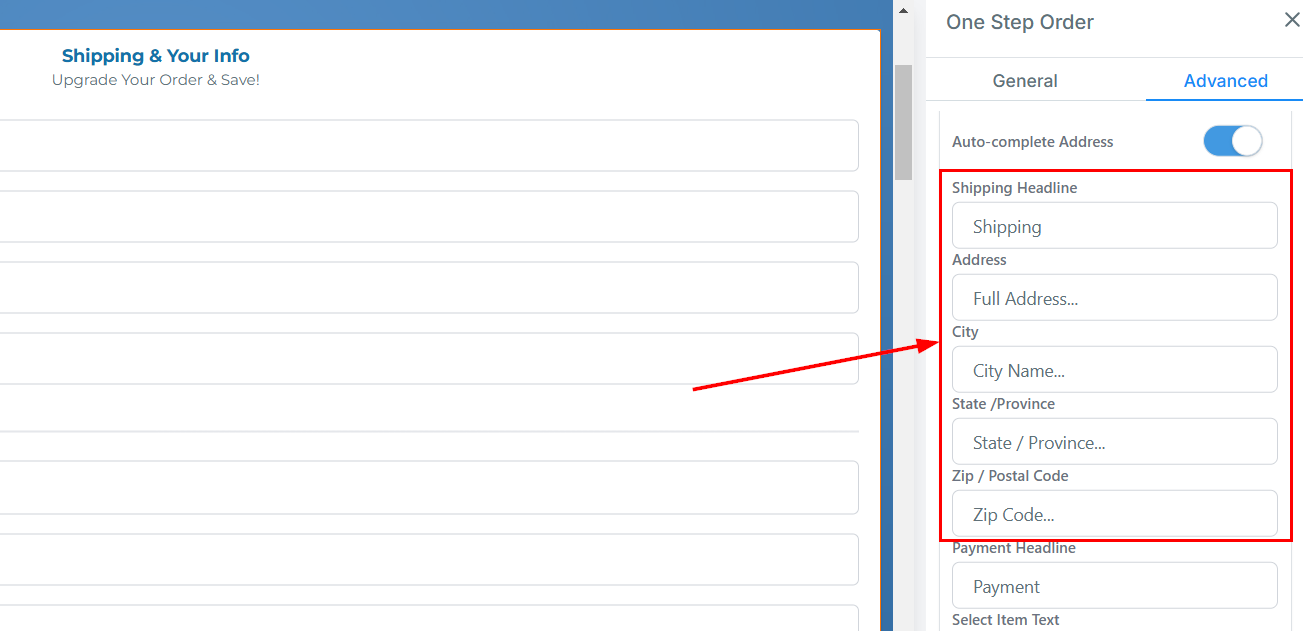
Auto-Complete Address
Enable this option to allow users to search and select addresses from the search bar. The selected address will be filled in all the separate address fields.
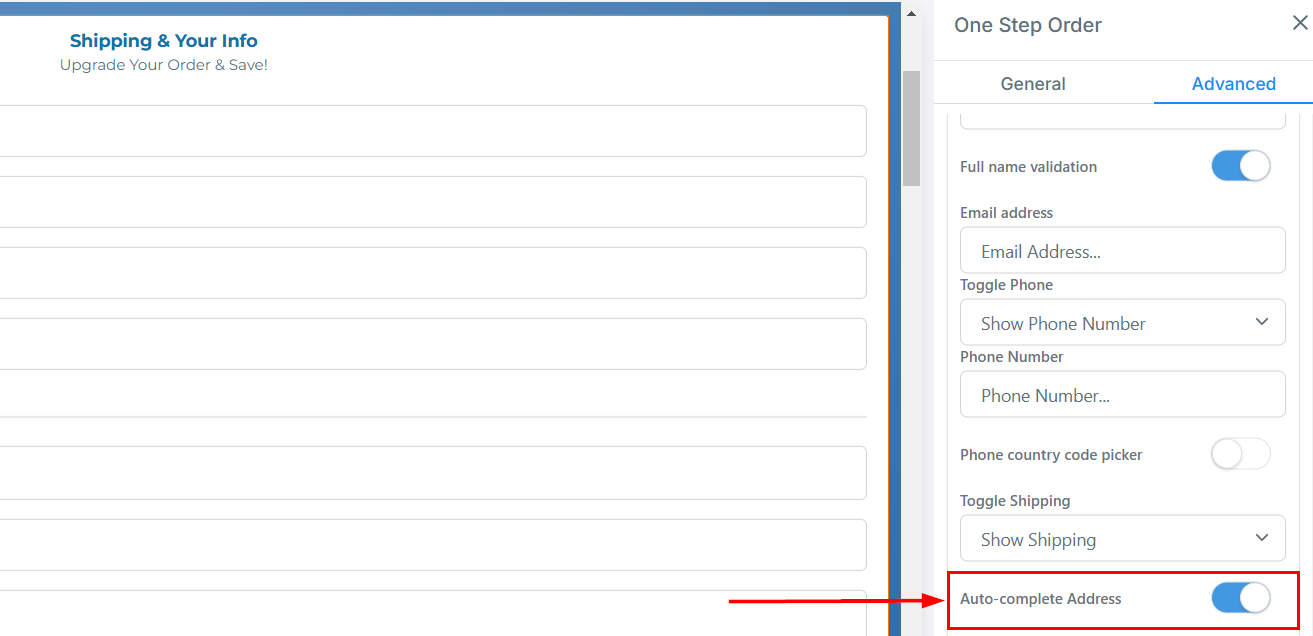
- Shipping Headline: You will find the default shipping headline name here, which you can choose to keep or rename as desired.
- Address: Edit the description in the Address form field here.
- City: Update the description in the City form field here.
- State/Province: Customize the description in the State/Province form field here.
- Zip/Postal Code: Edit the description in the Zip/postal code form field here.
Payment Options
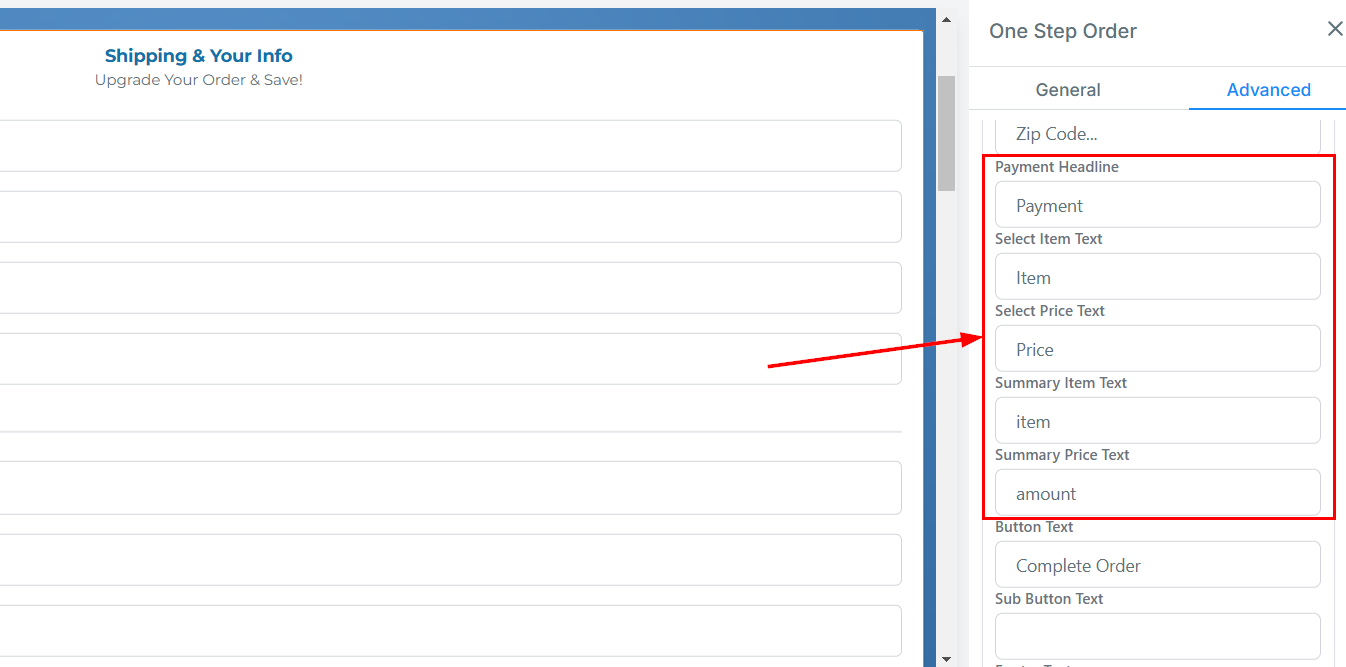
- Payment Headline: Enter a concise, action-oriented headline here.
- Select Item Text: Include clear instructions or prompts for selecting products or services.
- Select Price Text: Customize the text to be shown as the header for the price column.
- Summary Item Text: Create a headline suitable for providing a summary of the items or services the customer has selected.
- Summary Price Text: Customize the text to be shown as the header for the summary price column.
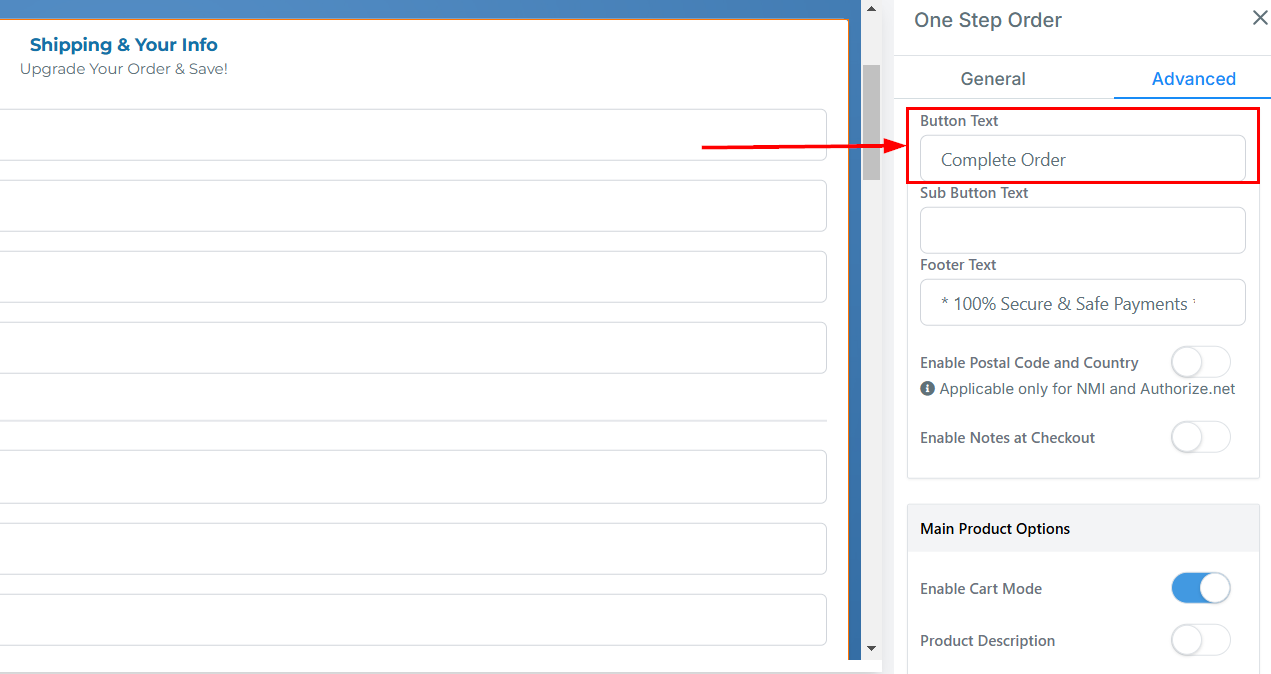
Button Text
Customize the text displayed that allows customers to confirm the order.
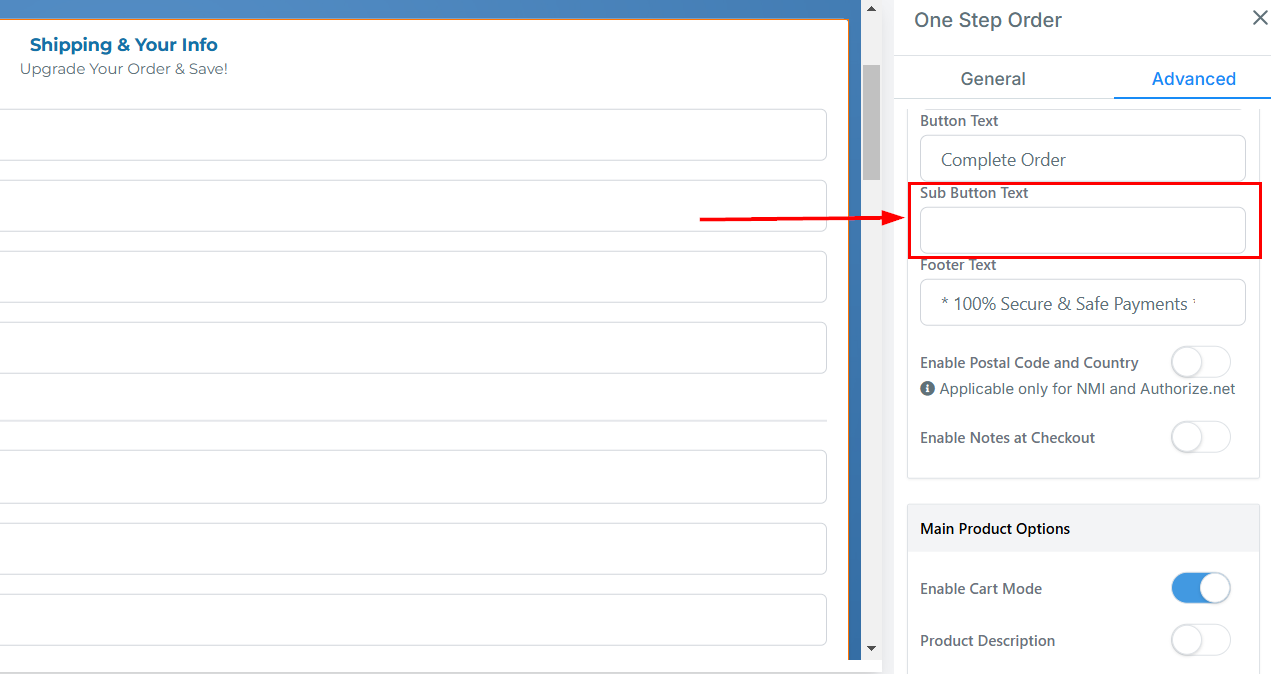
Sub Button Text
Add a sub-text to the button by entering the desired text here.
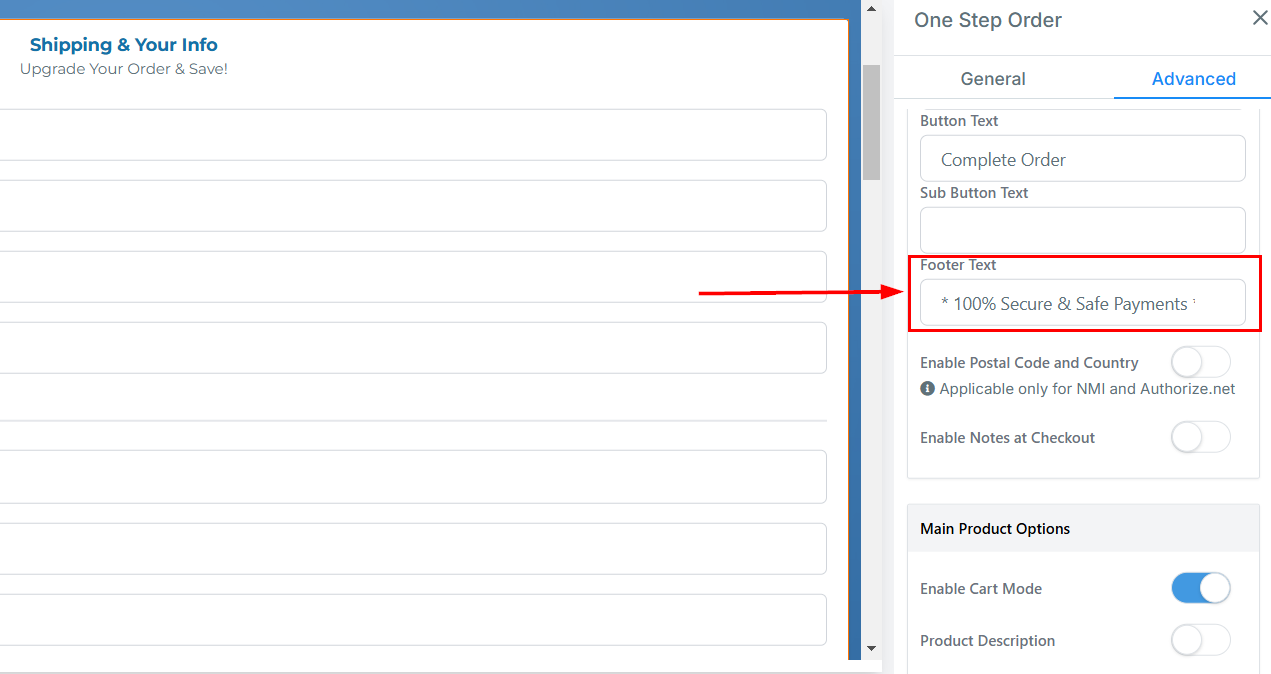
Footer Text
Add any other information you want your client to be aware of in this field. This text will be displayed below the button.
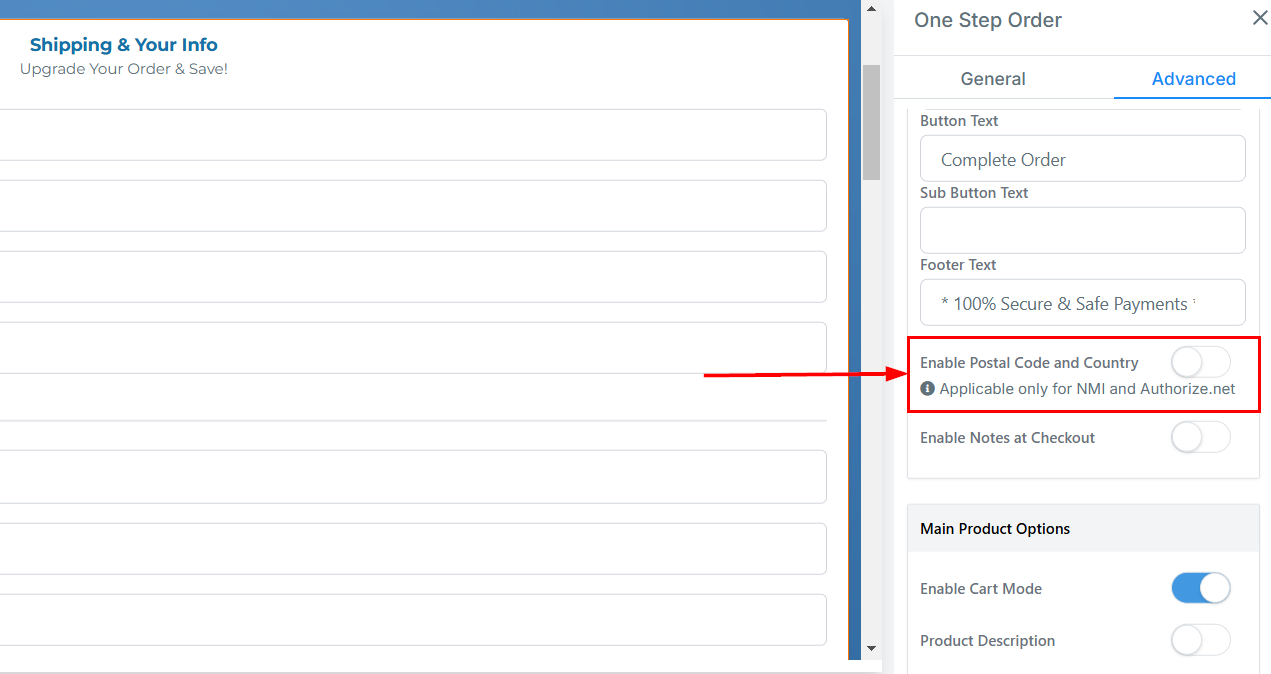
Enable Postal Code and Country
Enable or disable the option to display the postal code and country fields for Authorize.Net and NMI integrations here. When enabled, the collected zip code and country information will be sent to the payment provider as part of the billing details.
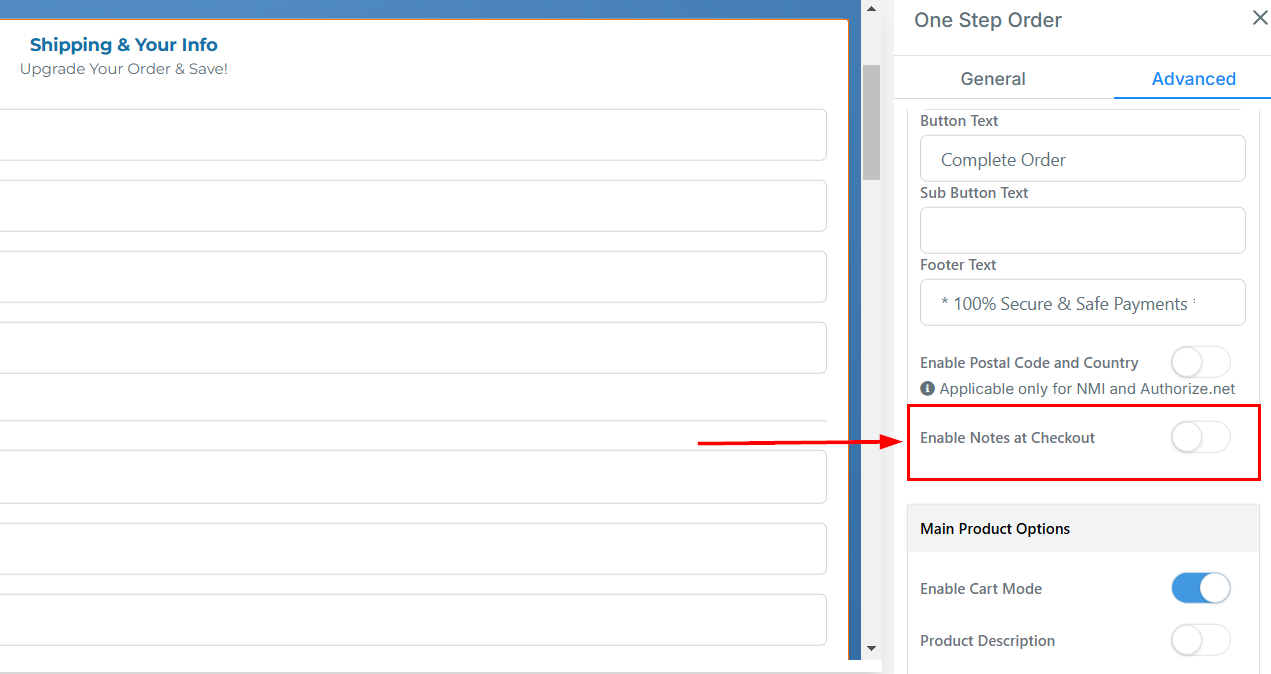
Enable Notes at Checkout
By activating this feature, a text field will be displayed on the checkout page, giving customers the option to add any relevant notes, such as special delivery requests or custom order instructions. This provides a more personalized shopping experience and ensures that important details are communicated at the time of purchase.
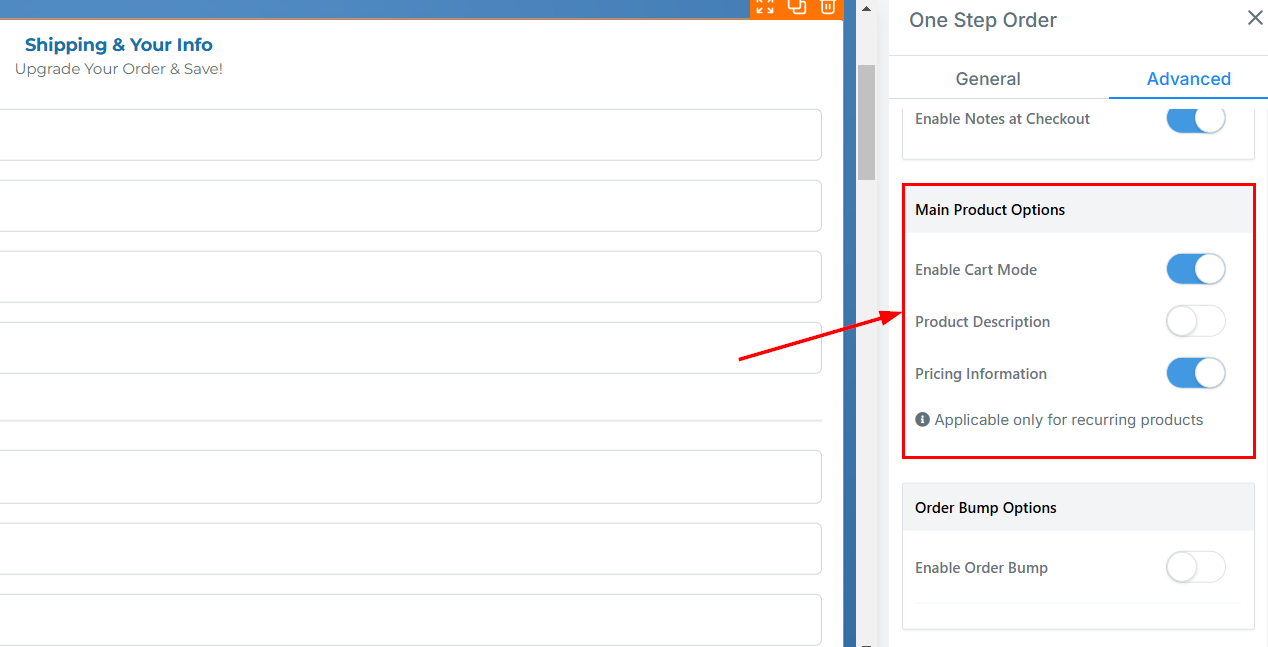
Main Product Options
- Enable Cart Mode: This feature enables customers to add multiple products to a cart before proceeding to checkout.
- Product Description: Provide detailed information about your product directly within the order form from the description set in the Products tab. This option is disabled by default in both new and existing order forms.
- Pricing Information: Display the recurring and trial information by enabling this setting. This toggle is enabled for new funnels.
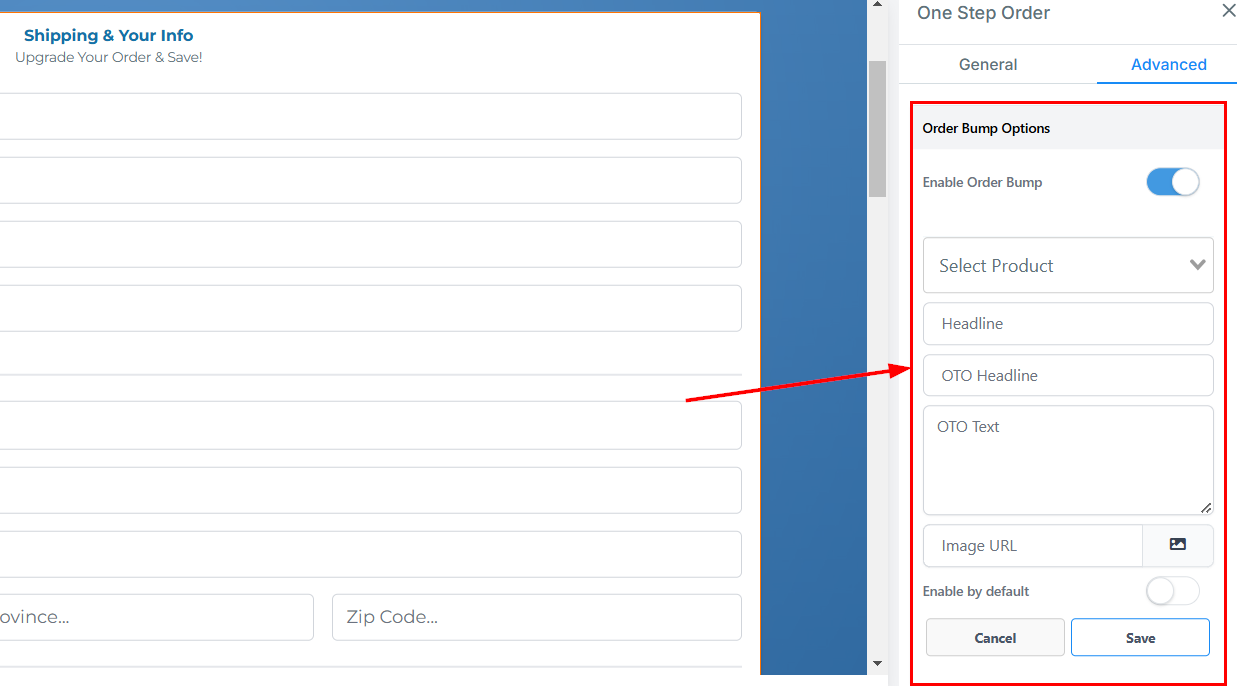
Order Bump Options
- Enable Order Bump: Toggle this switch to enable order bumps to your order form.
- Add Bump Product: Click this button to begin the process of adding a bump product to your order form.
- Select Product: You can select the product you would like to add from the dropdown.
- Headline: Create a compelling title for your order bump offer here.
- (One Time Offer) OTO Headline: Encourage upsells by adding an attention-grabbing headline used to highlight a special, limited-time offer.
- OTO Text: Add descriptive text to your One-Time Offer (OTO) in this section.
- Image URL: Select an image from your media library or enter the URL of the image to be displayed.
- Enable by default: “Enable by default” allows you to set the order bumps to turn on by default.
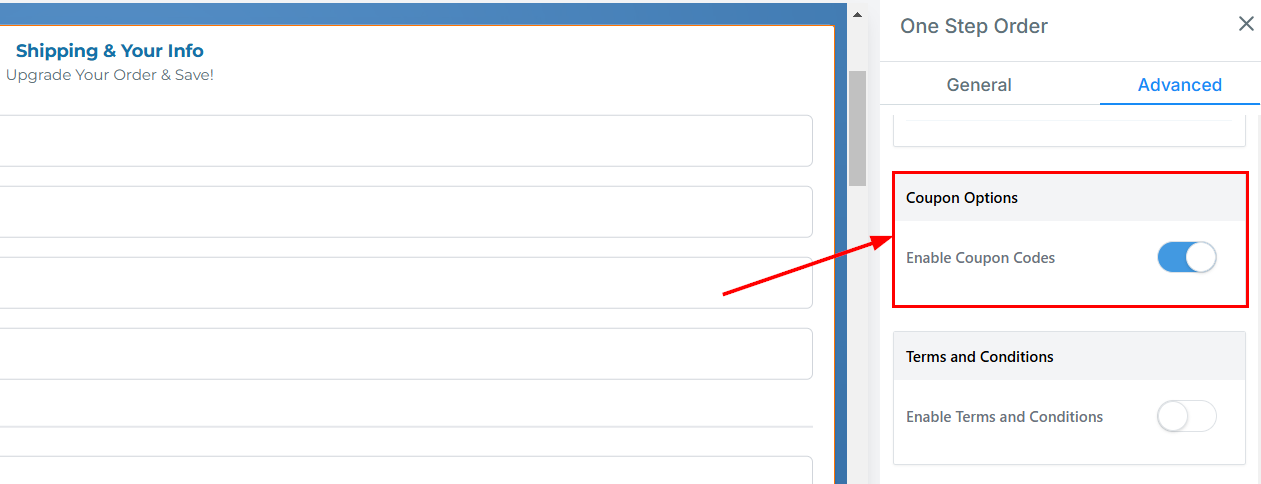
Coupon Options
Offer discounts to your customers using promotional codes by toggling the “Enable Coupon Codes” switch.
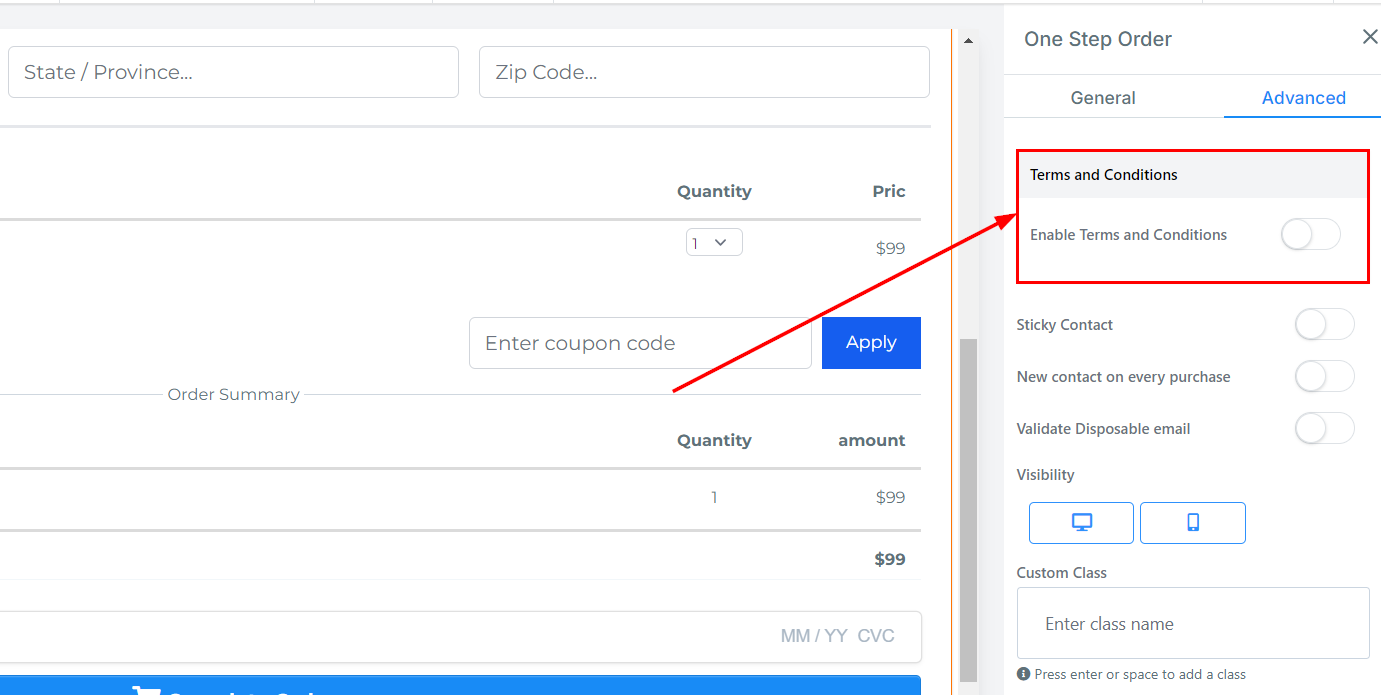
Terms and Conditions
Enabling this feature allows the terms and conditions checkbox to be present on your order form. Customers will have to agree to the specified terms and conditions to proceed with the order.
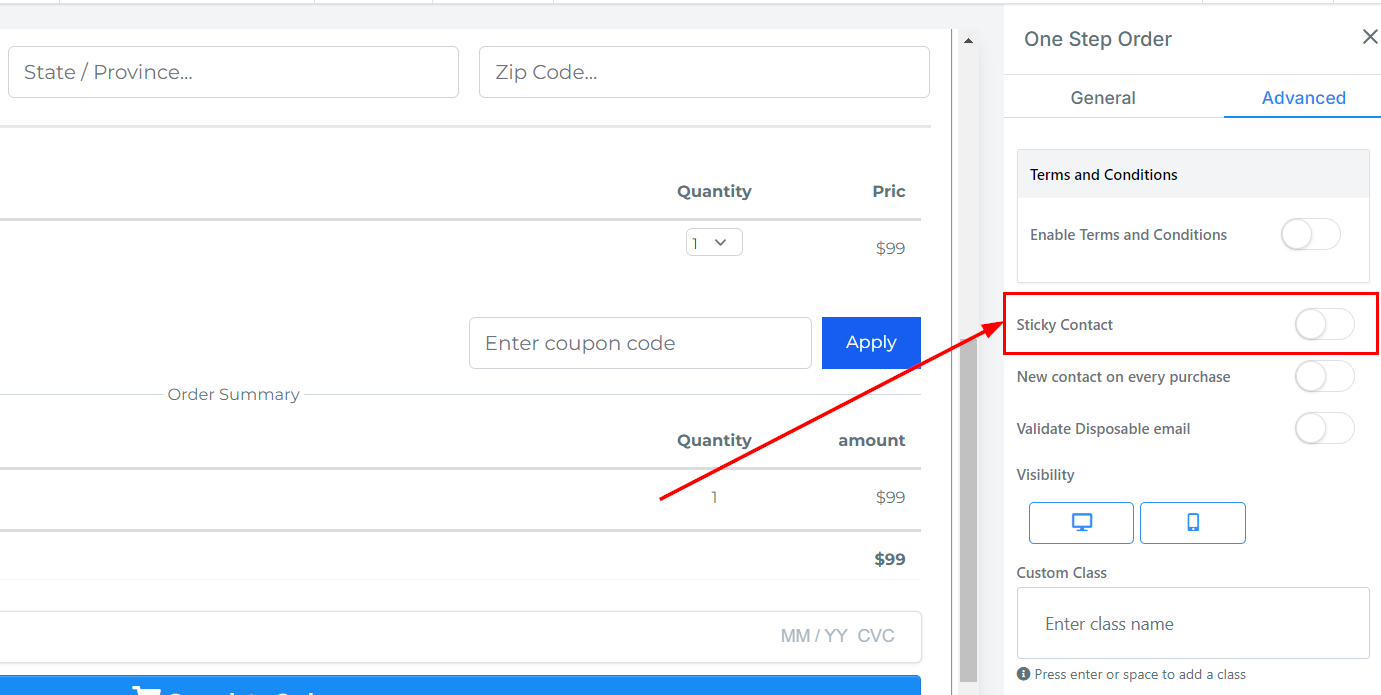
Sticky Contact
Enable the Sticky Contact feature to allow the system to automatically pre-fill form fields for returning customers by utilizing browser cookies. When a customer visits your site, their previous information—such as name, email address, and other relevant details—will be retrieved from the cookies stored in their browser. This feature streamlines the checkout process, saving the customer time and improving the overall user experience.
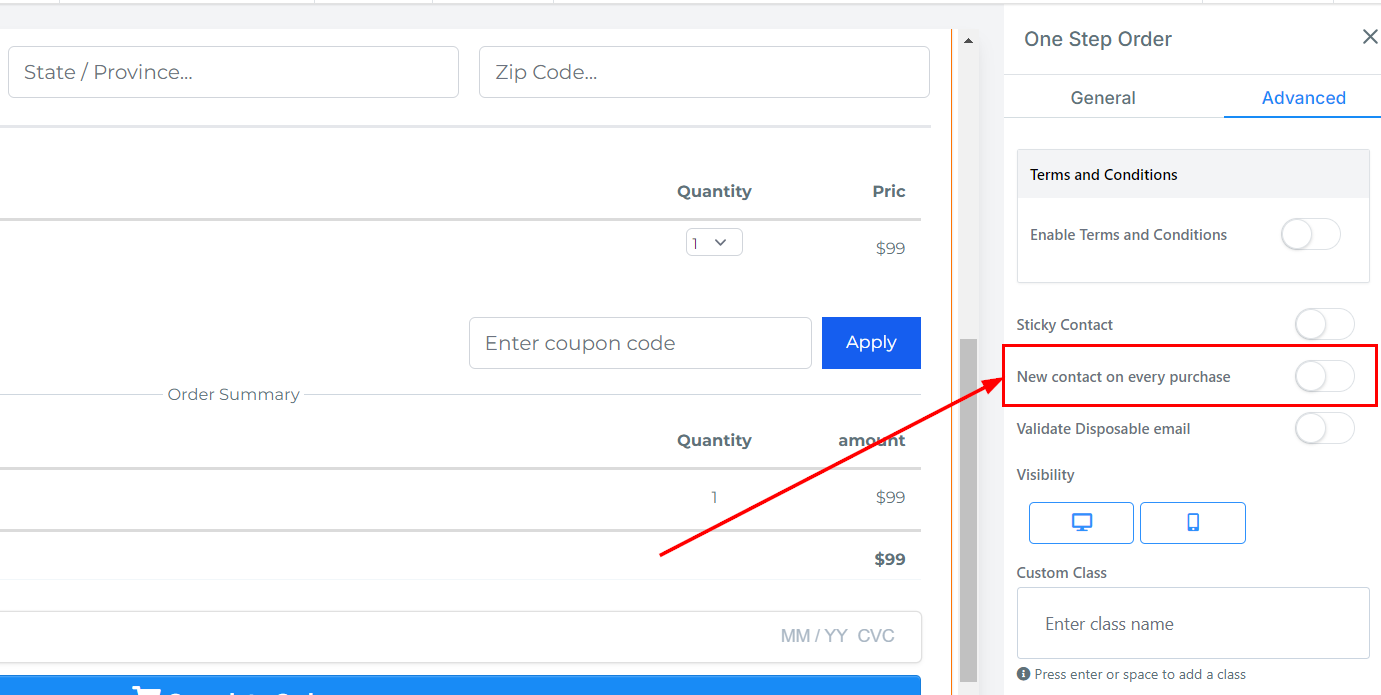
New Contact on Every Purchase
If you want to create a new contact for every purchase, toggle the New Contact on the Every Purchase switch.
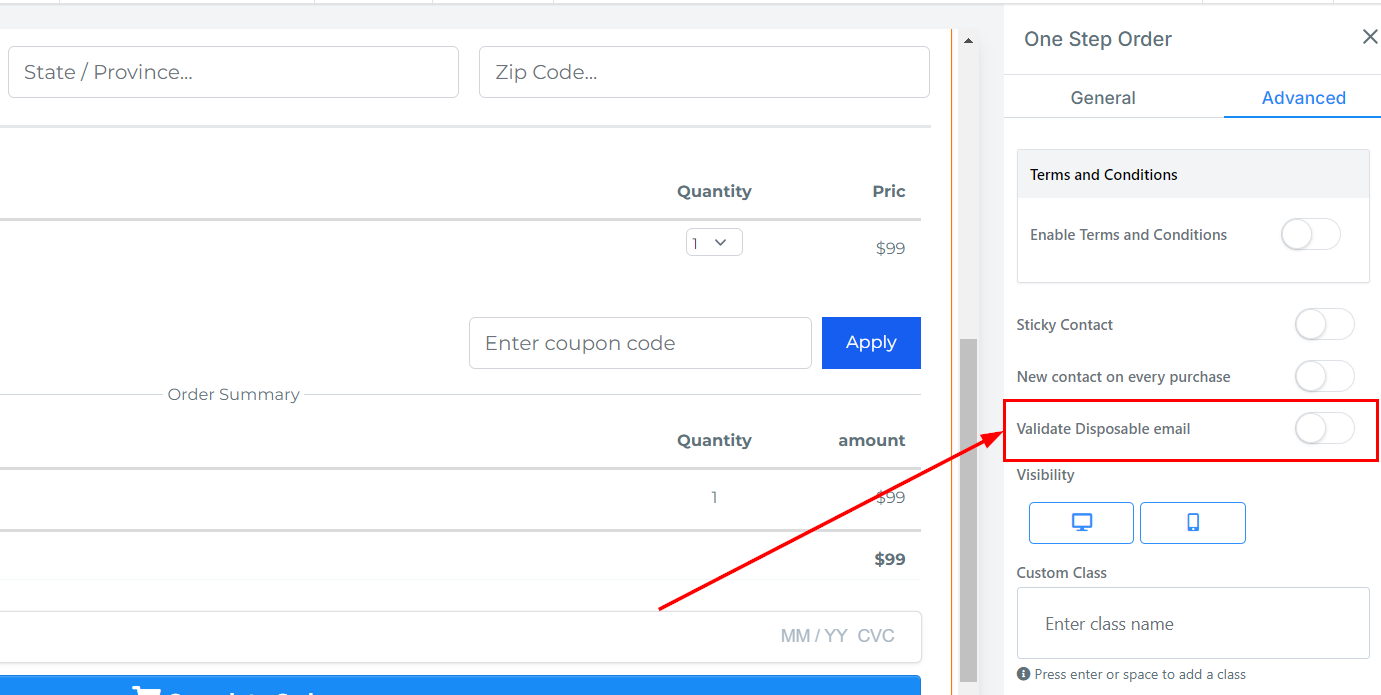
Validate Disposable Email
When enabled, the system checks if the email address entered belongs to a disposable email provider (e.g., temporary email services often used for spam or temporary purposes) to ensure that only valid emails will be entered into the system.
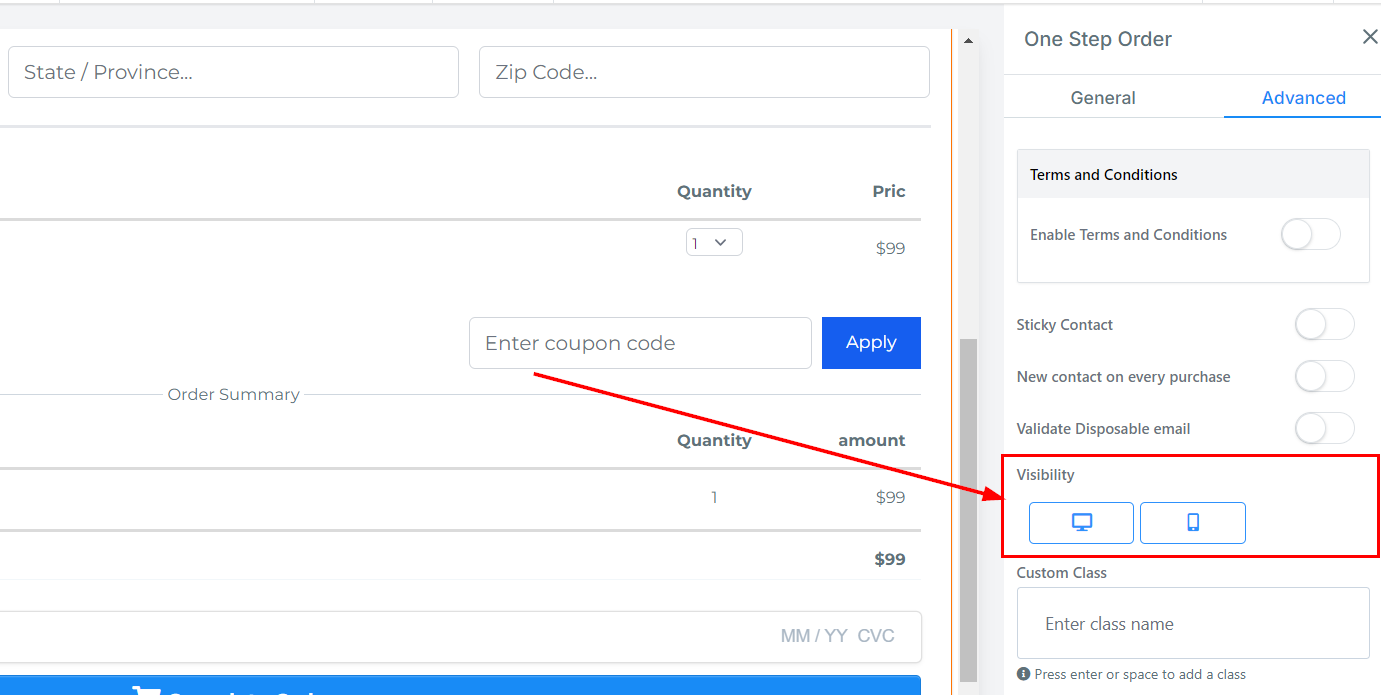
Visibility
Select whether the order form should be visible on mobile devices, desktops, or both by clicking on the respective icons. A blue icon indicates that the order form will be visible on that device, while a black icon signifies that it will be hidden on that device.
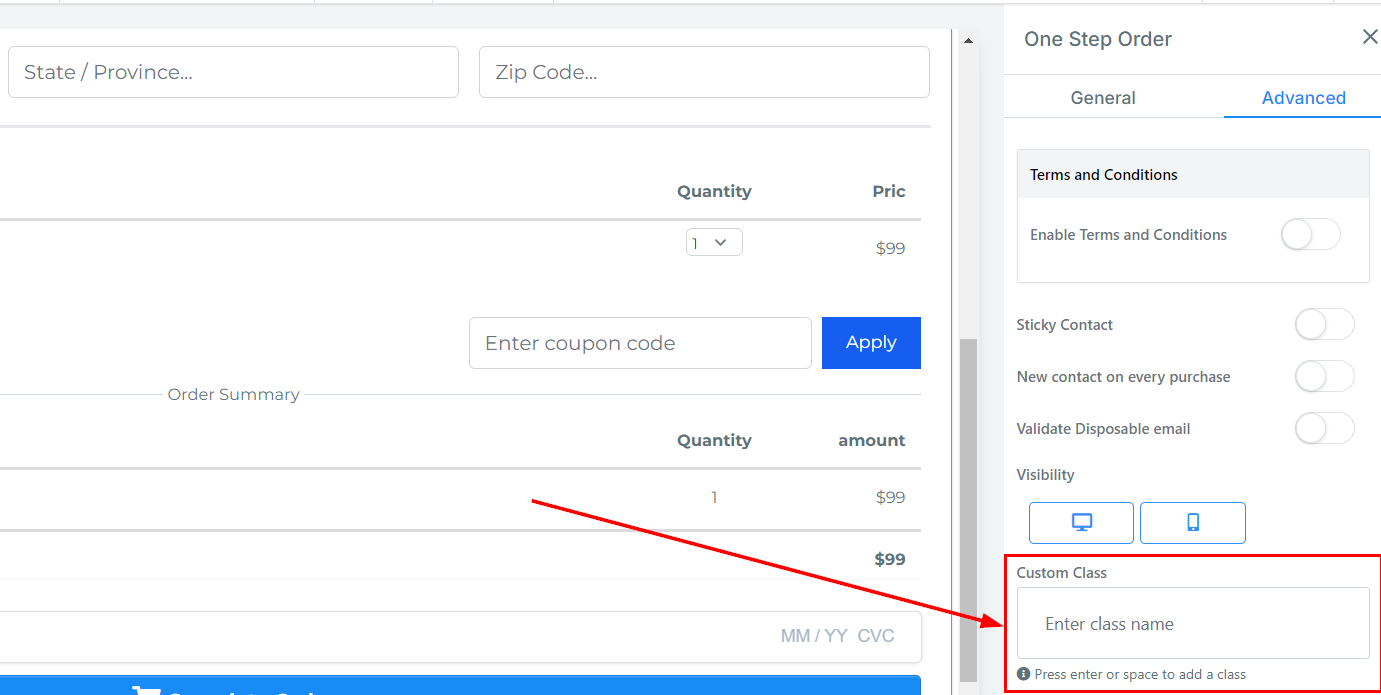
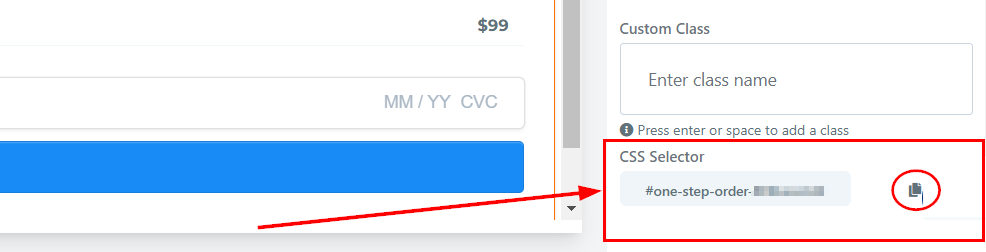
Custom Class
In the Custom Class field, you can enter your preferred class to customize the form field.
CSS Selector
If you need to copy the Custom CSS, just click on the “Copy” icon on the right side of the reference code.
Now you know all about one-step order forms! Learn more about the other funnel/website elements by checking out the other articles in this section.
Not a Funnelbud customer yet?
Try our all-in-one CRM for sales and marketing — free for 7 days, no commitment.