Blog Builder Overview
Managing and navigating your blog posts efficiently is essential for maintaining an organized and up-to-date blog site. This article provides a detailed guide on accessing your blog list, creating and editing blog posts, utilizing search and filter functions, and managing blog settings. Follow these steps to streamline your blog management process and ensure your content remains relevant and accessible.
Accessing the Blog List
Once you have created a new Blog, you can access the Blog list by selecting the name of the Blog page from the main Blogs screen or by clicking the back arrow on the upper left-hand corner within the Blog Builder.
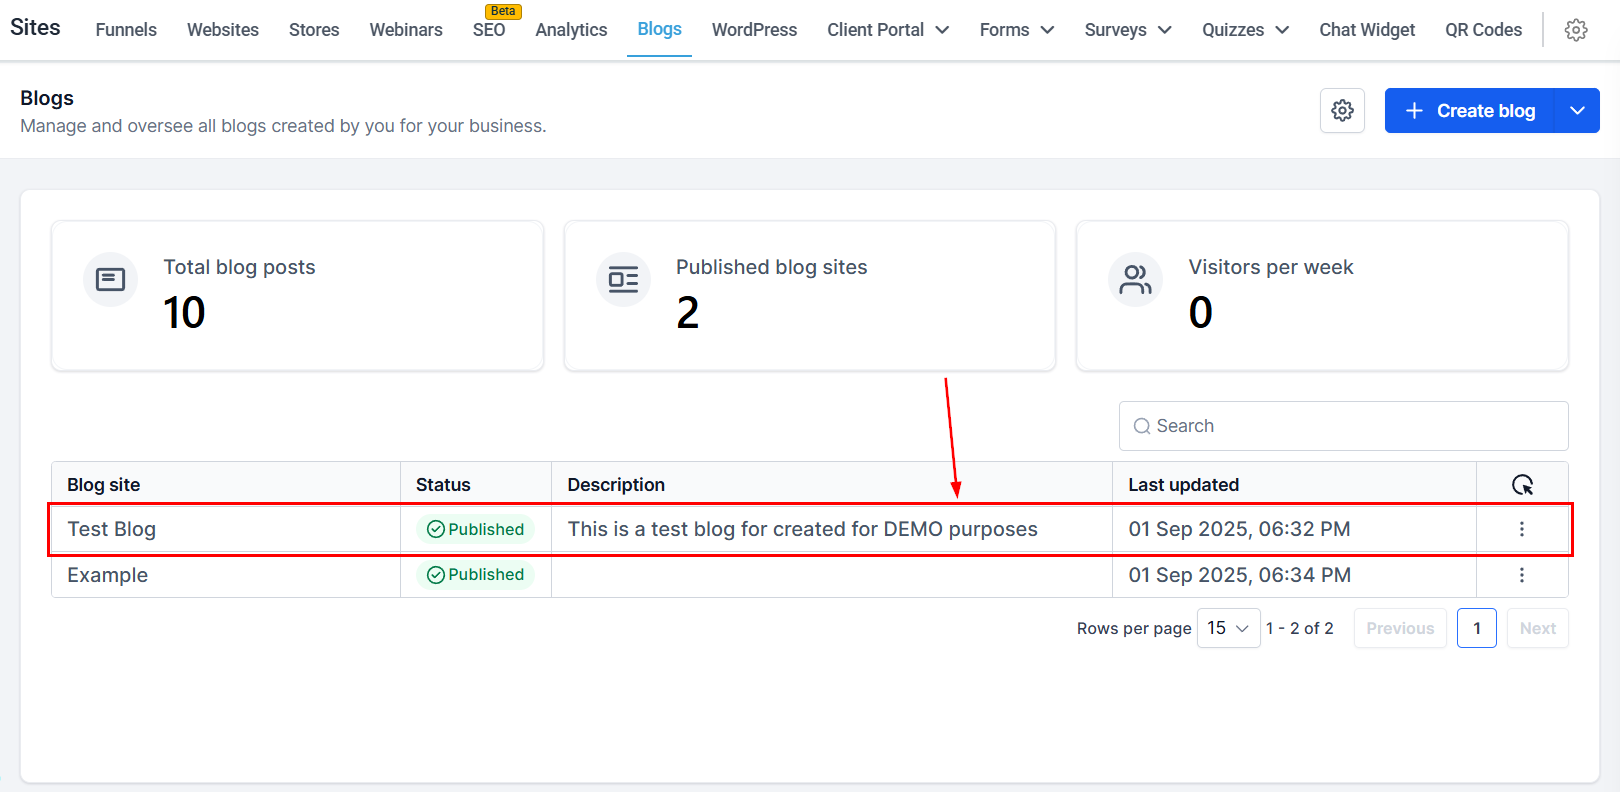
Editing a Site
Select this option to open the site hosting your blog posts in the current tab. Alternatively, clicking the arrow provides the option to also open the page in a new tab.
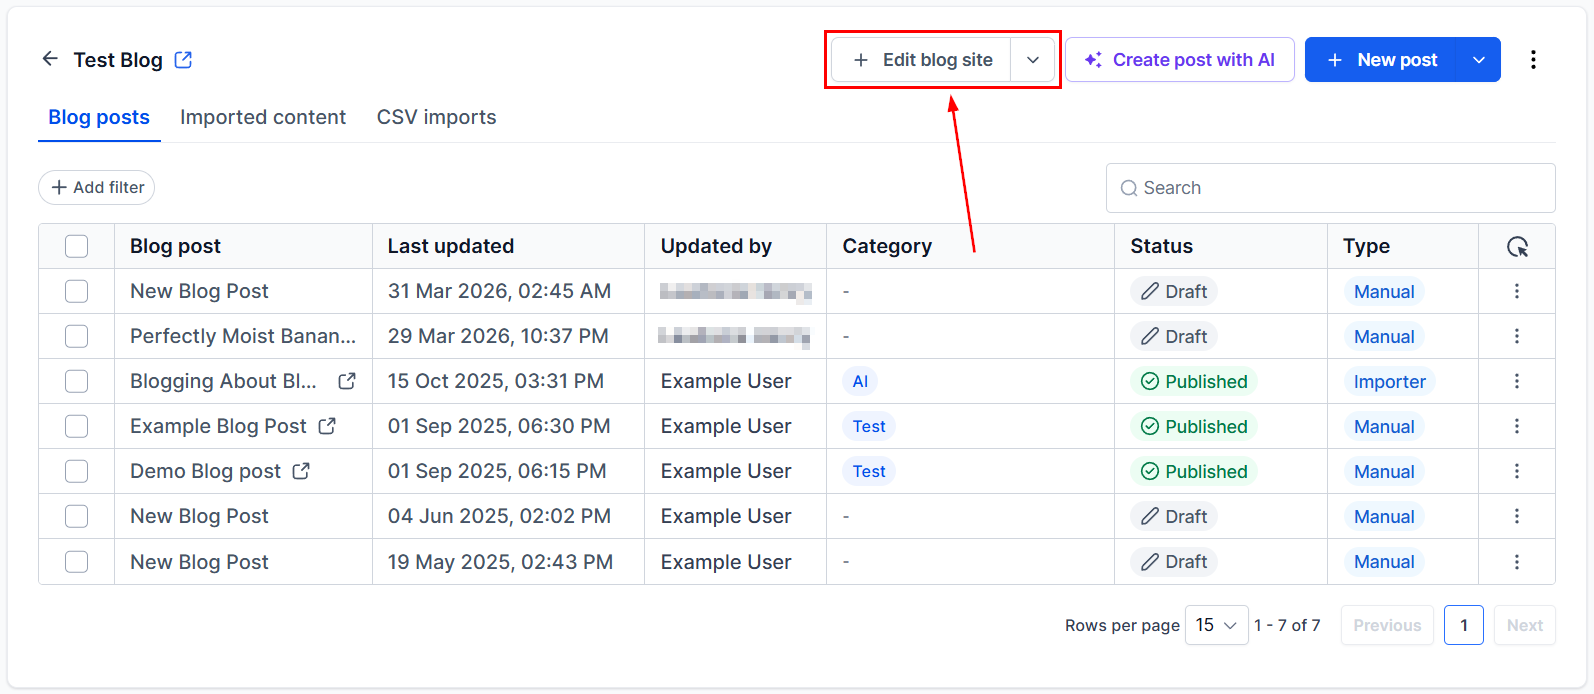
Creating a Post Using AI
Simplify post creation by utilizing the AI tool. This allows you to prompt the tool to create multiple variations of a post within seconds.
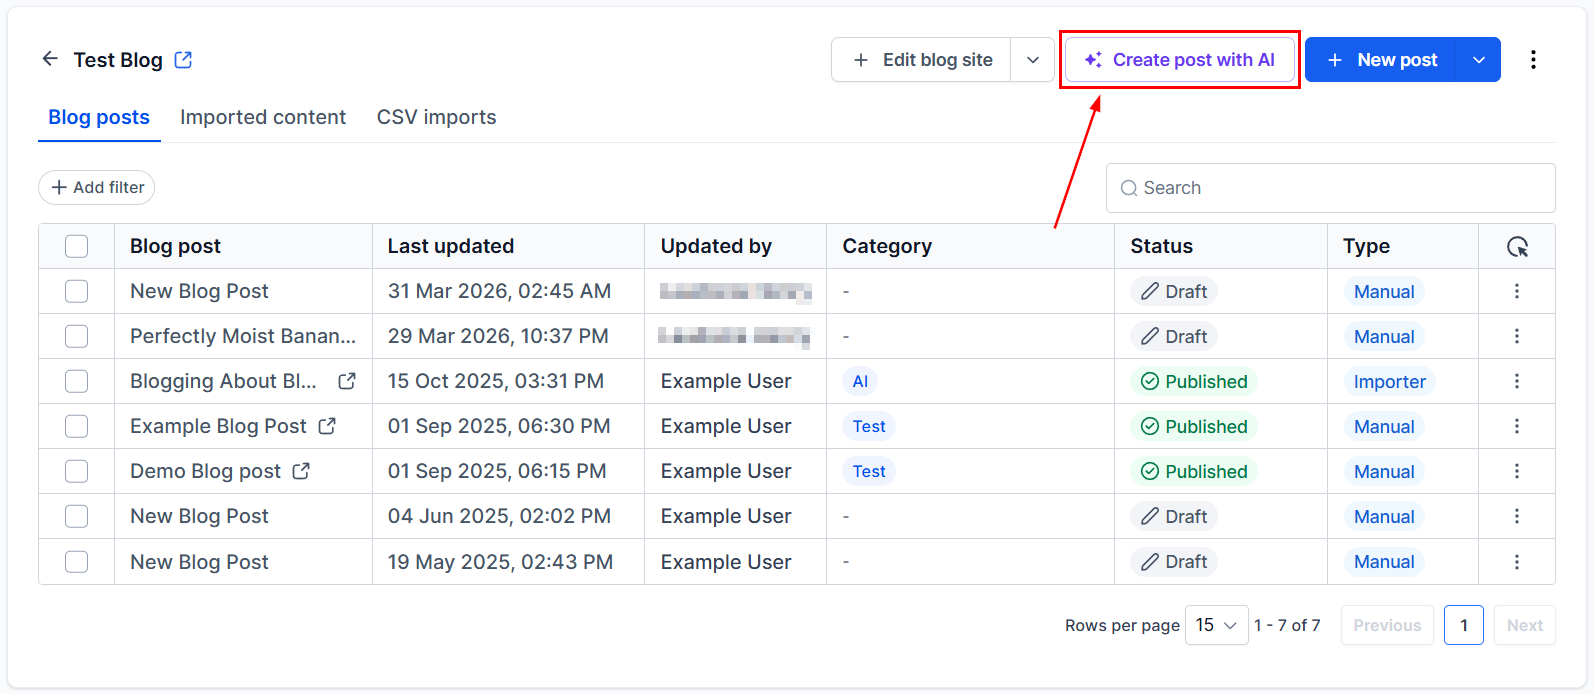
Create a New Post
Create a New blog post within the site by selecting this option. If you wish to create the blog from a URL or CSV, click the arrow.
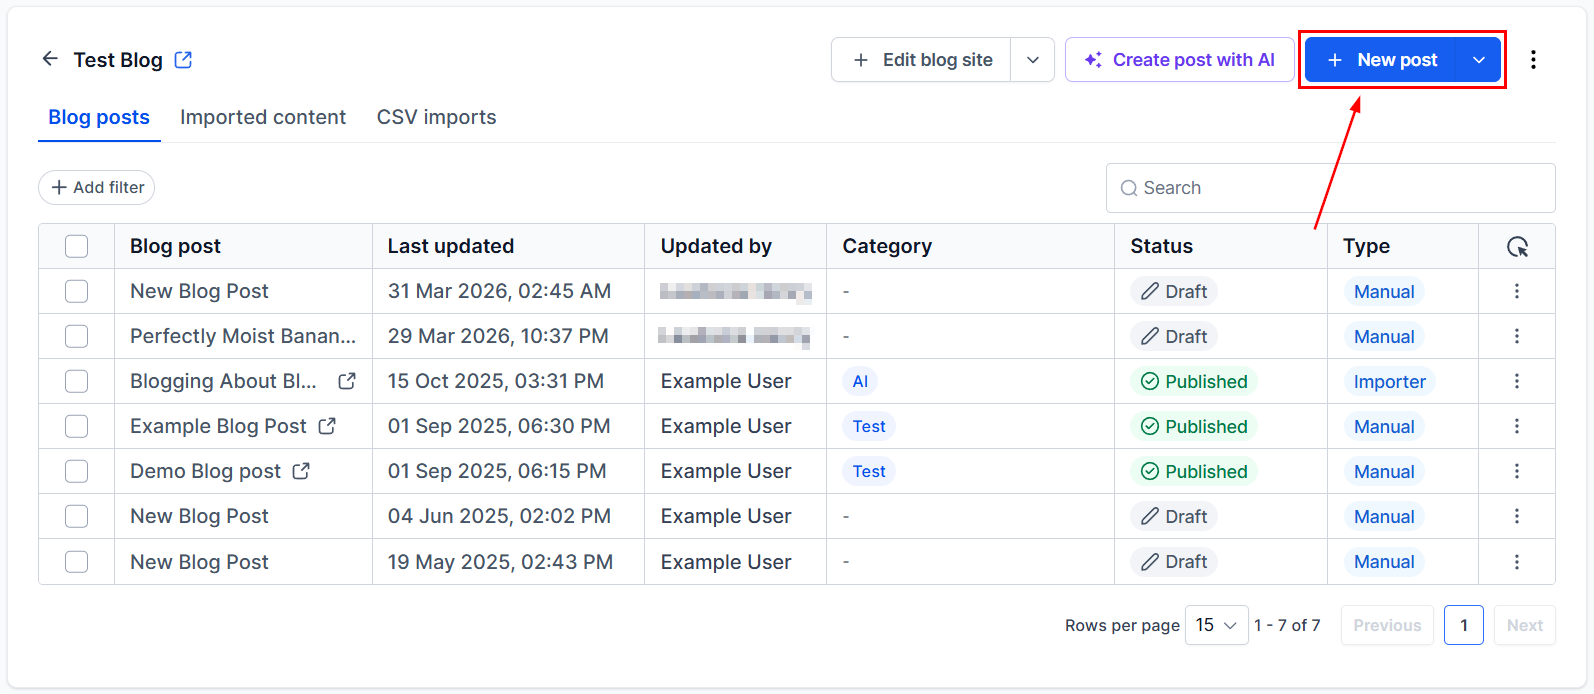
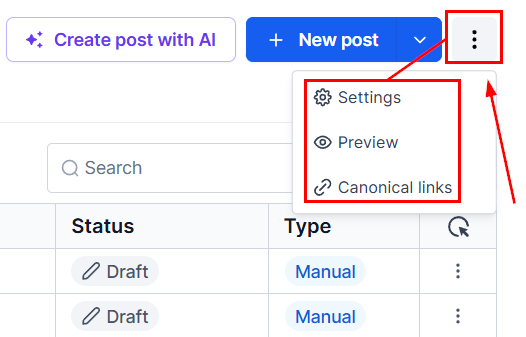
Actions Dropdown
Within the three-dot actions dropdown, you can preview the blog site, access the blog settings, and add canonical links. The Settings option allows you to adjust the blog title, domain, and slug, meta description, and advanced settings.
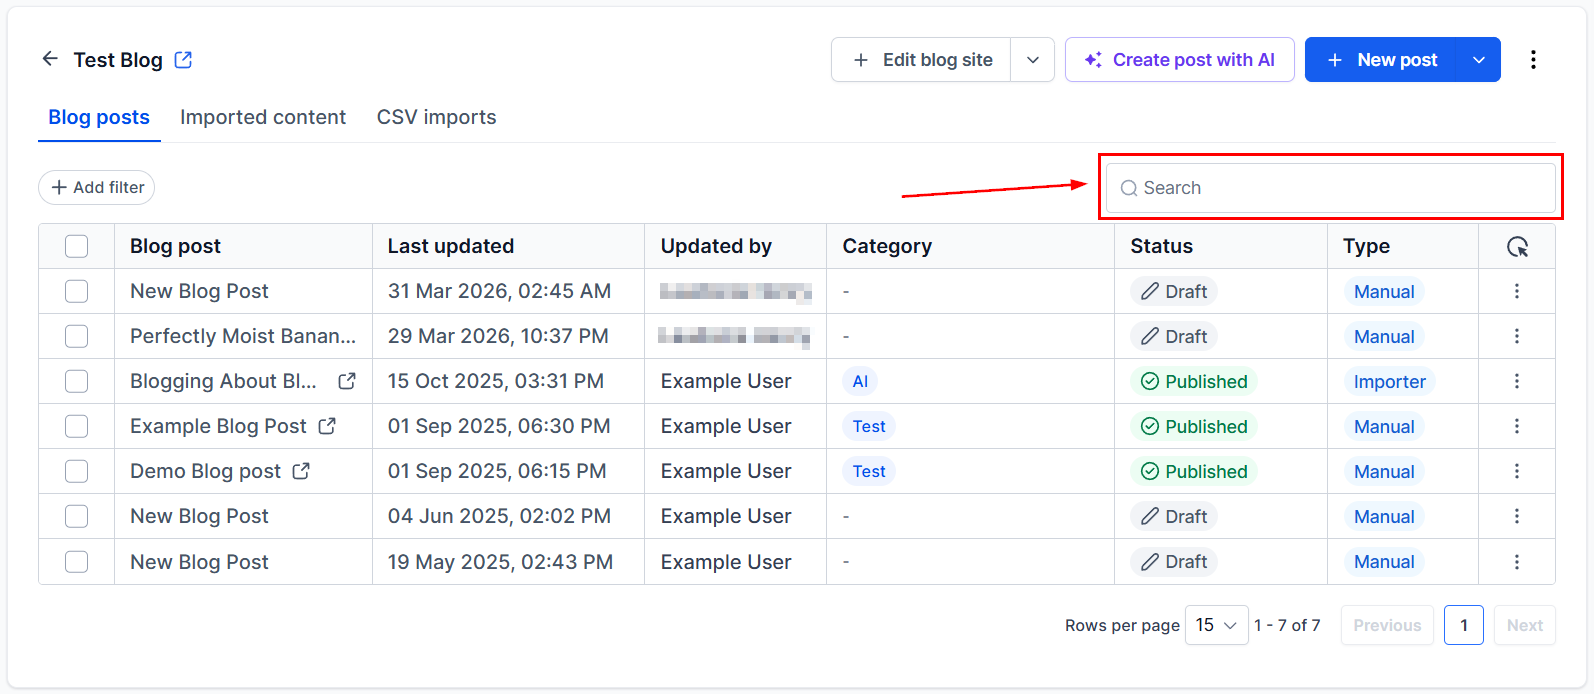
Search
Easily locate your blog posts by using the search bar.
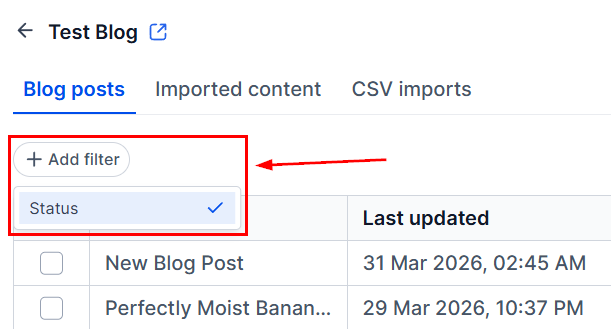
Filters
Display blogs based on their status by applying a filter.
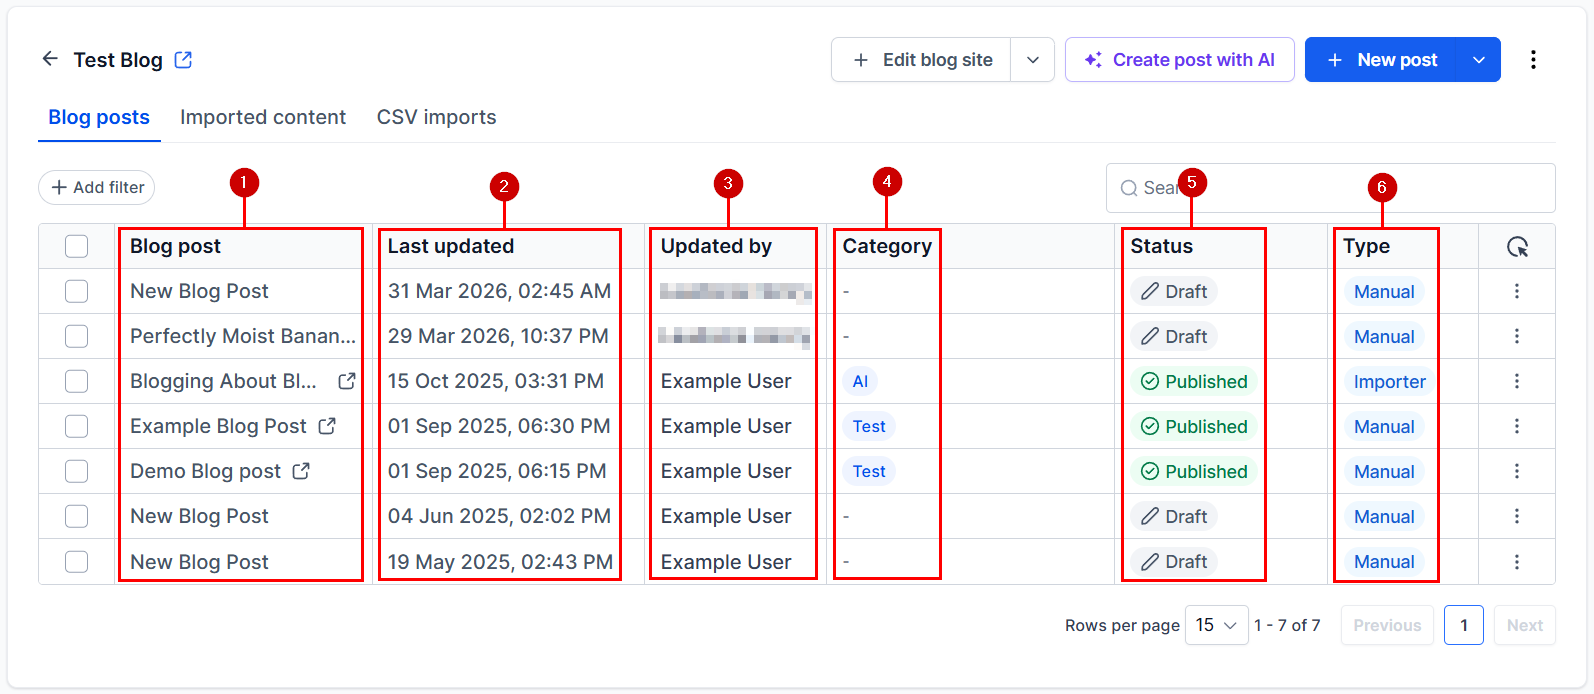
Blog Posts
The Blog Posts section provides a structured overview of all the content published under your blog. This section makes it easy to track, manage, and modify your blog posts efficiently.
Blog List Details
- Blog Post: A list of all the titles of your blogs.
- Last Updated: The date the blog was last saved.
- Updated By: The user who made the last changes to the blog.
- Category: If the blog has been categorized, the category will be displayed here.
- Status: Indicates whether the blog is drafted, published, or scheduled.
- Type: Specifies whether the post was created manually as a standard or featured blog post.
Actions Menu
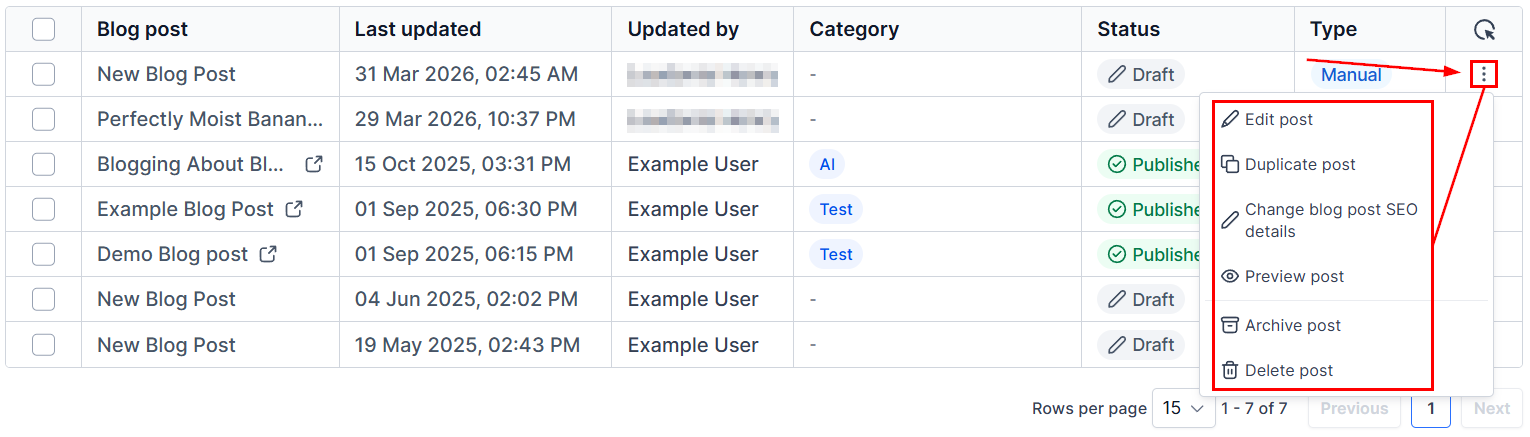
Within the Actions Menu, you can manage each blog post effectively with the following options:
- Edit Post: Modify the content, format, or details of an existing blog post.
- Duplicate Post: Create an identical copy of a blog post to use as a template or make variations.
- Change Blog Post SEO Details: Adjust the blog post’s meta title, description, slug, and other SEO settings.
- Preview Post: View how the blog post will appear to readers before publishing.
- Archive Post: Move the post to the archive section, keeping it hidden without deleting it permanently.
- Delete Blog Post: Remove the blog post from your site.
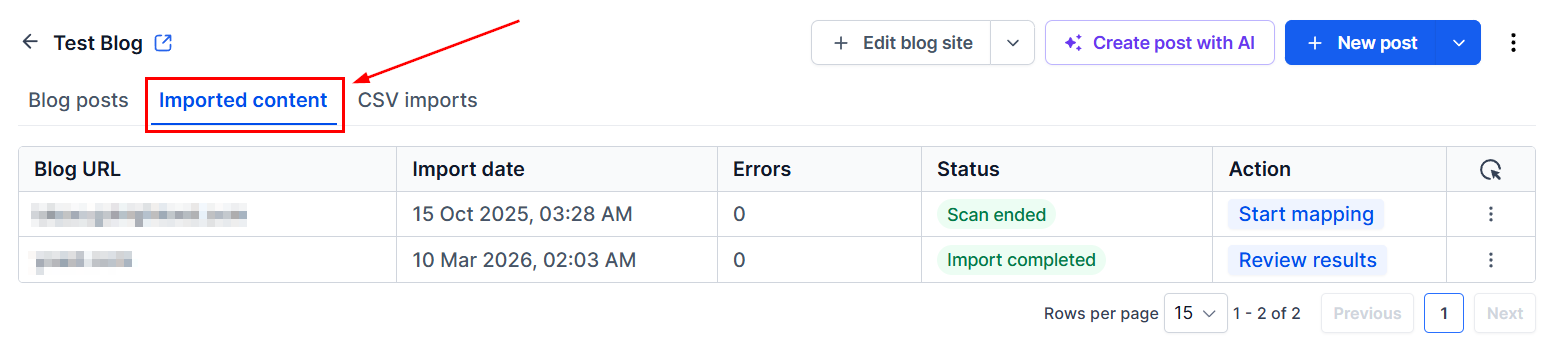
Imported Content
The Imported Content section ensures that content imported from URLs is properly organized and accessible.
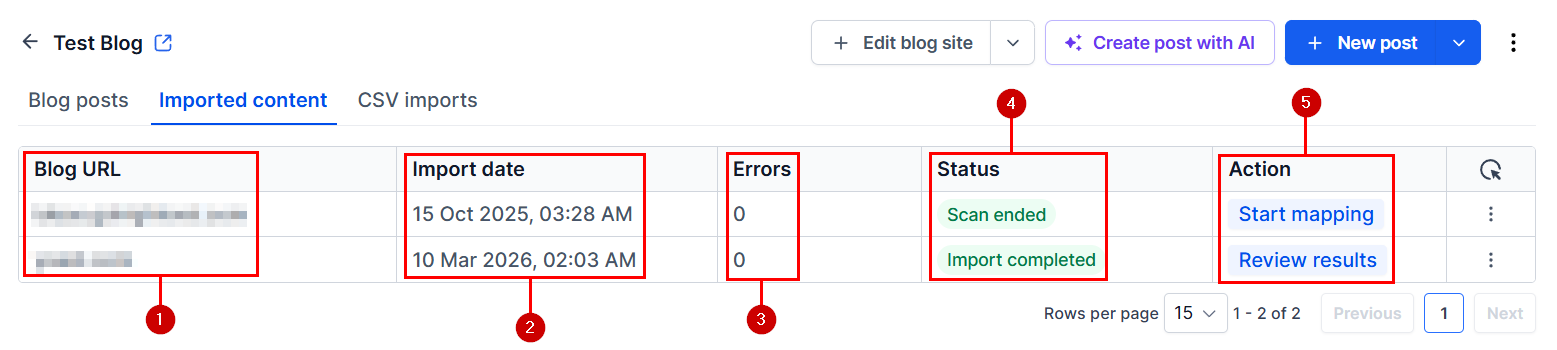
Imported Content Table
- Blog URL: The source URL of the imported blog post.
- Imported Date: The date the blog post was successfully imported into the system.
- Error: Displays any errors encountered during the import process.
- Status: Indicates whether the imported content is pending, completed, or failed.
CSV Imports
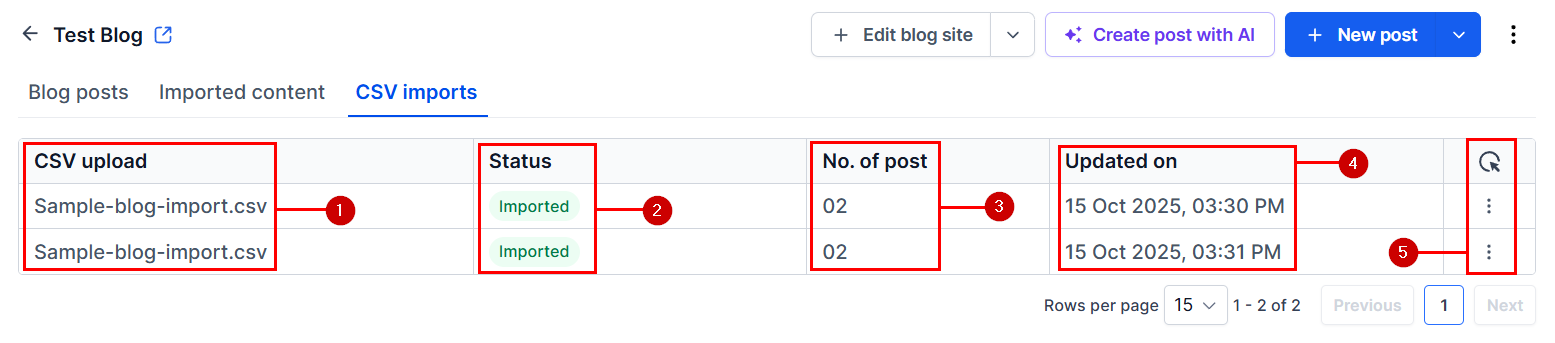
This area allows you to view and manage CSV imports for your blogs.
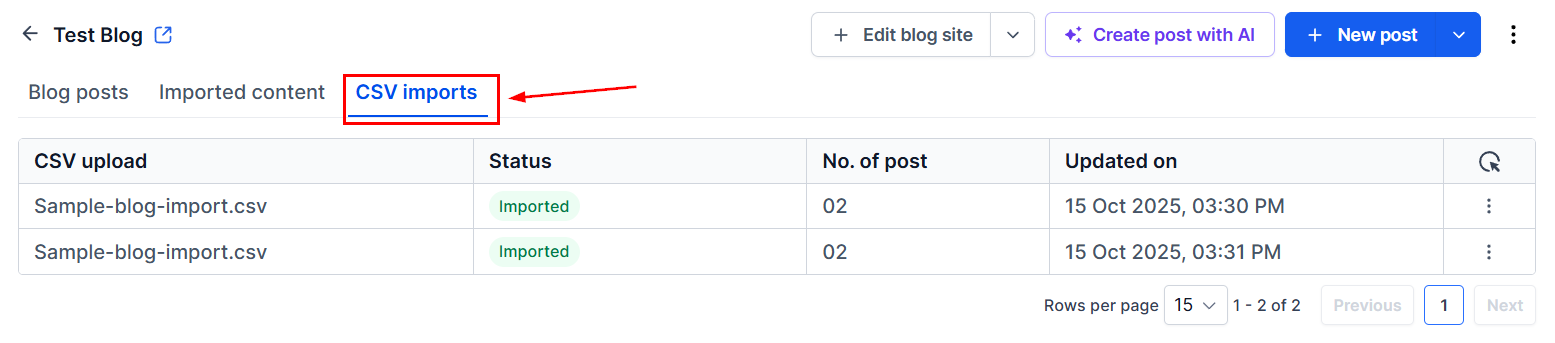
CSV Imports Table
- CSV Upload: The source file for the imported blog post.
- Status: Indicates whether the imported content is pending, completed, or failed.
- No. of Post: Displays the total number of posts included in the import.
- Updated On: Shows the date and time the import was last updated or processed.
- Actions: Click the three dots to delete the import record.
Keeping your blog organized and up to date doesn’t have to be complicated. With easy access to search, filters, and management tools, you can quickly create, edit, and optimize your posts.
Not a Funnelbud customer yet?
Try our all-in-one CRM for sales and marketing — free for 7 days, no commitment.