Video
The versatile video element enables you to seamlessly integrate videos into your funnel or website from a variety of sources, including YouTube, Vimeo, Wistia, and more! By incorporating engaging visual content, you can elevate the user experience, making your site more captivating and informative for your visitors.
General Settings
When editing the video element on your funnel page, most adjustments can be made in the General Settings section located to the left.
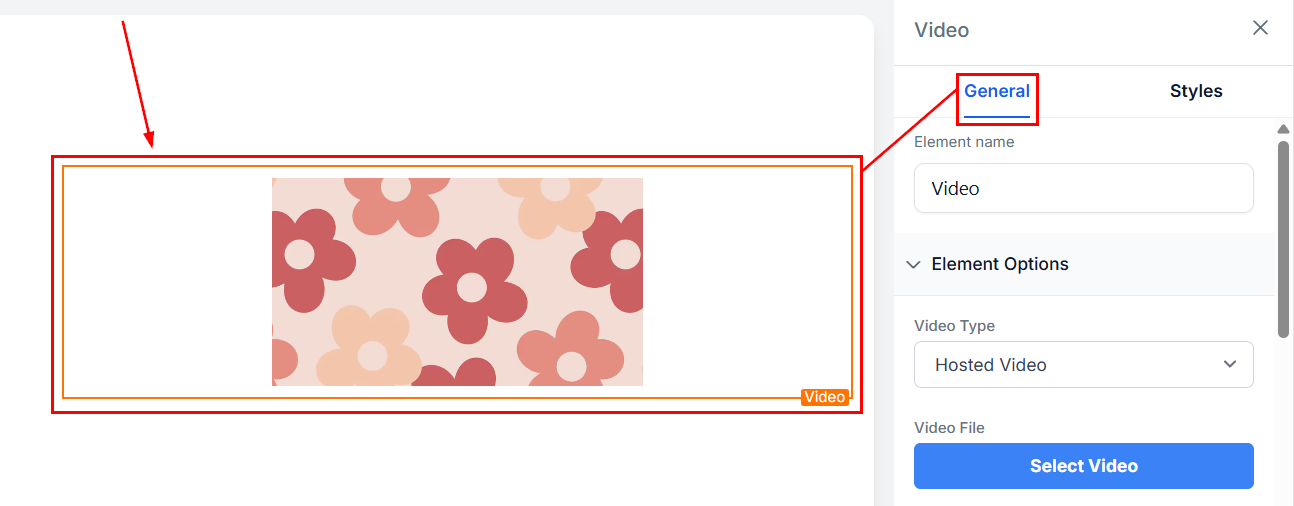
Element Name
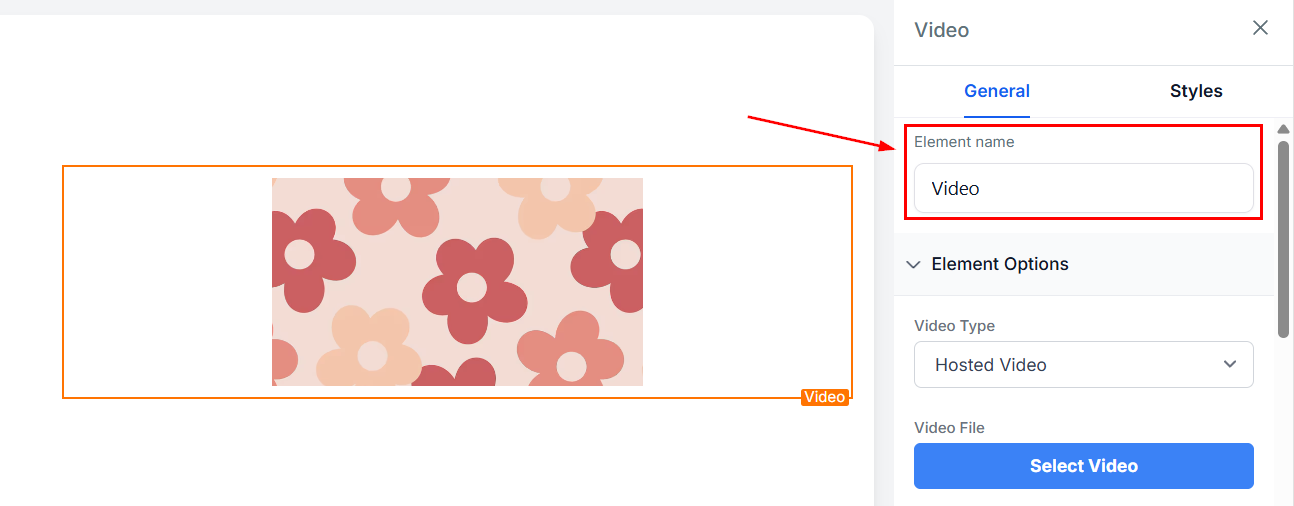
At the top of this section, you’ll see the element name/title, which is the default name/title of the edit option you’re working on. You can choose to leave it as is or rename it to make it easier to identify later on when building out your funnel page.
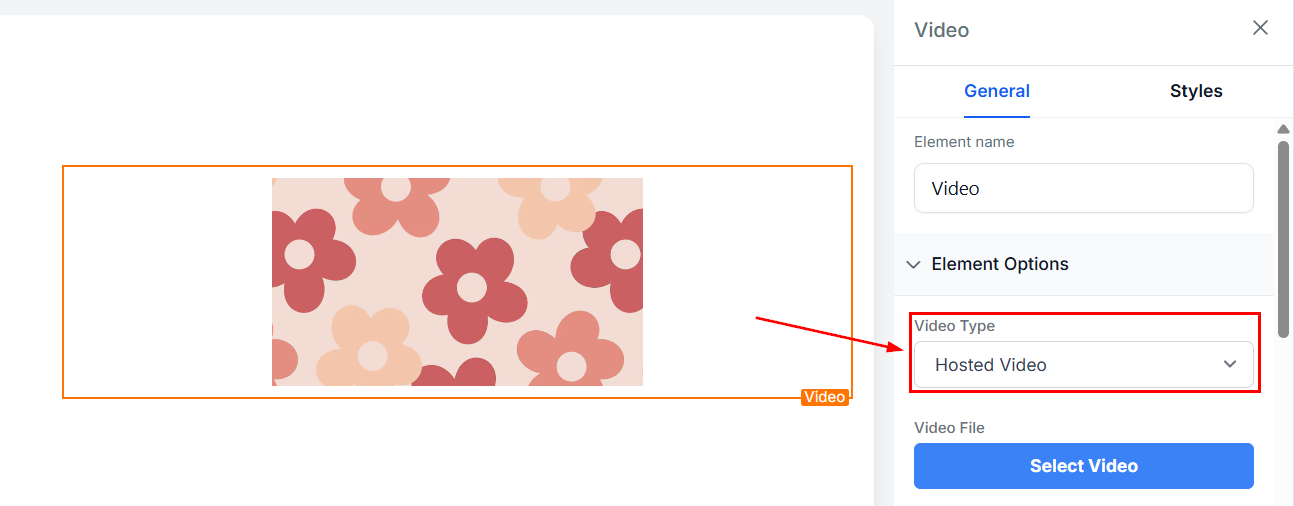
Video Type
In the Video Type dropdown, you can select the video type you want to use on your funnel page. Your options here include YouTube, Vimeo, Wistia, Custom Embed, or HTML 5.
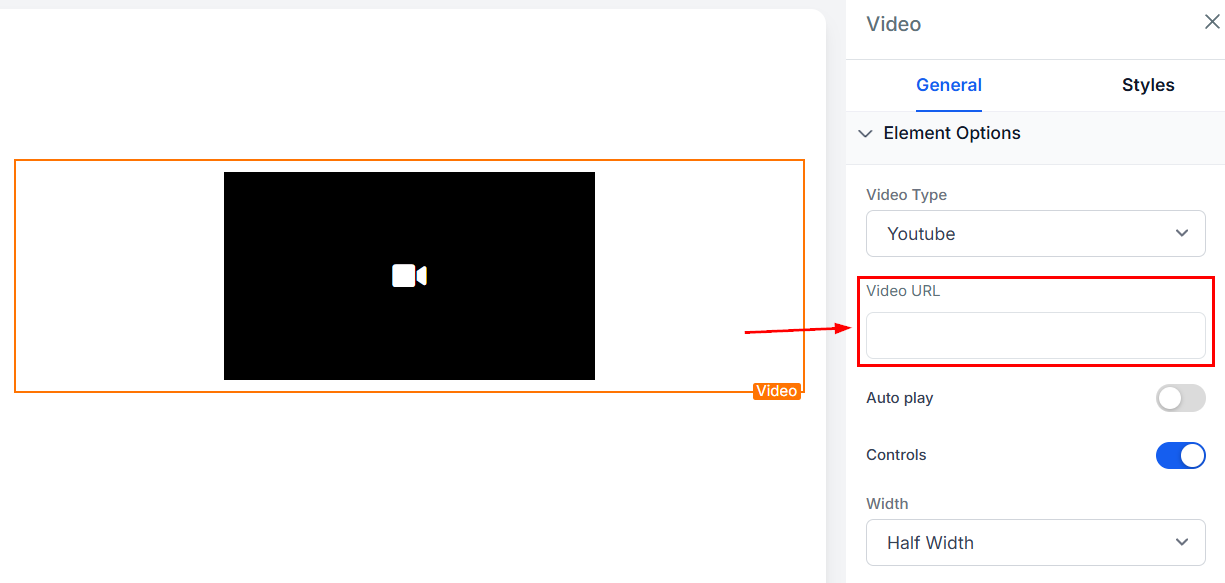
Video
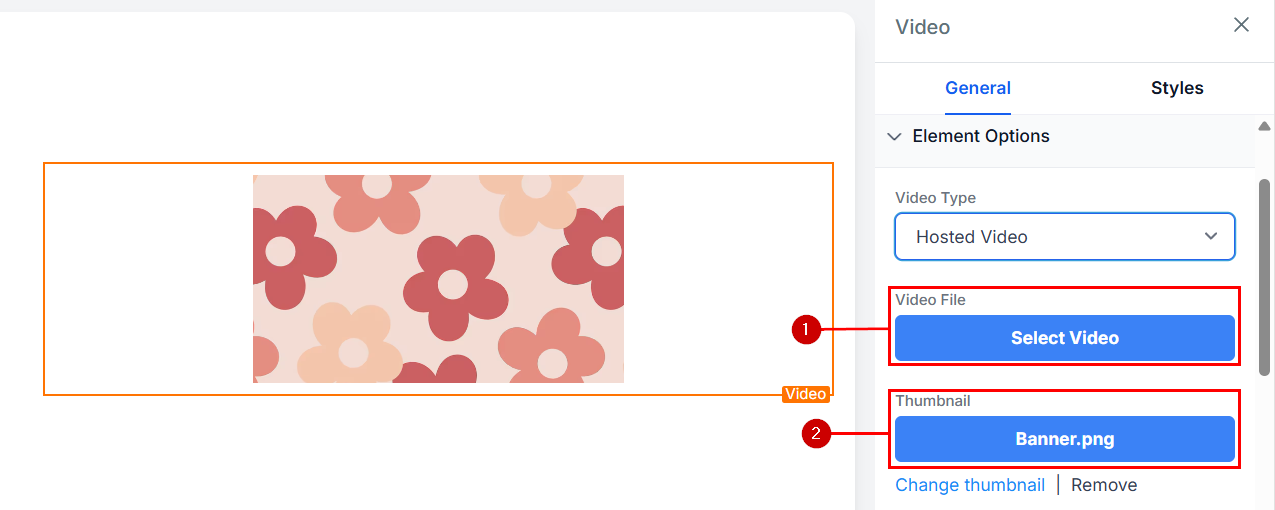
Depending on which option you select, you will need to type in either a video URL.
Or add a video (1) and thumbnail (2) from your media library.
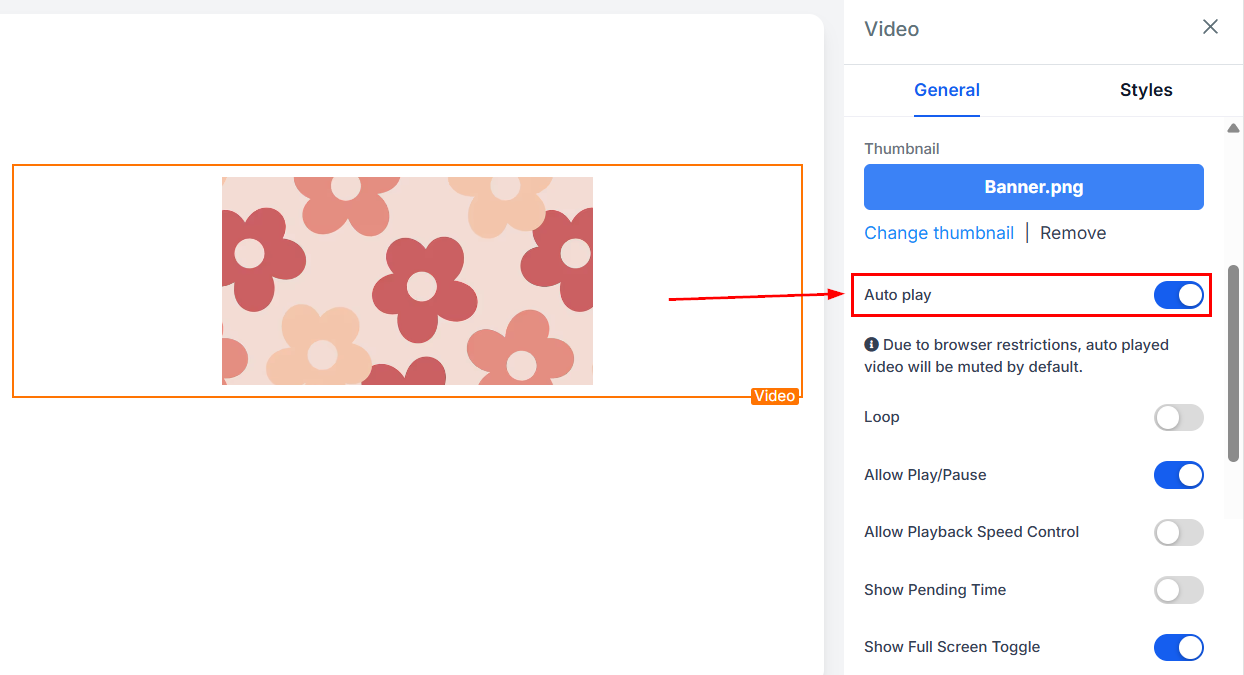
Auto-Play
You can choose to have the video auto-play when the funnel page is opened or toggle the controls on or off to allow customers to pause or play the video on your page.
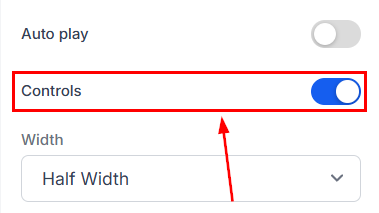
Controls
To have the video under parental control, simply toggle it on.
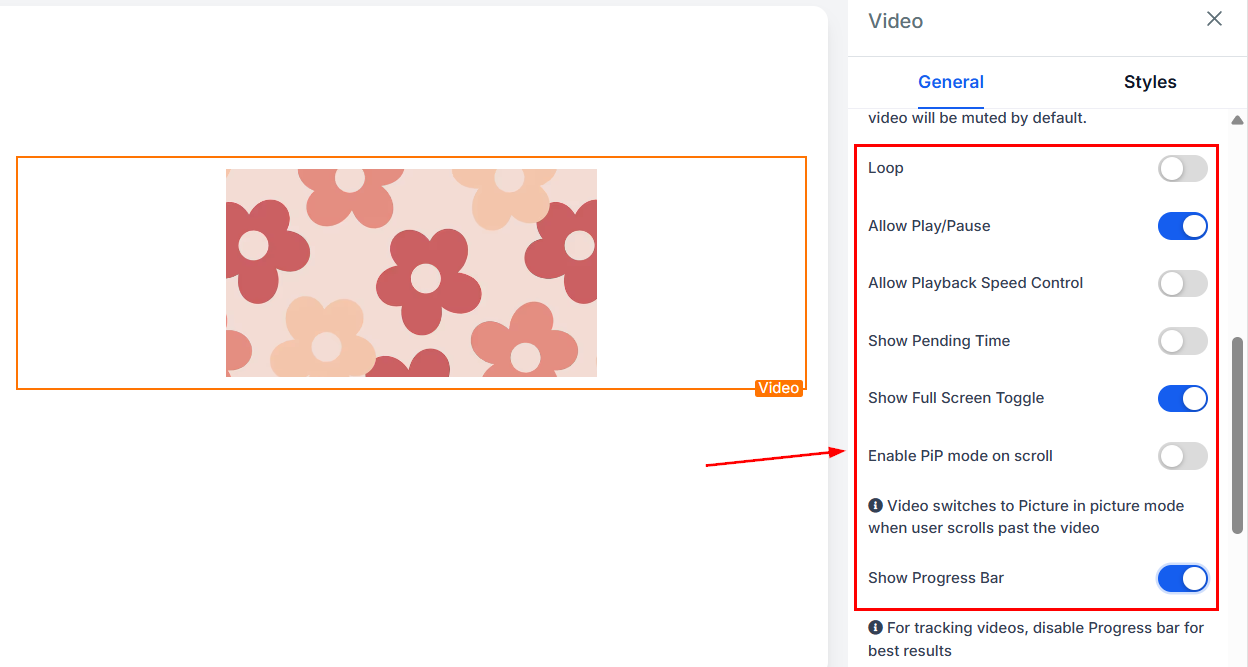
The video controls will follow the hosting platform settings. If you’re using a native video, you can individually select which controls to show.
Hosted Video Leads
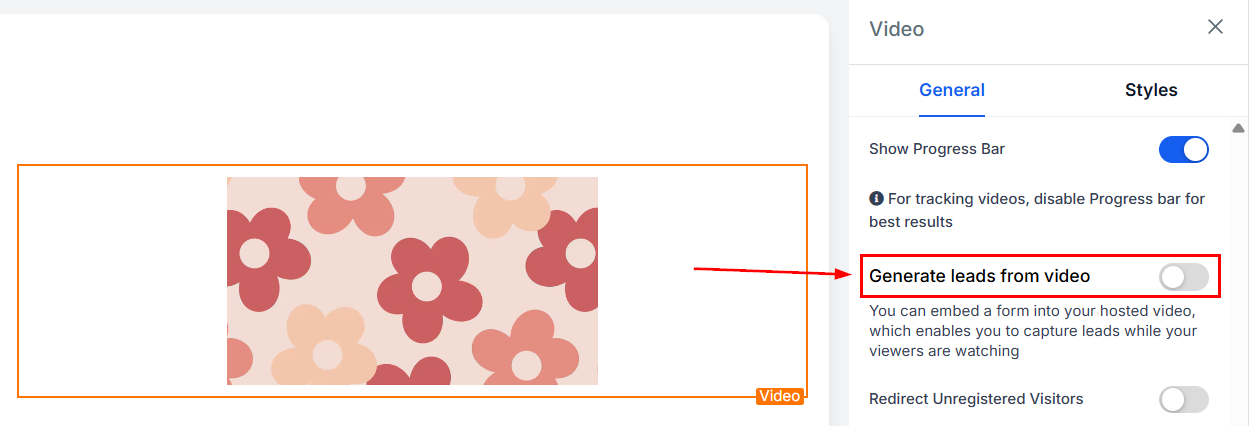
The generate leads from video option allows you to add a form to your hosted video.
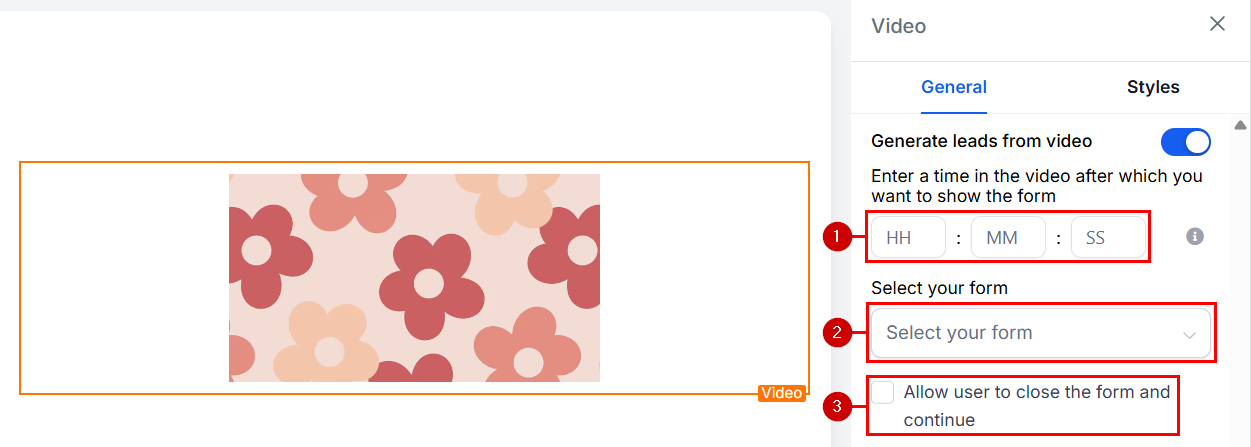
If you enable this option, set the video timestamp to show the form in (1), then select the form from the dropdown menu (2). You can also check the box at the end (3) to allow users to close the form and continue watching the video.
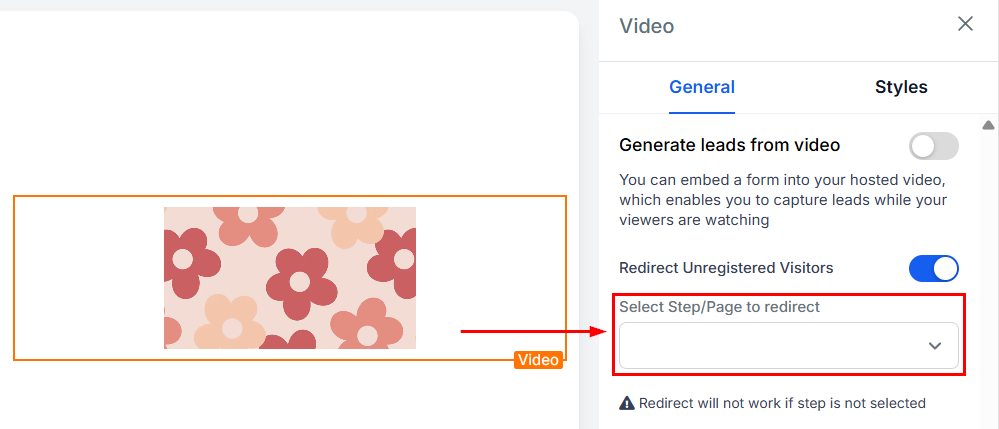
If you don’t want to use a form, you can enable “Redirect Unregistered Visitors,” which will allow you to select a step or page to send the contacts to.
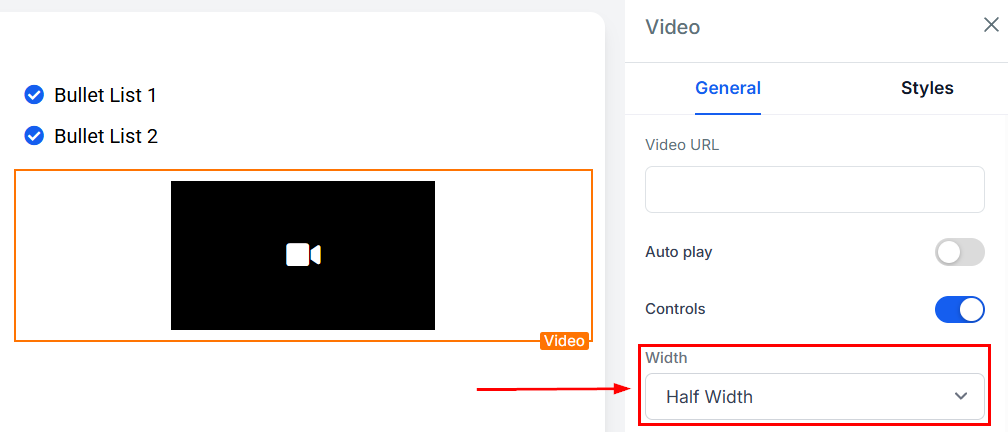
Width
You can also select a width for embedded videos by choosing from either full-width, 3/4 width, or half-width.
Color
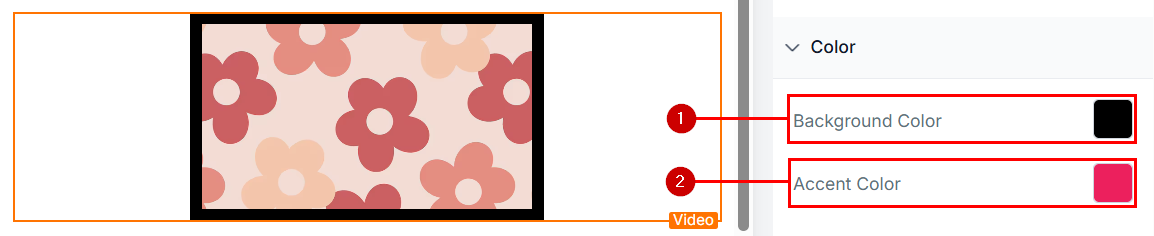
To change the background (1) and accent (2) color of your video element, simply click on the content area you want to adjust and select a color from the options provided or add a custom color code to match your branding.
Styles
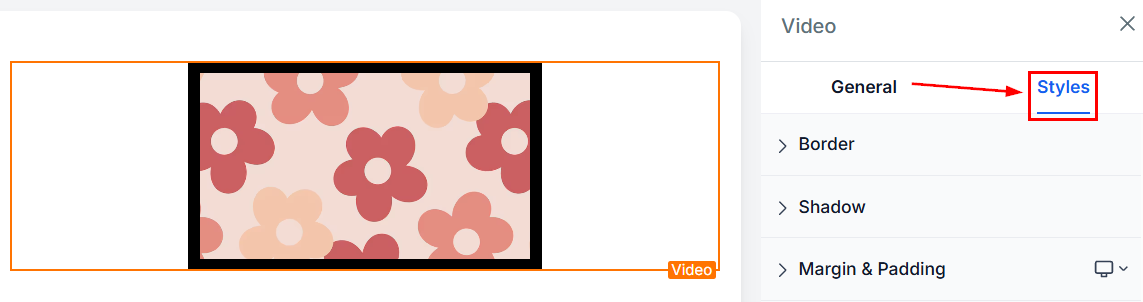
Under the Styles tab, you have additional customization options such as adding borders, adjusting visibility, adding a custom class, and copying the CSS code for later use.
Border
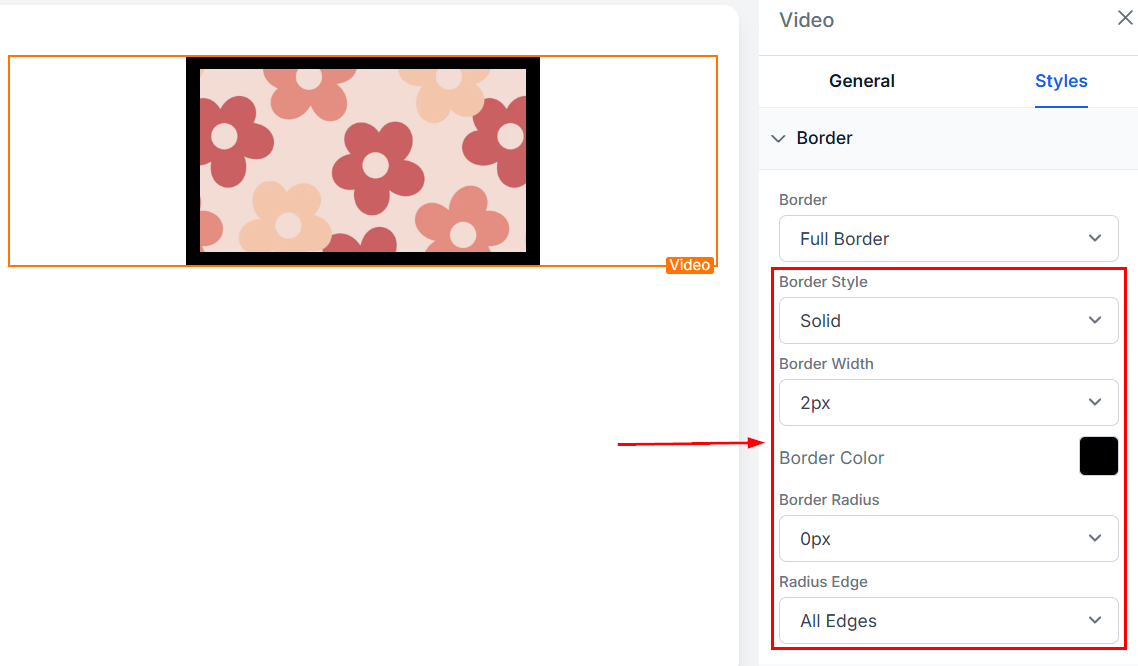
The Border dropdown allows you to add a border to your video element box. Once you’ve chosen a border style, more customizable options will appear below.
-
Style: You can choose from solid, dotted, or dashed border styles for the border around your video element.
-
Width: Click here to select how thick you want the borderline to be.
-
Color: Choose a color for your borderline. Select one of the given color options or type a custom color code into the given field.
-
Radius: If you don’t want your borderline to have a sharp corner edge, you can decide how curvy you want the edge to be by selecting from the radius options.
-
Radius Edges: Here you can choose which side of the edge you want to adjust; All edges, Top only, or bottom only.
Shadow
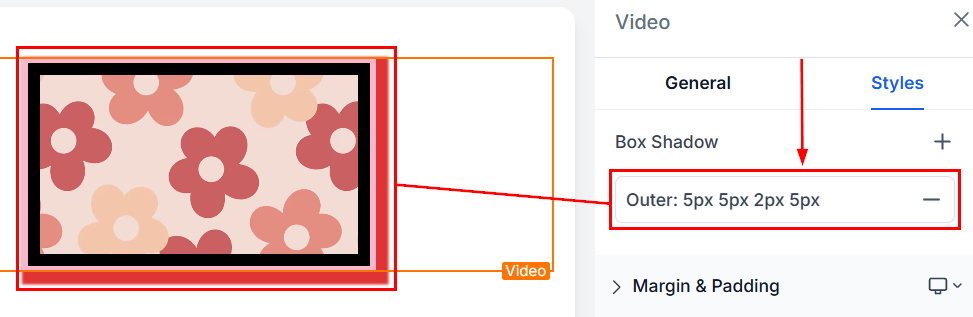
Here, you can add an inner shadow or drop shadow to your box to make the border visible.
Spacing
There are different spacing options available for adjusting your video content:
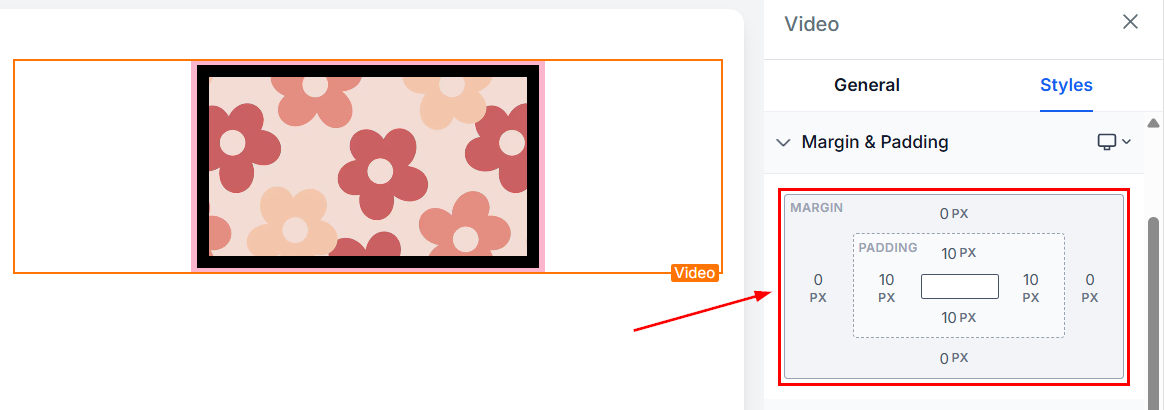
- Padding: This defines the space between the element and the column it occupies, allowing you to use the slider bar to make it smaller or bigger inside the column.
- Margin: You can adjust the space between the video element and the surrounding areas.
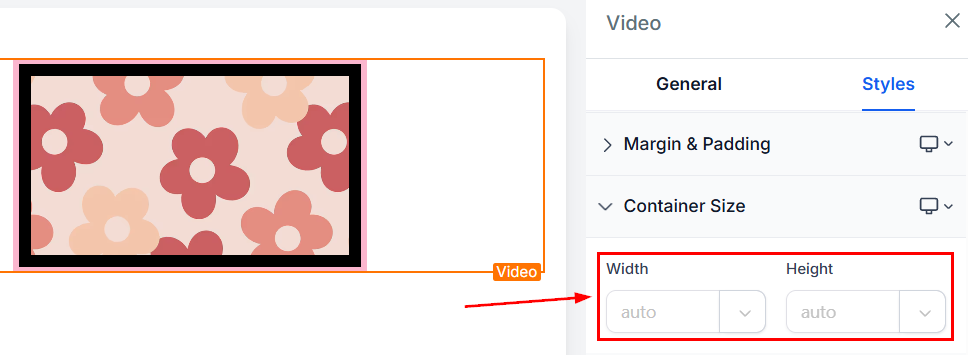
Container Size
If you want to define the video size manually, use this section.
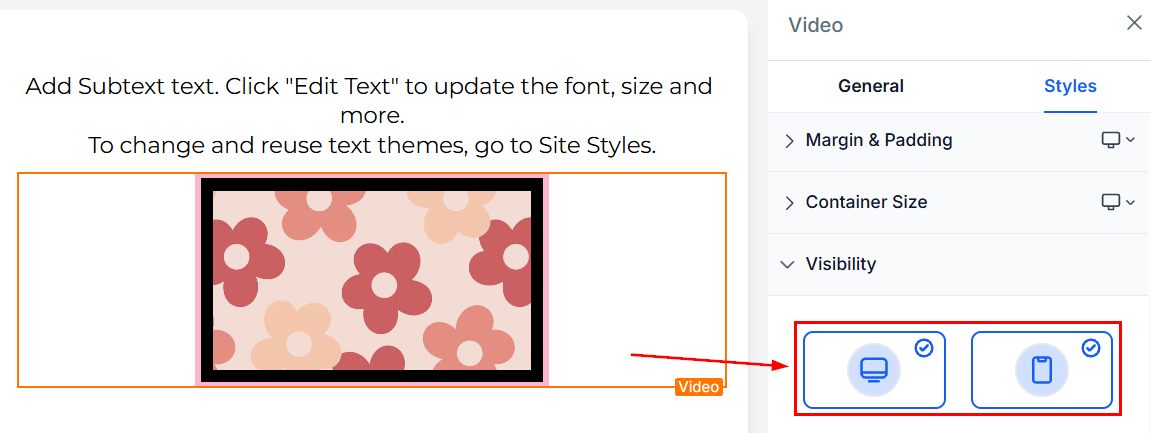
Visibility
The Visibility section allows you to toggle the visibility of your video element to only desktop or mobile, depending on your needs. You can preview your changes using the desktop and mobile options in the top left of the funnel builder to see how it looks.
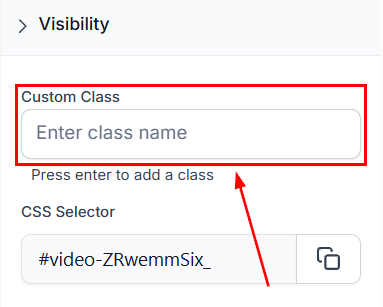
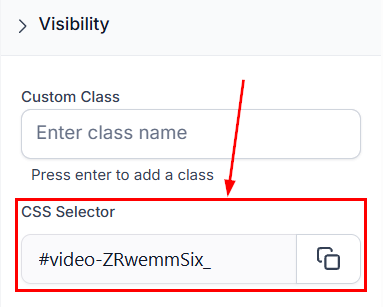
Custom Class
Input your custom class here.
CSS Selector
If you need to copy the Custom CSS, just click on the “Copy” icon on the right side of the reference code.
Troubleshooting Tips and FAQs
- Why won’t my video play automatically with sound?
A: Check the browser’s auto-play policies and your video’s Media Engagement Index score. - How do I optimize my video for web playback?
A: Ensure your video is properly encoded and under the 4GB limit.
Not a Funnelbud customer yet?
Try our all-in-one CRM for sales and marketing — free for 7 days, no commitment.