How to Use Your Facebook Integration Within Conversations
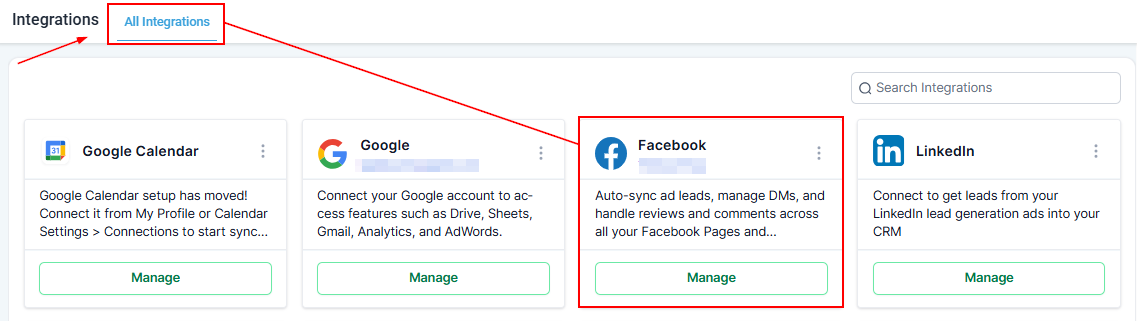
Having a good social media presence helps your business achieve bigger audiences and promote more sales. One of the ways you can amplify that reach is by integrating your Facebook account into your CRM, doing so enables seamless access to incoming Messenger messages directly within the conversation tab.
📌NOTE: Facebook messaging connection settings are only available for Facebook Pages connected to Meta Business.
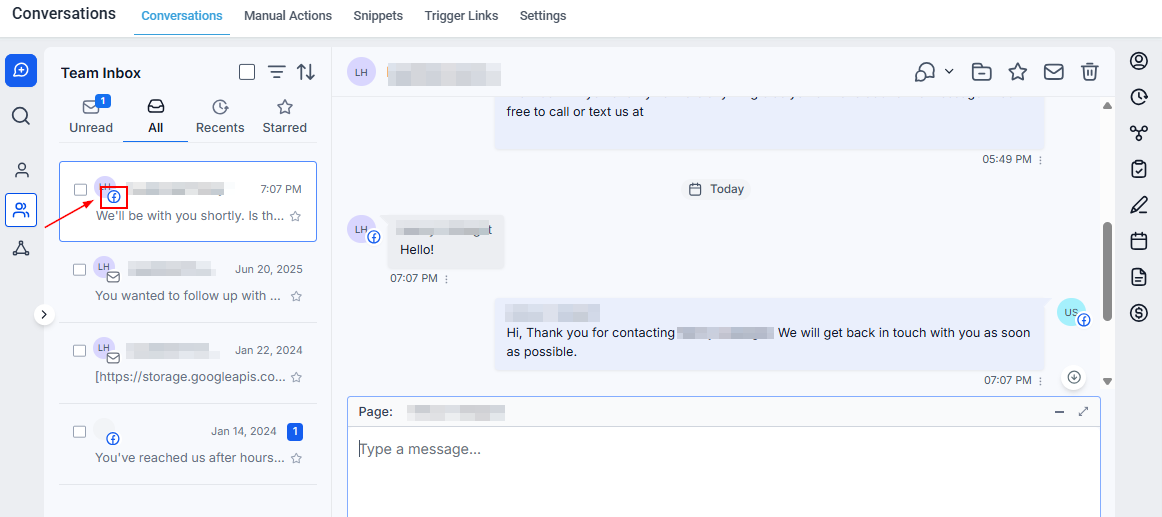
Creating Messenger Messages
When you receive a message notification, the CRM indicates the platform from which the message originated, which is especially helpful when managing multiple integrated communication channels.
If a client has previously contacted your business through Facebook, you can respond via Messenger directly within the contact conversation. However, if the client has not communicated with you through Facebook before, the option to send a Facebook message will not be available.
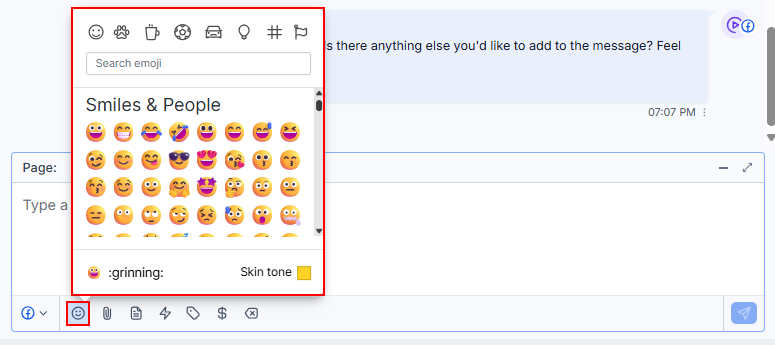
Adding Emojis to Facebook Messages
To include an emoji in your message, click the smiley face icon in the actions menu. You can search for specific emojis using the search bar or browse through different categories. To add multiple emojis, simply repeat the process for each one. You can even change the skin tone for more flexibility.
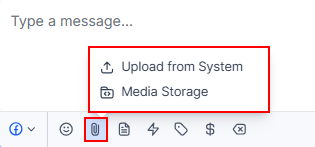
Attaching Files to Messenger Messages
To attach files or images to your Facebook message, click the paperclip icon at the bottom of the message box. This action will prompt you to upload from your system or your media, allowing you to select and upload the desired files or images. Follow the prompts to complete the attachment process.
Using Snippets in Facebook Messages
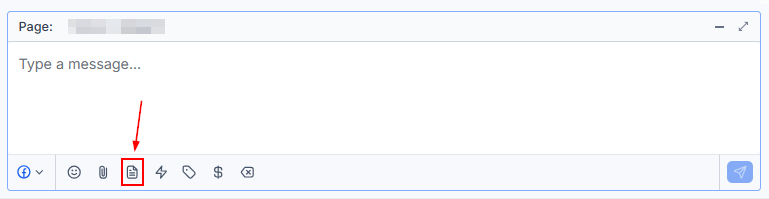
You can also leverage snippets within your Facebook messages. To do so, click the page icon at the bottom of the message box. A pop-up will appear, allowing you to select from your existing snippets in the CRM. Choose the desired snippet from the dropdown menu to insert it into your message.
Trigger Links
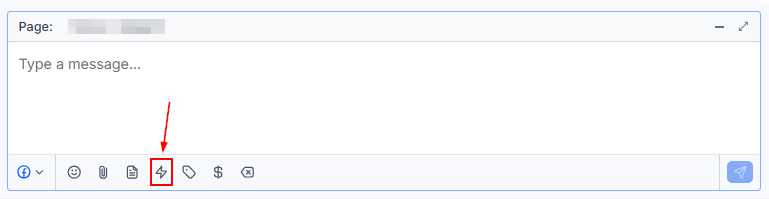
Click the Lightning bolt icon to track user activity using trigger links. Once clicked, the list of trigger links you have created will appear.
Utilizing Custom Values
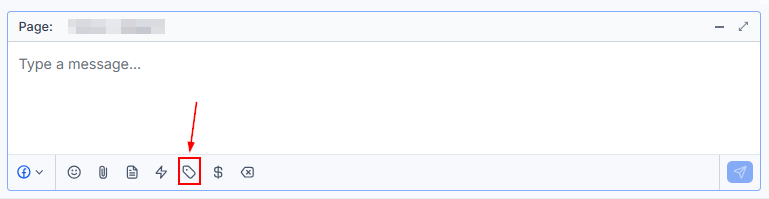
By clicking the tag icon, you can access and insert custom values into your messages. Using custom values allows you to personalize communications and enhance customer engagement.
Requesting Payment via Facebook Message
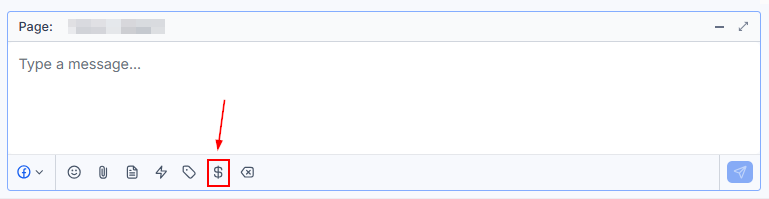
To request payment from a customer, click the money icon on the lower panel. A pop-up will appear, prompting you to fill in the necessary invoice details. Once completed, click ‘Copy link and mark as sent’ to finalize the process.
Internal Comment
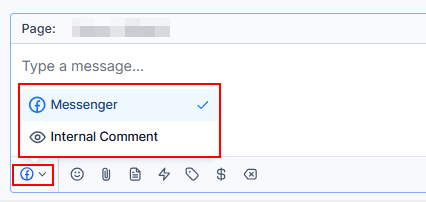
If you need to add a note for internal team reference, you can switch to the Internal Comments channel from the channel selector. Internal comments are not visible to the client and serve as a way to provide context, instructions, or updates for other team members handling the conversation.
Adjusting the Message Box
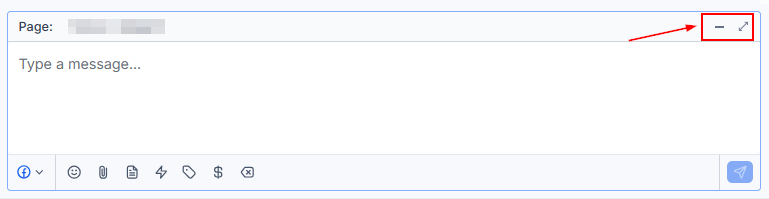
To minimize or maximize the message box, click the icons in the top-right corner. This will adjust the size of the window, while retaining the message, whether you remain in the conversation or not.
These tools enhance your ability to engage with clients, offering a seamless and professional customer experience.
Not a Funnelbud customer yet?
Try our all-in-one CRM for sales and marketing — free for 7 days, no commitment.