Private Channels in Communities
Your communities are a hotspot for activity among like-minded individuals. However, there might be some pieces of information that you want to share with smaller parts of your communities.
With Private Channels, you can keep content private within your groups, creating a sense of exclusiveness, limiting the scope of what is discussed, and having more control over the conversation since the participant number is lowered.
Setting Private Channels
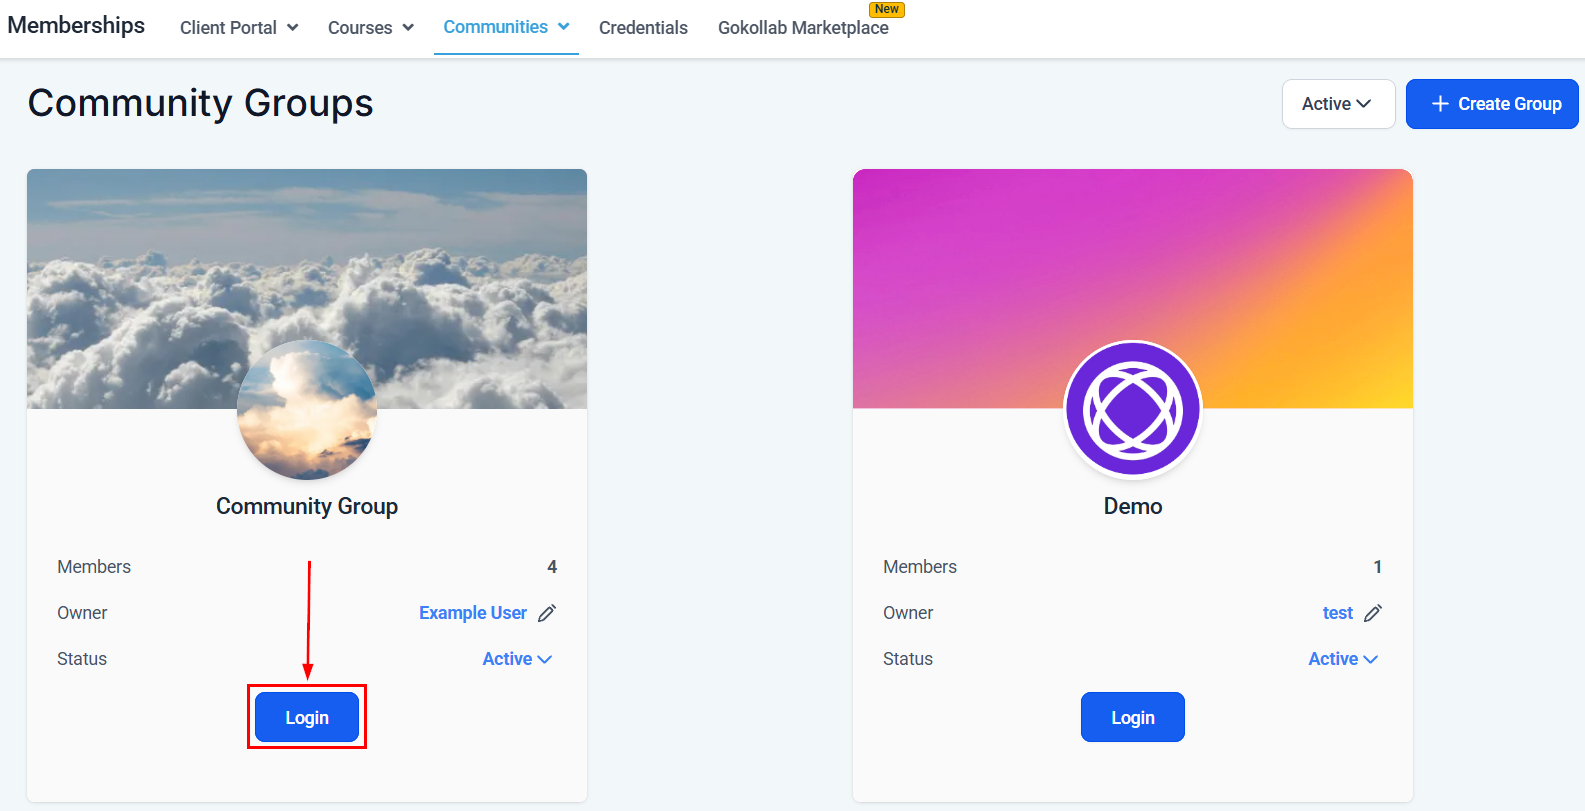
Start by logging into your community. You can create private channels or convert existing channels if you’re a group admin or an owner.
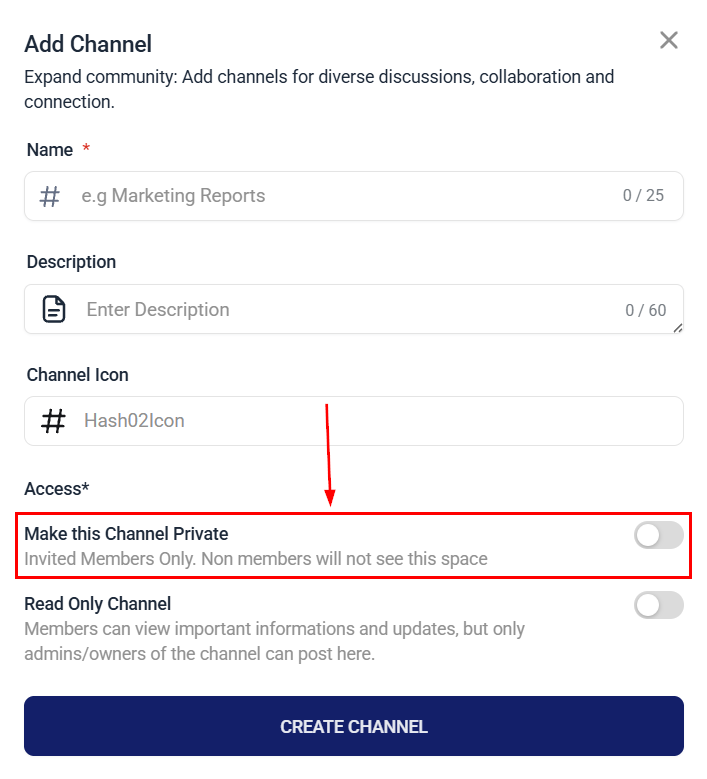
When creating a new channel, you can make it private by toggling the option.
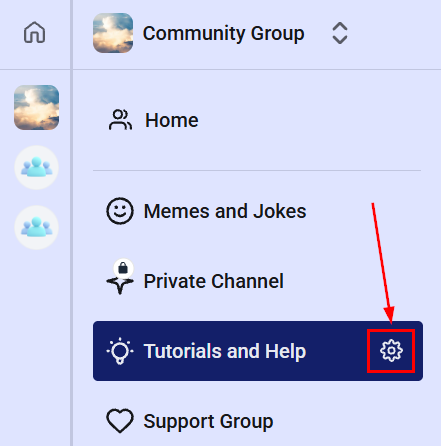
For already existing channels, you can switch them to private by switching to that channel and hovering over the name. This will show you a gear icon to edit the settings.
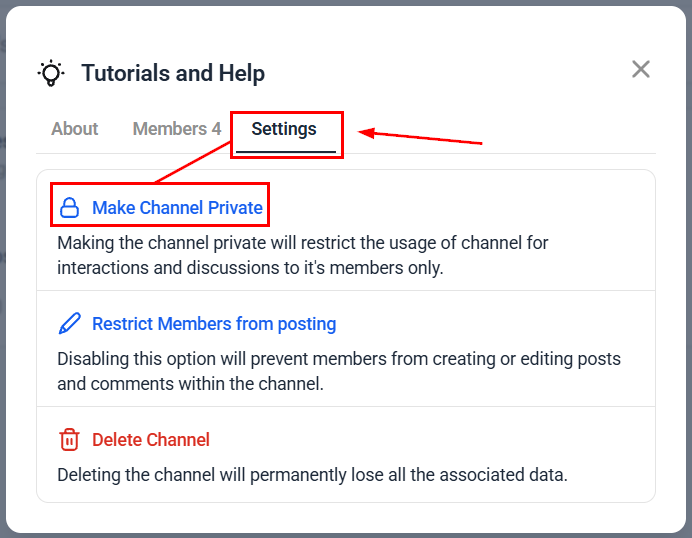
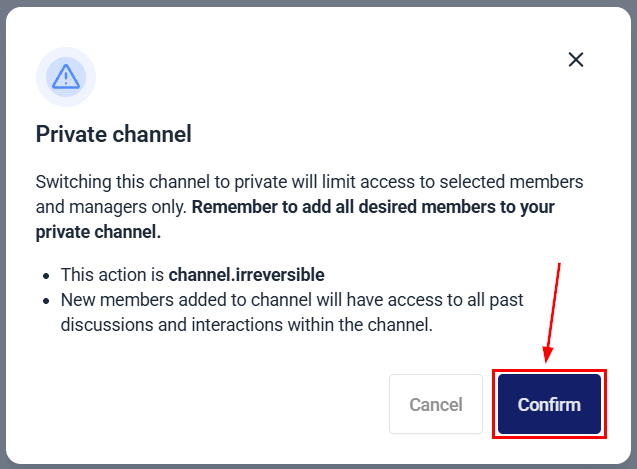
Inside the pop-up window, access the settings and select Make Channel Private.
Click Confirm to execute the switch.
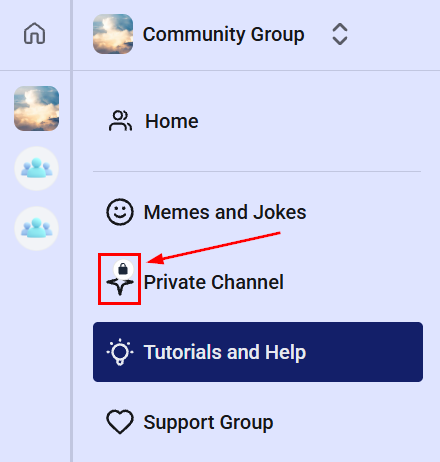
You can easily identify channels you’ve made private since they will have a lock icon next to the channel icon.
There you have it! Now you can make private channels and ensure you keep the sense of belonging, brand loyalty, and exclusiveness up. This tool will help you with any tiered service since you can give access only to those members and use the enhanced privacy and limited participation to ensure you have focused and specified discussions.
Not a Funnelbud customer yet?
Try our all-in-one CRM for sales and marketing — free for 7 days, no commitment.