Importing Contacts with Shared Information
When managing a contact database, it’s crucial to ensure that contacts with shared details are handled correctly. Before importing contacts that may have overlapping information, it is essential to adjust your settings to suit your preferences. If you wish to allow duplicates in specific fields, ensure each contact is uniquely identified through other criteria. This approach helps prevent issues with data integrity and allows for a more streamlined import process.
Adjusting for Duplicates
Navigate to the Settings section of your account. The Business Profile section will be opened.
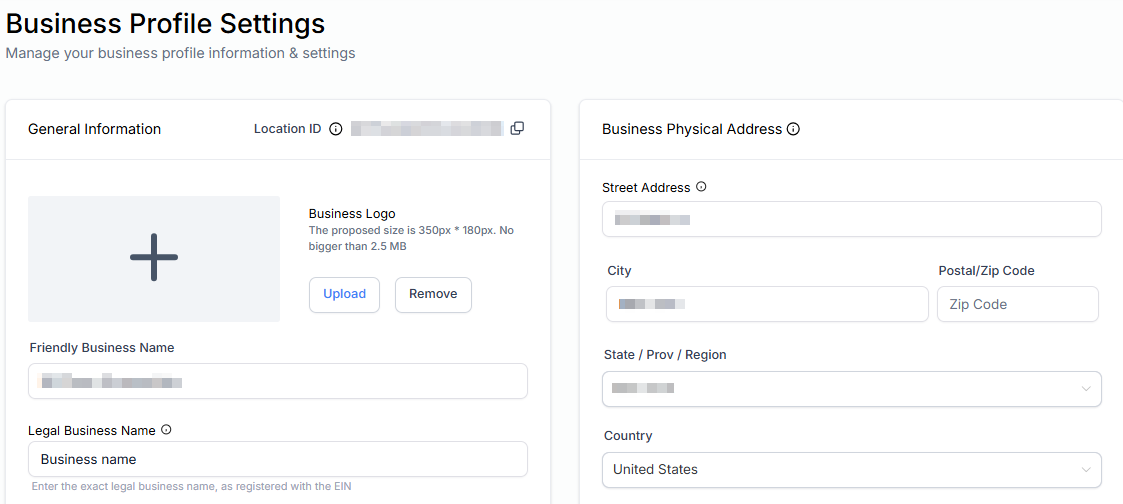
Scroll down to the Contact Deduplication Preferences section and adjust the Allow Duplicate Contact toggle according to your preferences. Additionally, configure the primary and secondary search preferences to align with your requirements.
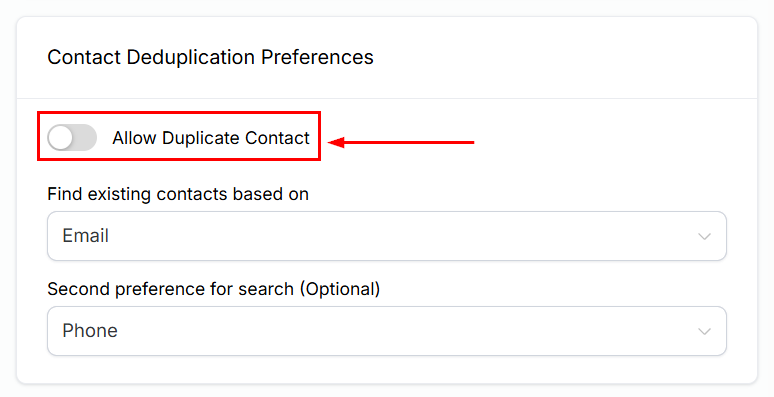
When the switch is toggled on and appears blue, the system will permit new contacts to share the same identifiers as existing contacts. If the option is disabled, importing contacts with identical information will update the existing contact records instead.
📌Note: Even with this setting enabled, duplicates can still be created via forms or Zapier
Importing Contacts with Shared Information
If the settings are adjusted to allow duplicates, the next step involves importing the contacts while ensuring each individual is uniquely identified despite shared contact details.
Initiating Contact Import
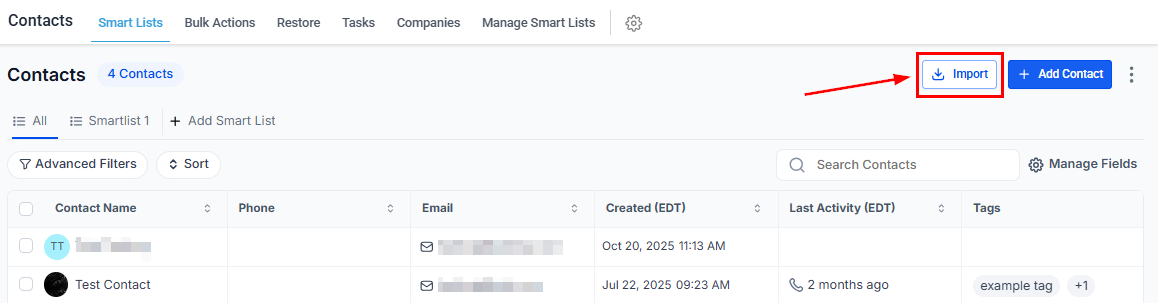
Begin by selecting the Import button within the Contacts tab.
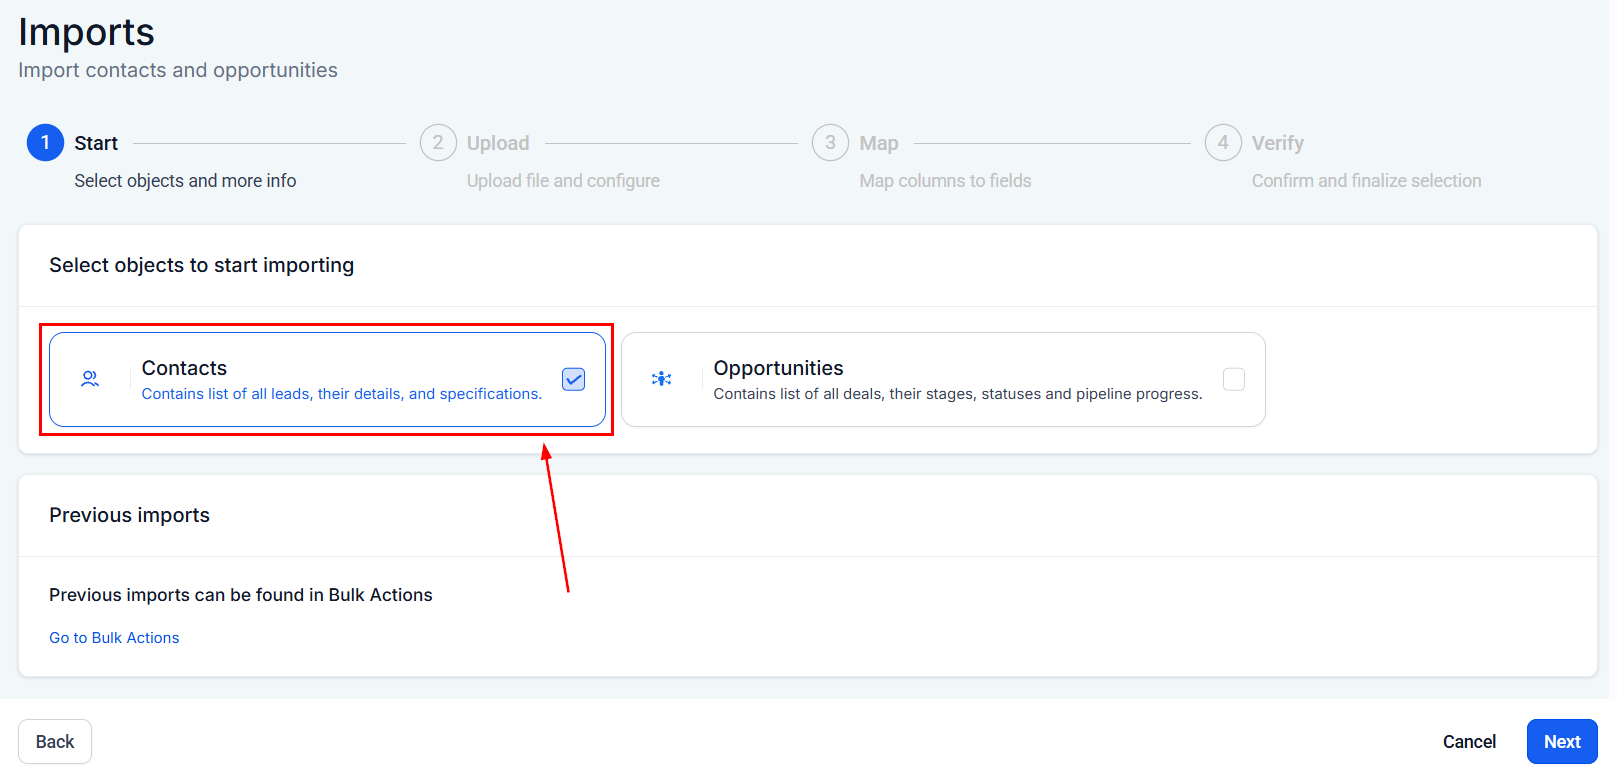
Select Contacts as your import type, then click Next.
Upload the file containing your contacts.
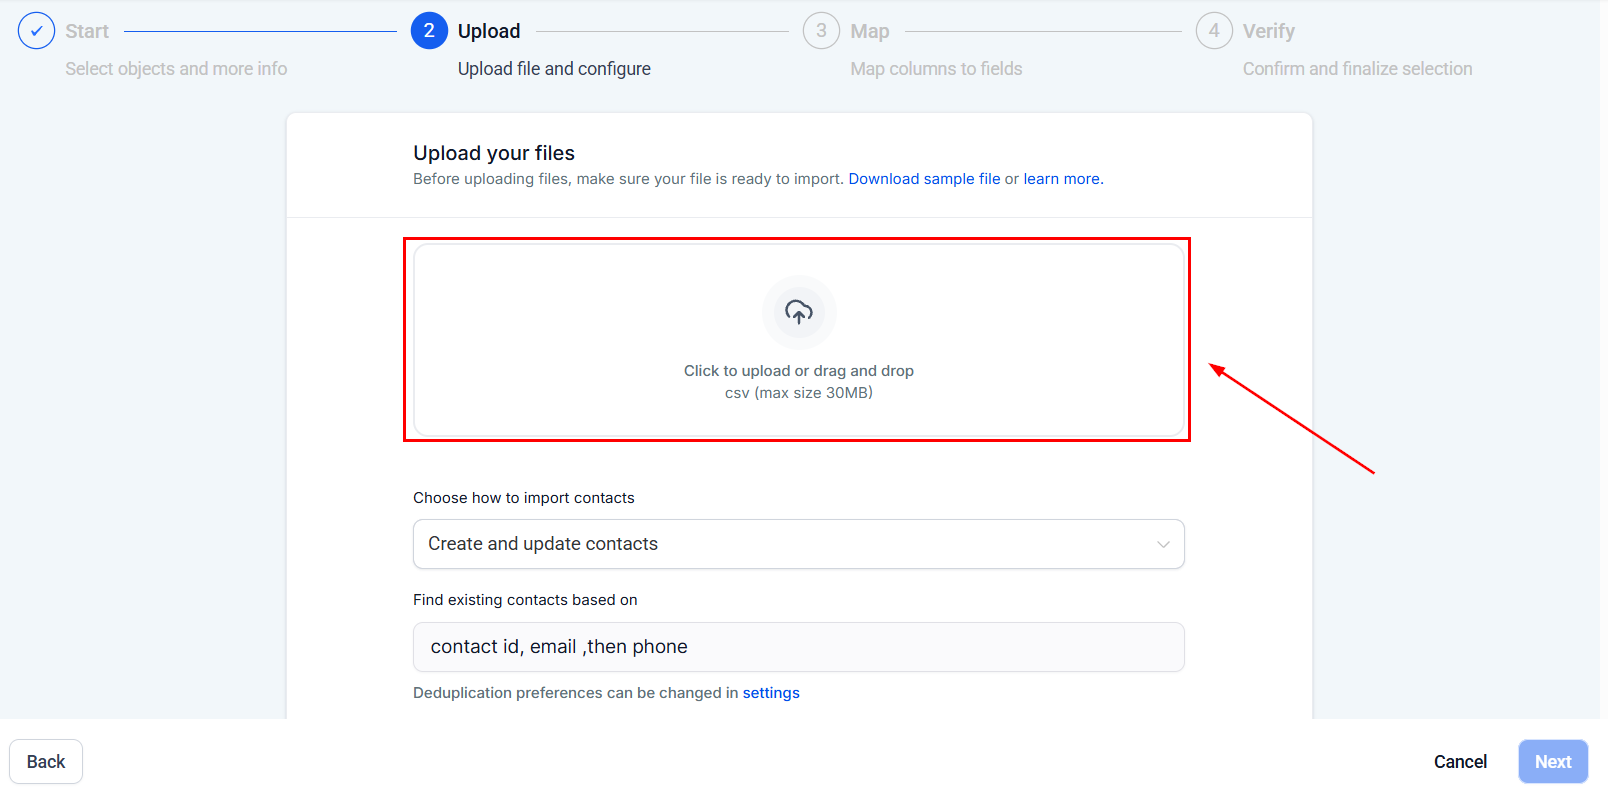
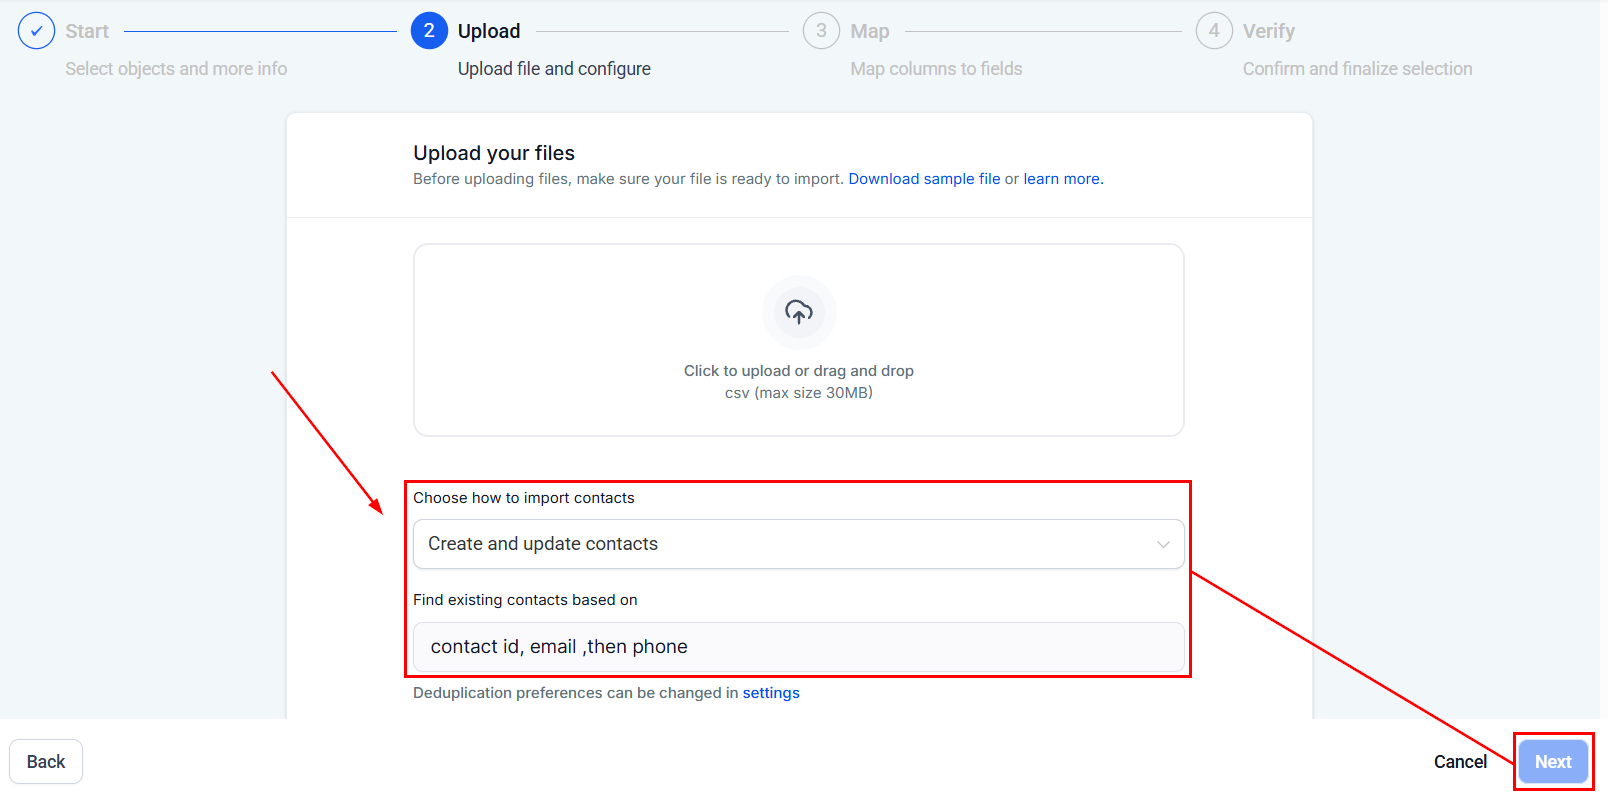
Configuring Import Settings
Select Create and update contacts. This option ensures that new entries are added without modifying any existing records. Set how to find the existing contacts, and click Next to continue.
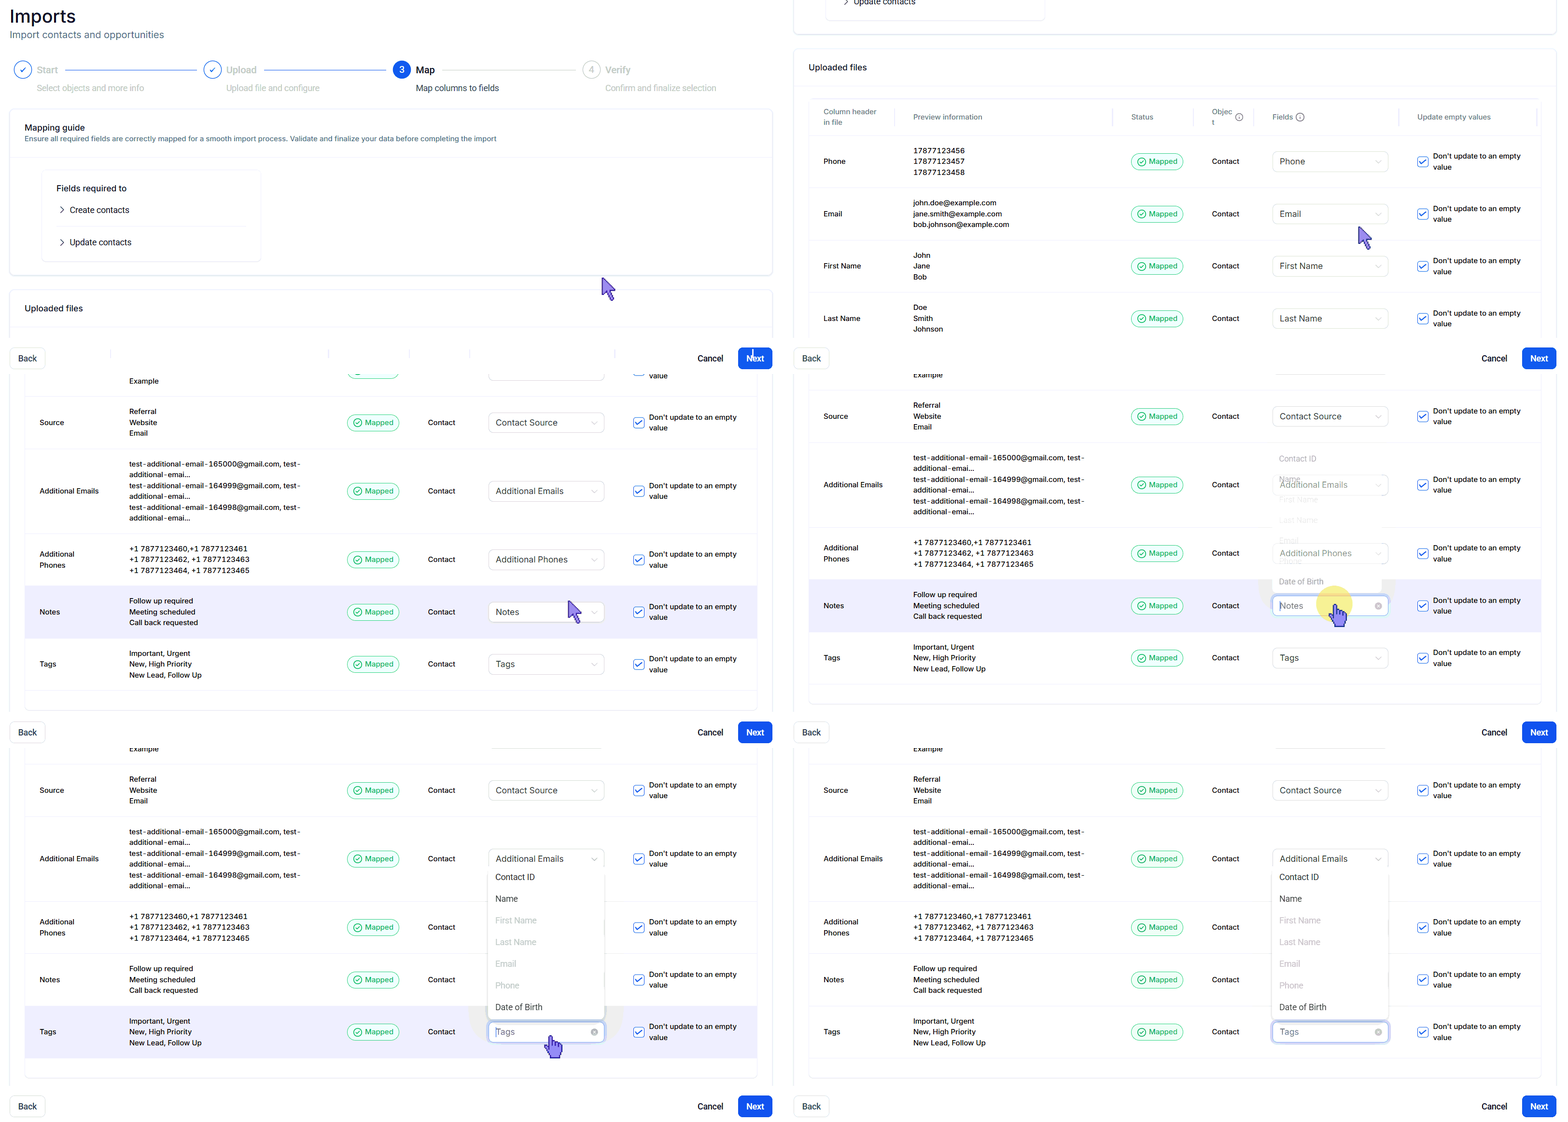
Verify your fields are properly mapped and make any needed changes.
Set your preferences for once your import is completed, such as adding the contacts to a smartlist or workflow.
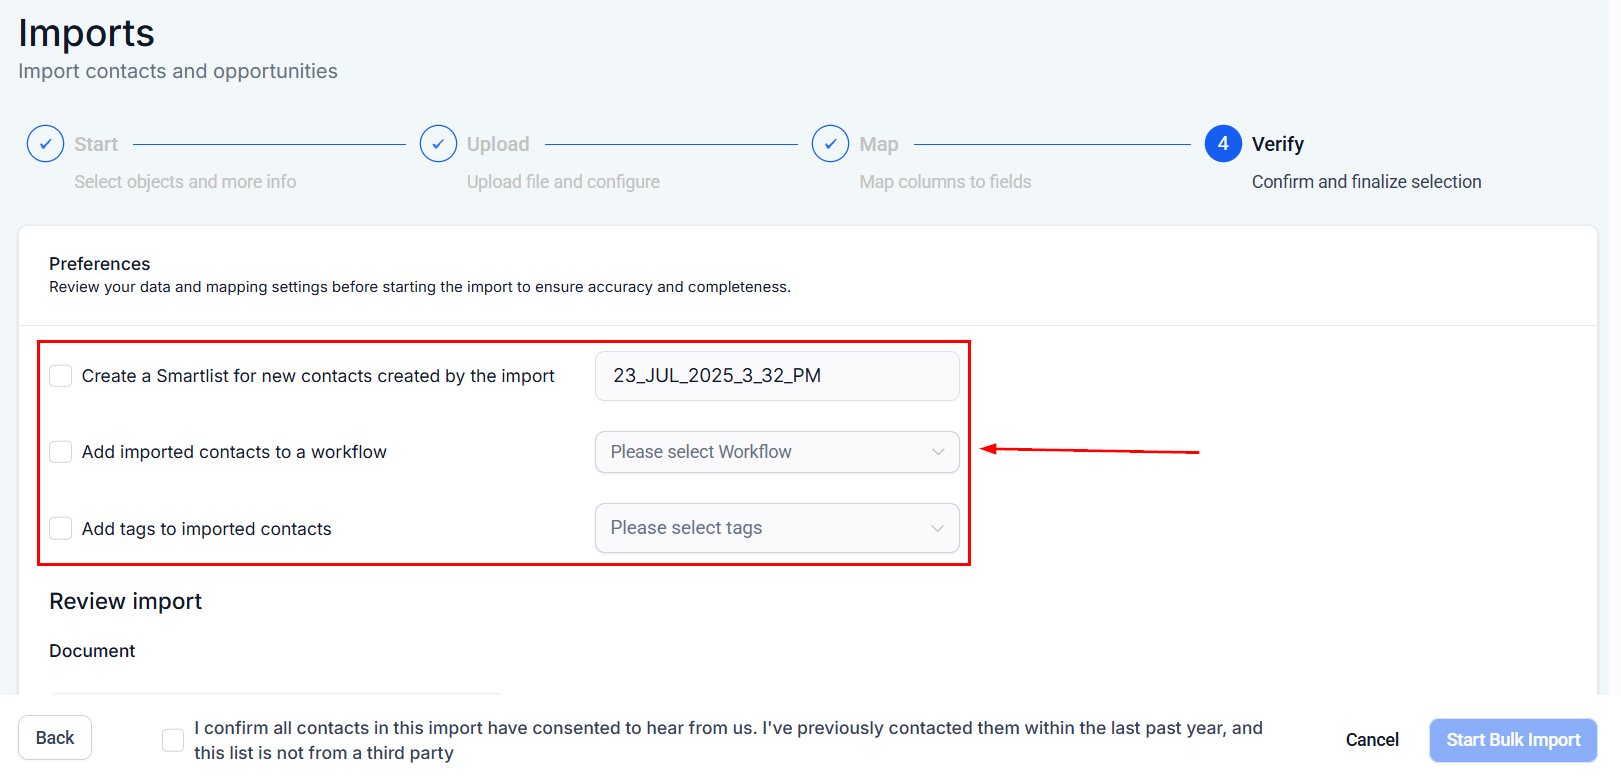
Finalizing the Import
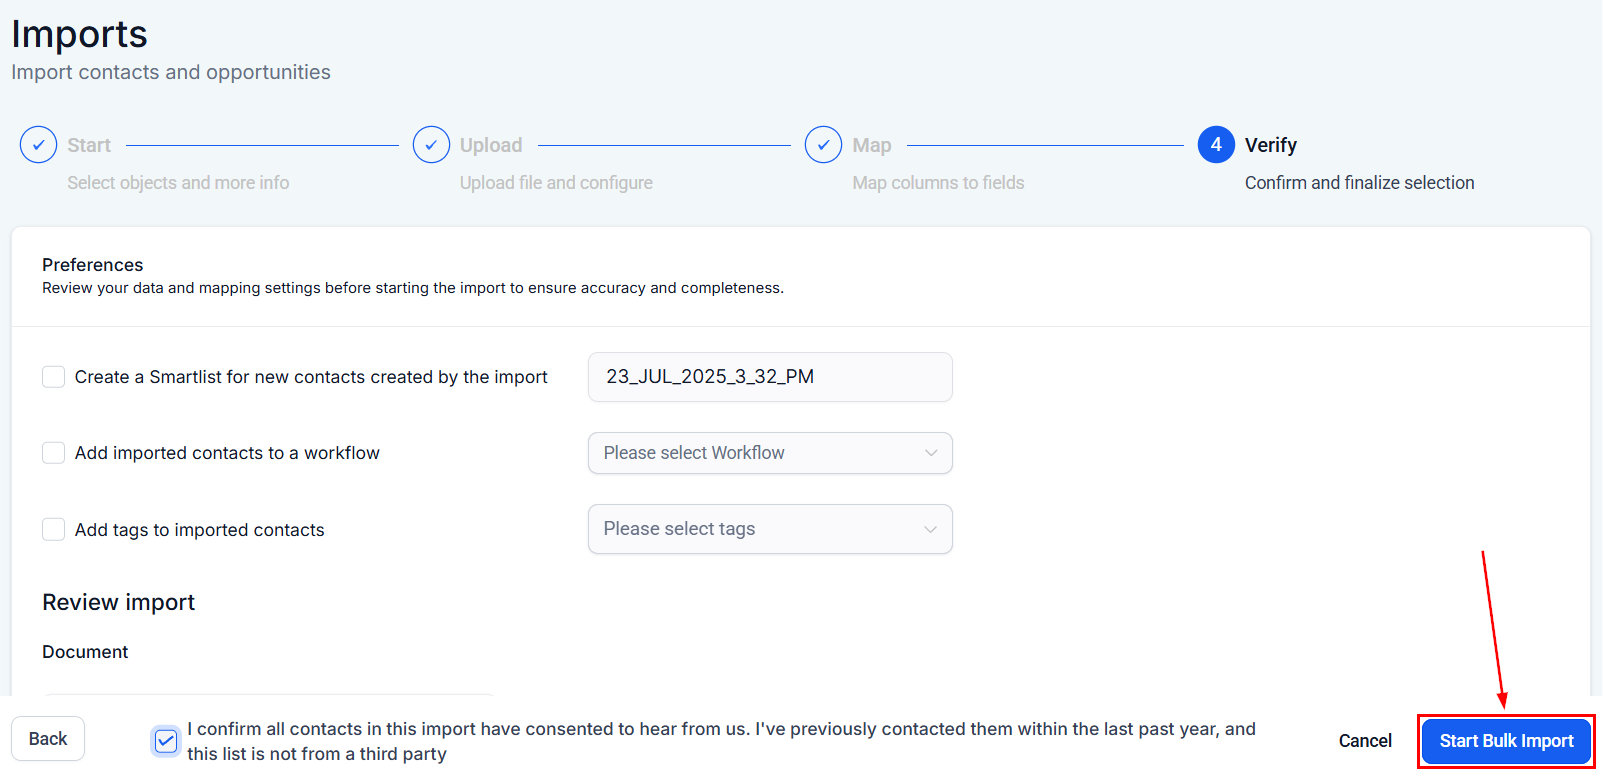
Confirm you have consent from contacts to reach out to them, then click “Start Bulk Import” to start the import process.
Handling Existing Duplicates
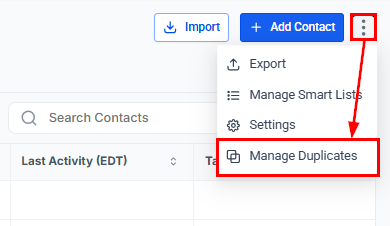
If you suspect that there are already duplicates in your contact list, click the Contacts action menu, then select the Manage Duplicates function.
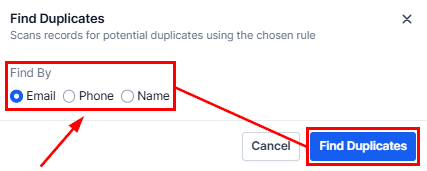
Choose whether duplicates should be located by their primary email, primary phone, or name.
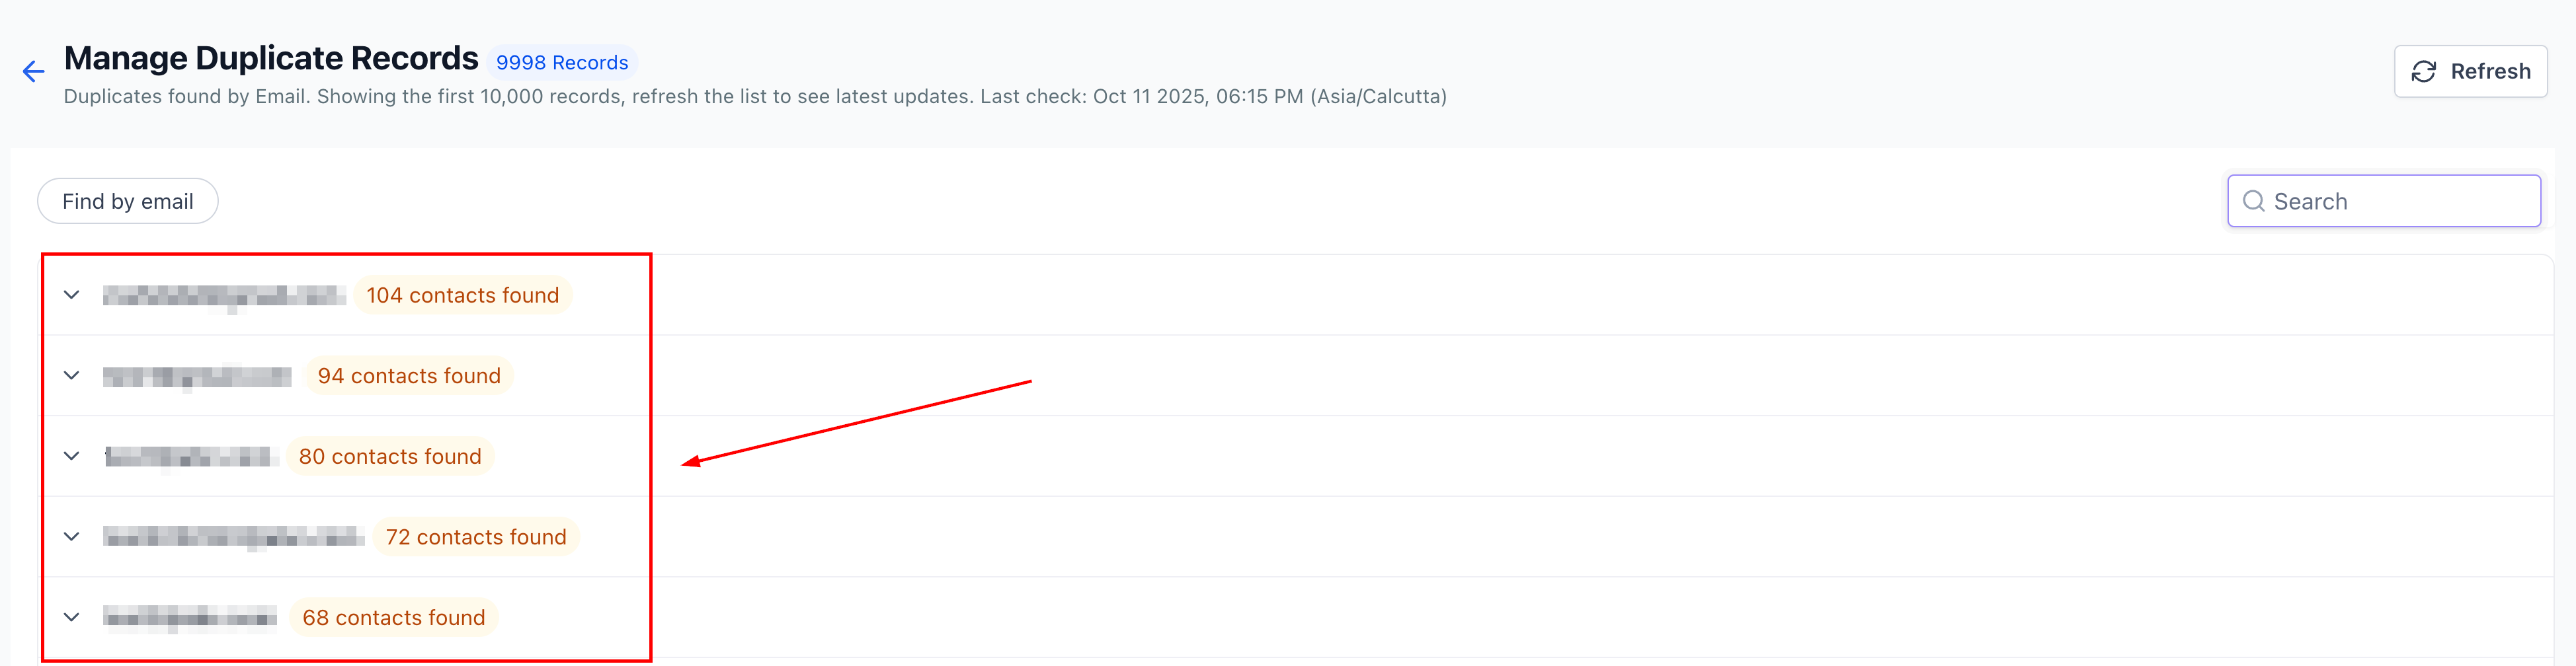
A list of duplicate entries will be displayed by the identifier. Expand each item to view their particulars.
📌Note: You can see up to 10,000 duplicate entries at once.
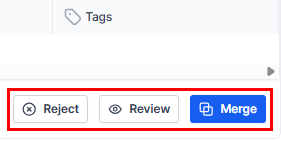
If you are an account admin, you can manage duplicate records efficiently by using the available options. Use the Reject button to exclude duplicates from future scans, view additional details within the Review modal, or select Merge to compare and consolidate contact information. The merge process combines all related data, including emails, phone numbers, opportunities, tags, notes, tasks, and appointments, into a single master record for a unified profile.
By following these steps, you can ensure that new entries are added efficiently without unintentionally updating or overwriting existing records. If duplicates already exist in your system, you now have the tools to address them effectively. Together, these features help you manage contacts with overlapping information while maintaining a clean, accurate, and well-organized database.
Frequently Asked Questions
Q: What if I accidentally create duplicates?
- You can merge duplicate contacts, allowing you to consolidate information and maintain clean records.
Q: Can I revert the import if I make a mistake?
- Yes, you can revert the import from the Bulk Actions tab.
Not a Funnelbud customer yet?
Try our all-in-one CRM for sales and marketing — free for 7 days, no commitment.