How to Connect Airtable
Connecting Airtable to your account transforms how you manage workflows and data. From tracking projects and syncing records to managing pipelines, this integration reduces manual effort, ensures consistency across your databases, and helps your team collaborate more efficiently. Let’s get into it.
📌Note: The Airtable integration is primarily designed to work with workflow actions and triggers, enabling you to automate processes and keep your tasks and data in sync effortlessly.
Connecting Airtable
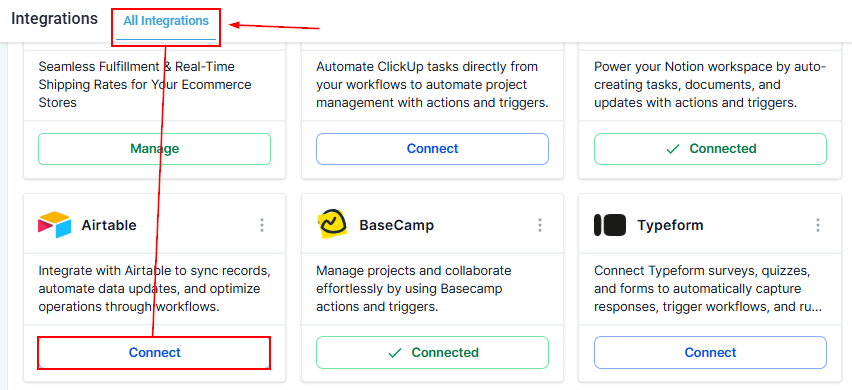
Navigate to the Settings section within your account, and locate the Integrations tab. From there, click the Connect button within the Airtable tile to initiate the setup process.
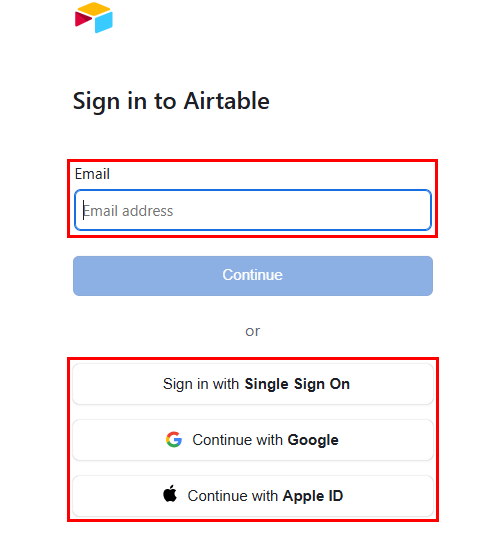
Next, enter the email address associated with your Airtable account, or sign in using Single Sign On, or your Google or Apple account.
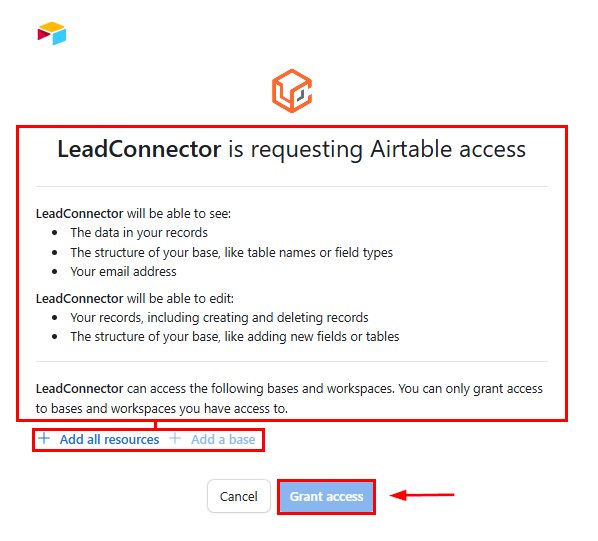
Review the permissions, then select the option to add all current and future bases (all resources) or choose the bases that should be integrated, and click the “Grant Access” button.
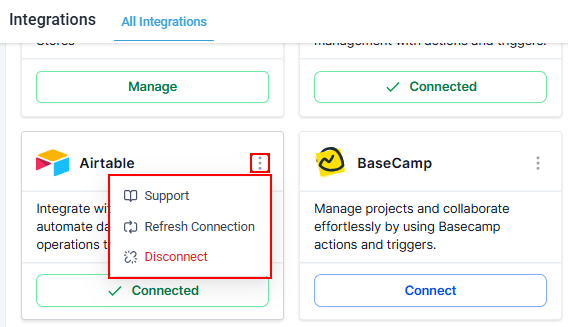
That’s it! You will be redirected to the Integrations tab, where you can disconnect the app or refresh the connection, giving you full control over your integration.
By connecting Airtable to your account, you streamline workflows, maintain accurate data, and simplify collaboration across your team. With automation in place, you can focus less on manual tasks and more on driving projects forward efficiently.
Not a Funnelbud customer yet?
Try our all-in-one CRM for sales and marketing — free for 7 days, no commitment.