How to Import Blogs from URL
The URL Blog Importer is designed to simplify the process of transferring blog posts to your account. By following the process outlined below, you can map essential fields like titles, categories, and authors, and decide whether to publish or save the blogs as drafts.
Pre-Checks Before You Begin
To ensure a smooth import process, verify the following:
- Sitemap Availability: Confirm that the blog has a sitemap for posts. For instance, if your blog is hosted at blog.abc.com, ensure a sitemap exists at blog.abc.com/sitemap.xml.
- Accurate CSS Mapping: If any fields are incorrectly mapped, prepare to adjust them manually using CSS selectors
How It Works
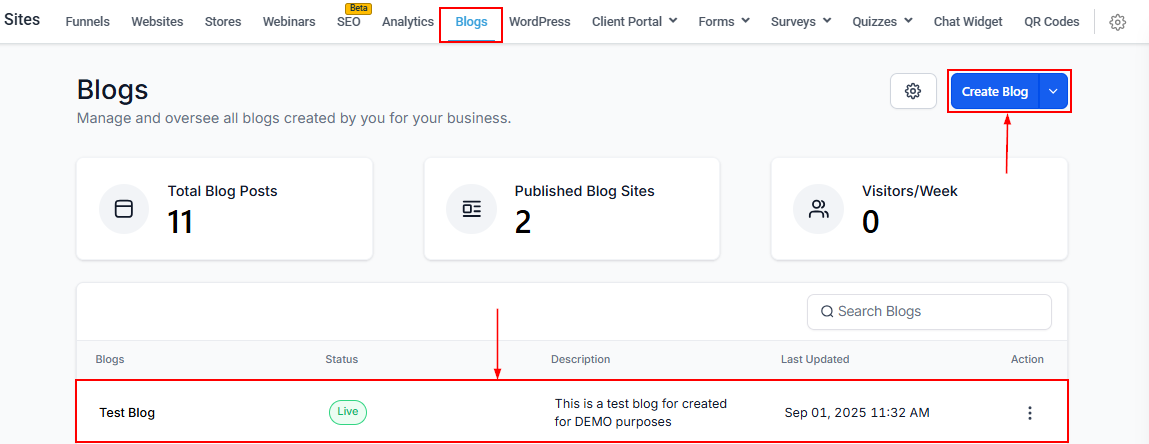
Navigate to Sites > Blogs and create a new Blog Site or access an existing Site by clicking its name in your Blog Site List.
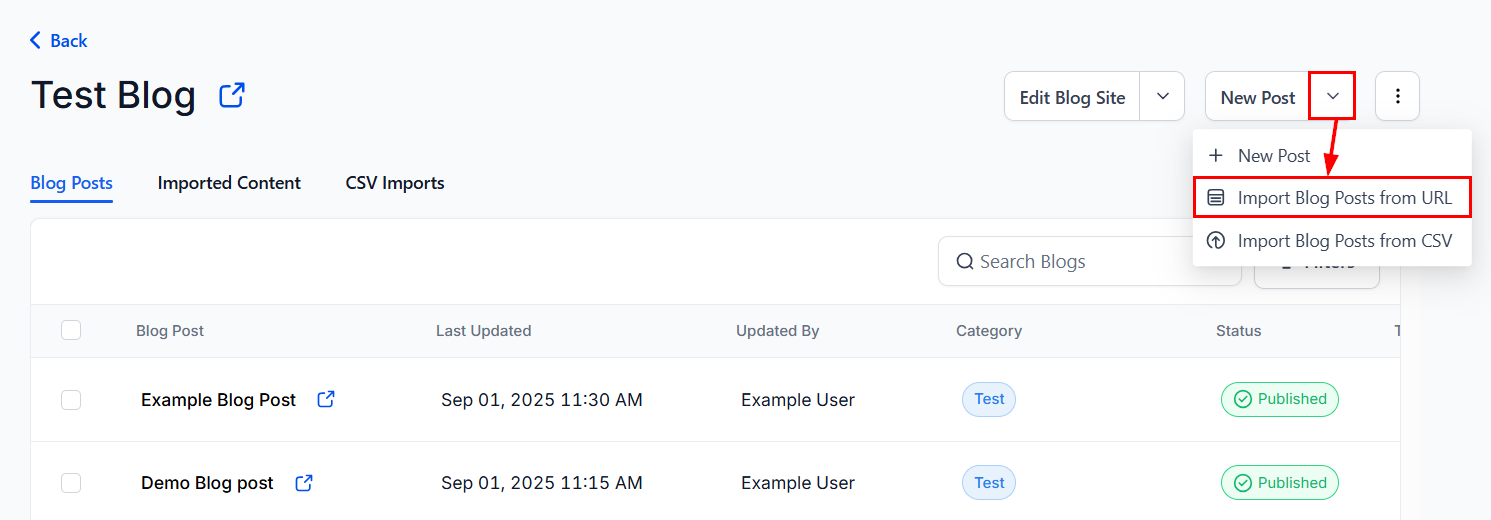
Go to New Post, then select the Import Blog Post from URL option from the dropdown.
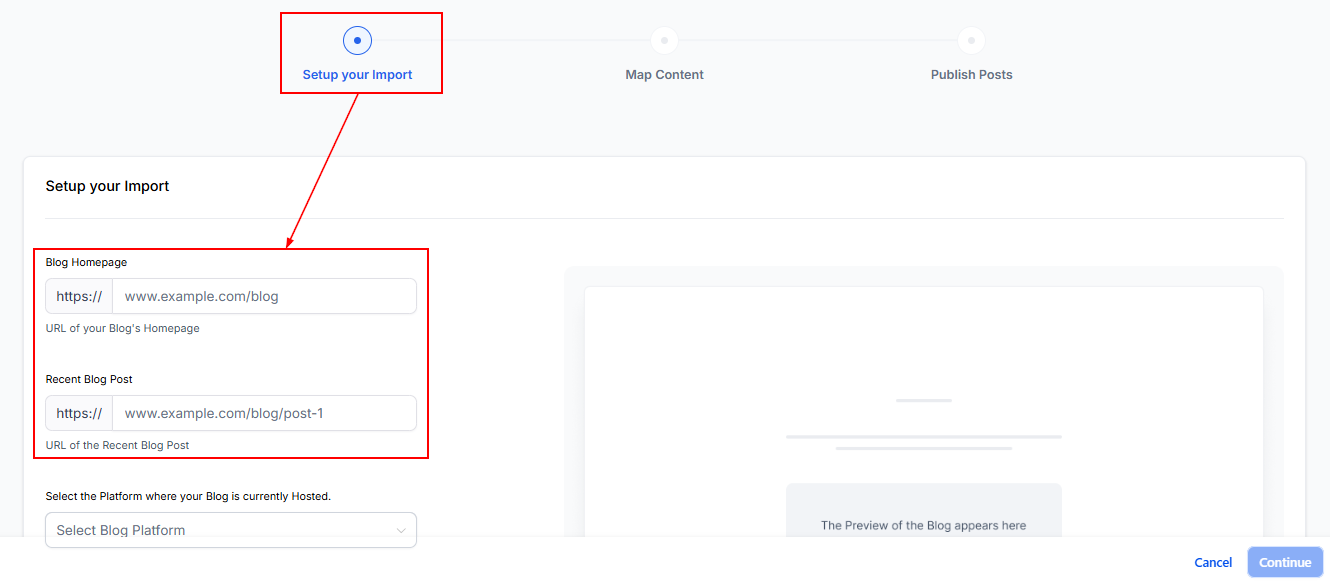
Setup Your Import
Start by entering the URL of your blog’s homepage and the most recent post URL.
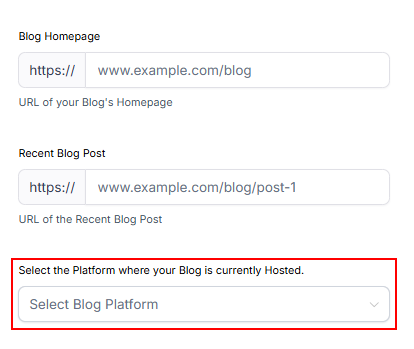
Specify the source platform for the import, then continue to the next step.
Map Content Fields
This next step allows you to preview and map key content elements.
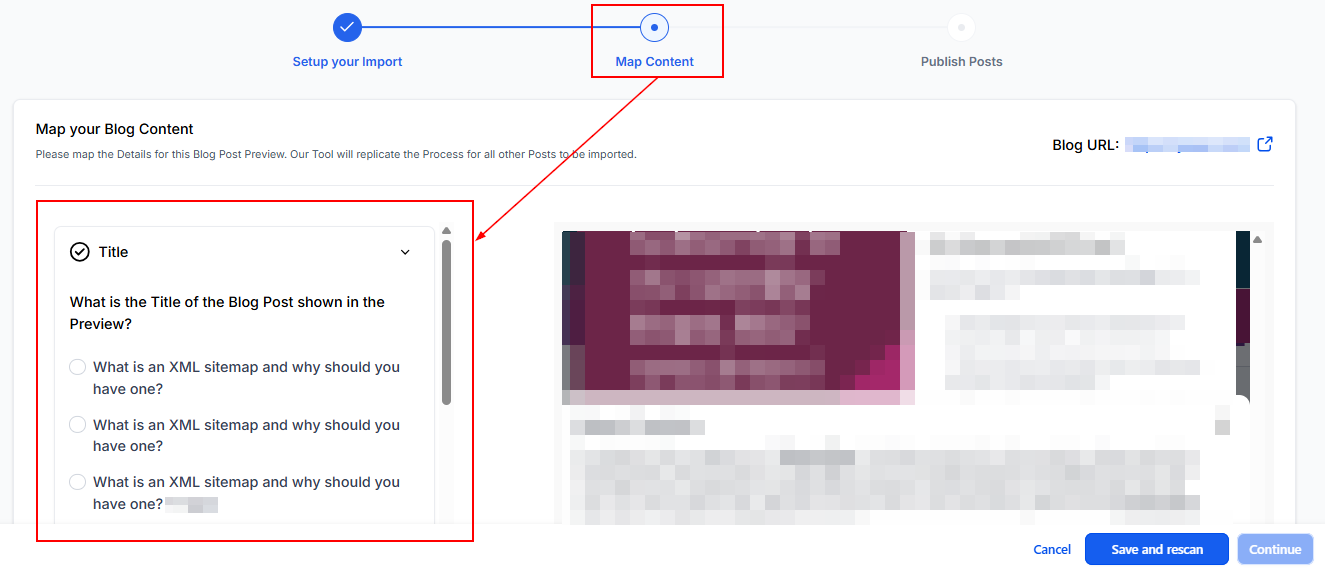
This includes:
- Blog title
- Author name
- Published date
- Featured Images
- Content Body
- Categories
- Tags or Keywords
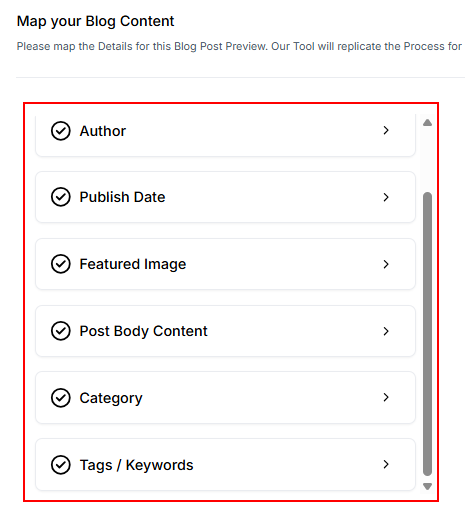
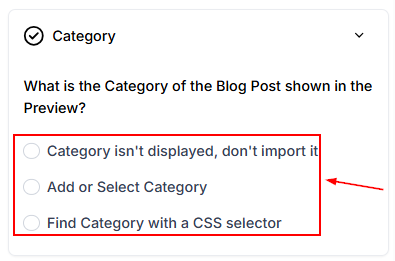
📌Note: If field mapping is inaccurate, you can manually adjust it using CSS selectors for precise targeting.
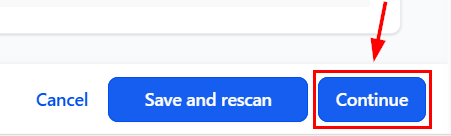
Once all the fields are mapped, select the Continue button to begin the scraping process.
Publish Posts
After setup, check the Imported Content section to monitor the “Scan in Progress” status.
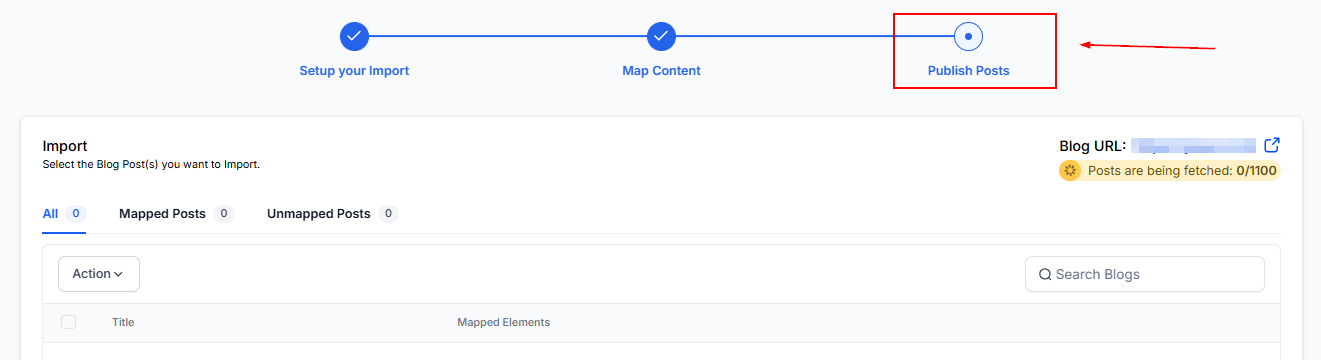
Once the tool completes the scraping process (approximately 10–20 minutes for 1,000 posts), you can:
- Import posts individually or in bulk.
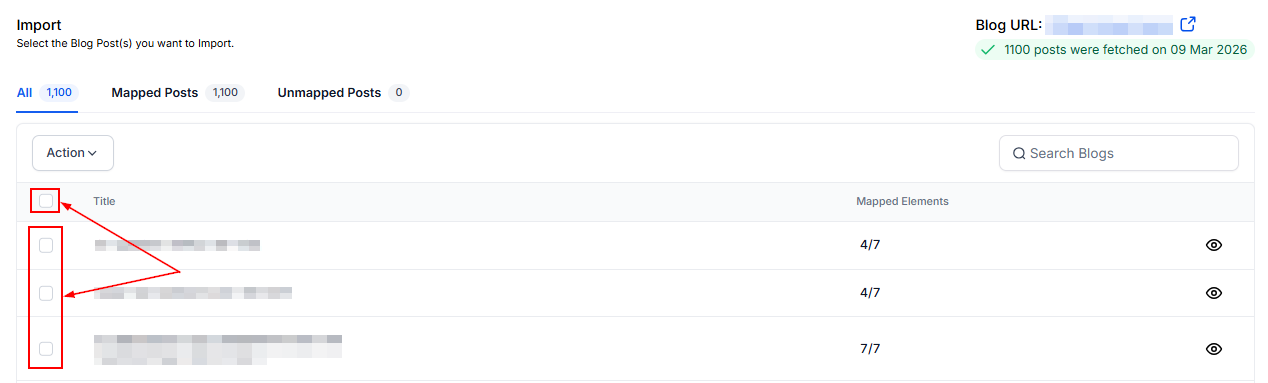
- View all posts imported as drafts, allowing for further review before publication. Mapped posts are imported as Published, while unmapped posts are imported as Drafts.
📌Note: Preview each blog post to ensure the formatting and content meet your expectations before publishing.
By following this guide, you can seamlessly import and manage your blog posts with confidence. Start using the Blog Importer today to enhance your blogging experience.
Not a Funnelbud customer yet?
Try our all-in-one CRM for sales and marketing — free for 7 days, no commitment.