How to Add Hero or Featured Post in a Blog?
One effective way to amplify key content and ensure that it continues to resonate with your audience is by adding a featured hero post to your blog. This feature is a powerful tool for curating and showcasing your most important posts, driving engagement, and boosting your content marketing strategy.
Why Add a Featured Post to Your Blog?
Adding a featured post to your blog serves several key purposes that can significantly enhance your overall content strategy:
- Highlight Important Content: A featured post ensures that key content—such as important announcements, cornerstone articles, or highly popular posts—remains prominently visible to your audience. By pinning these posts to the top, they retain their importance and are easily accessible for readers.
- Drive More Engagement: Featuring high-performing posts or cornerstone content keeps them at the forefront, driving continuous engagement. By keeping these posts visible, you encourage more interaction, comments, and shares, helping to boost overall blog traffic.
- Improve SEO & User Retention: A frequently visited and pinned post contributes to better search engine rankings. As readers return to view your featured content, this engagement can positively influence SEO. Additionally, this encourages longer site visits, increasing user retention and reducing bounce rates.
- Promote Evergreen Content: Featured posts are an excellent way to highlight timeless, evergreen content that remains relevant over time. This ensures that such posts are always easily accessible, even as new content is published.
How Does the Featured Post Work?
To get started with adding a featured post to your blog, follow these steps:
Select Your Blog Site
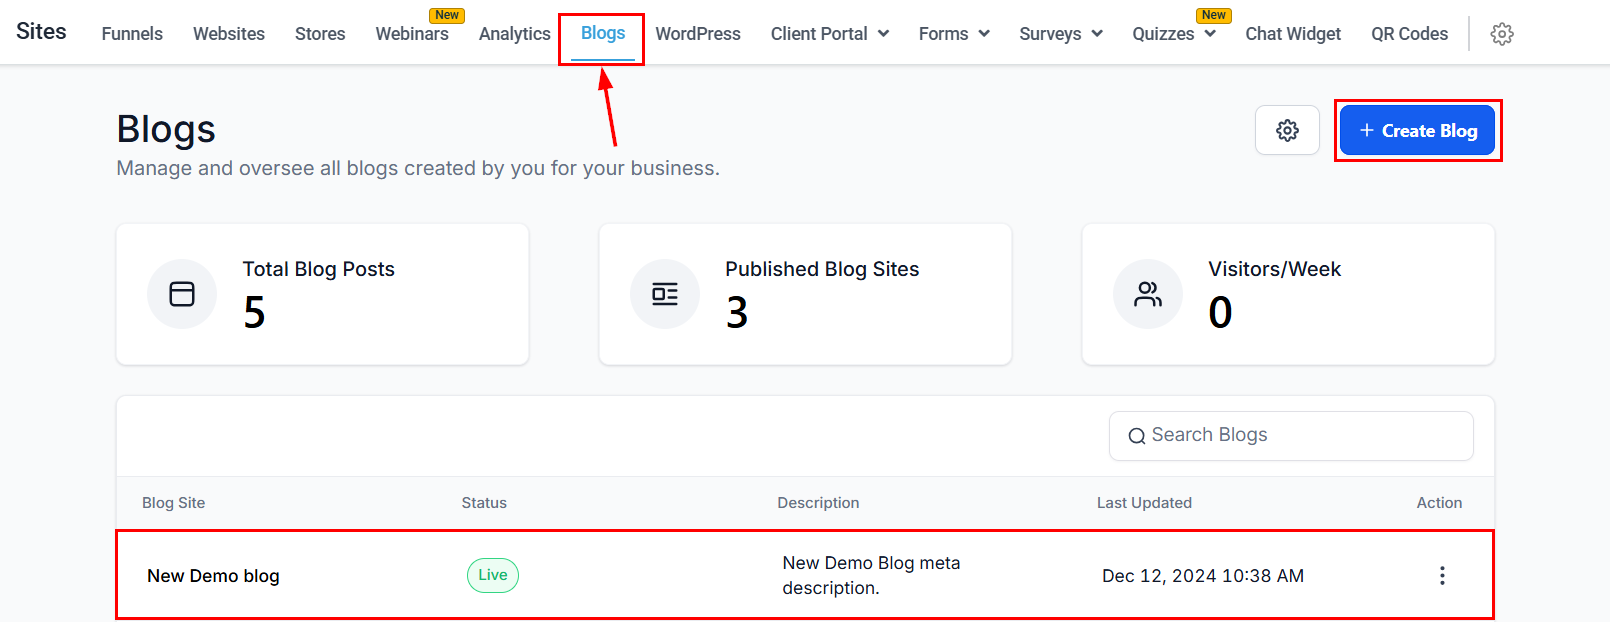
Start by accessing your blog management section. In the list view of your blog sites, locate the site you wish to feature a post on, then click to open it. Alternatively, create a site from scratch by clicking the “+ Create Blog” button.
Go to the Edit Blog Site View
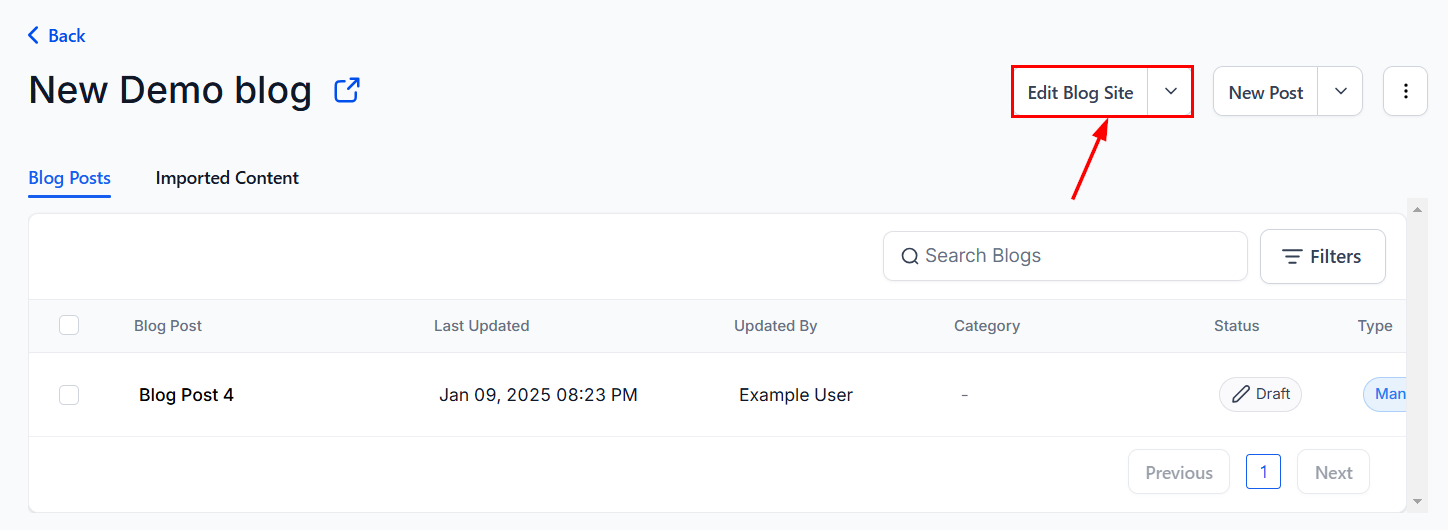
Once inside the site settings, click on the option to edit the blog site.
Add the Featured Post Element
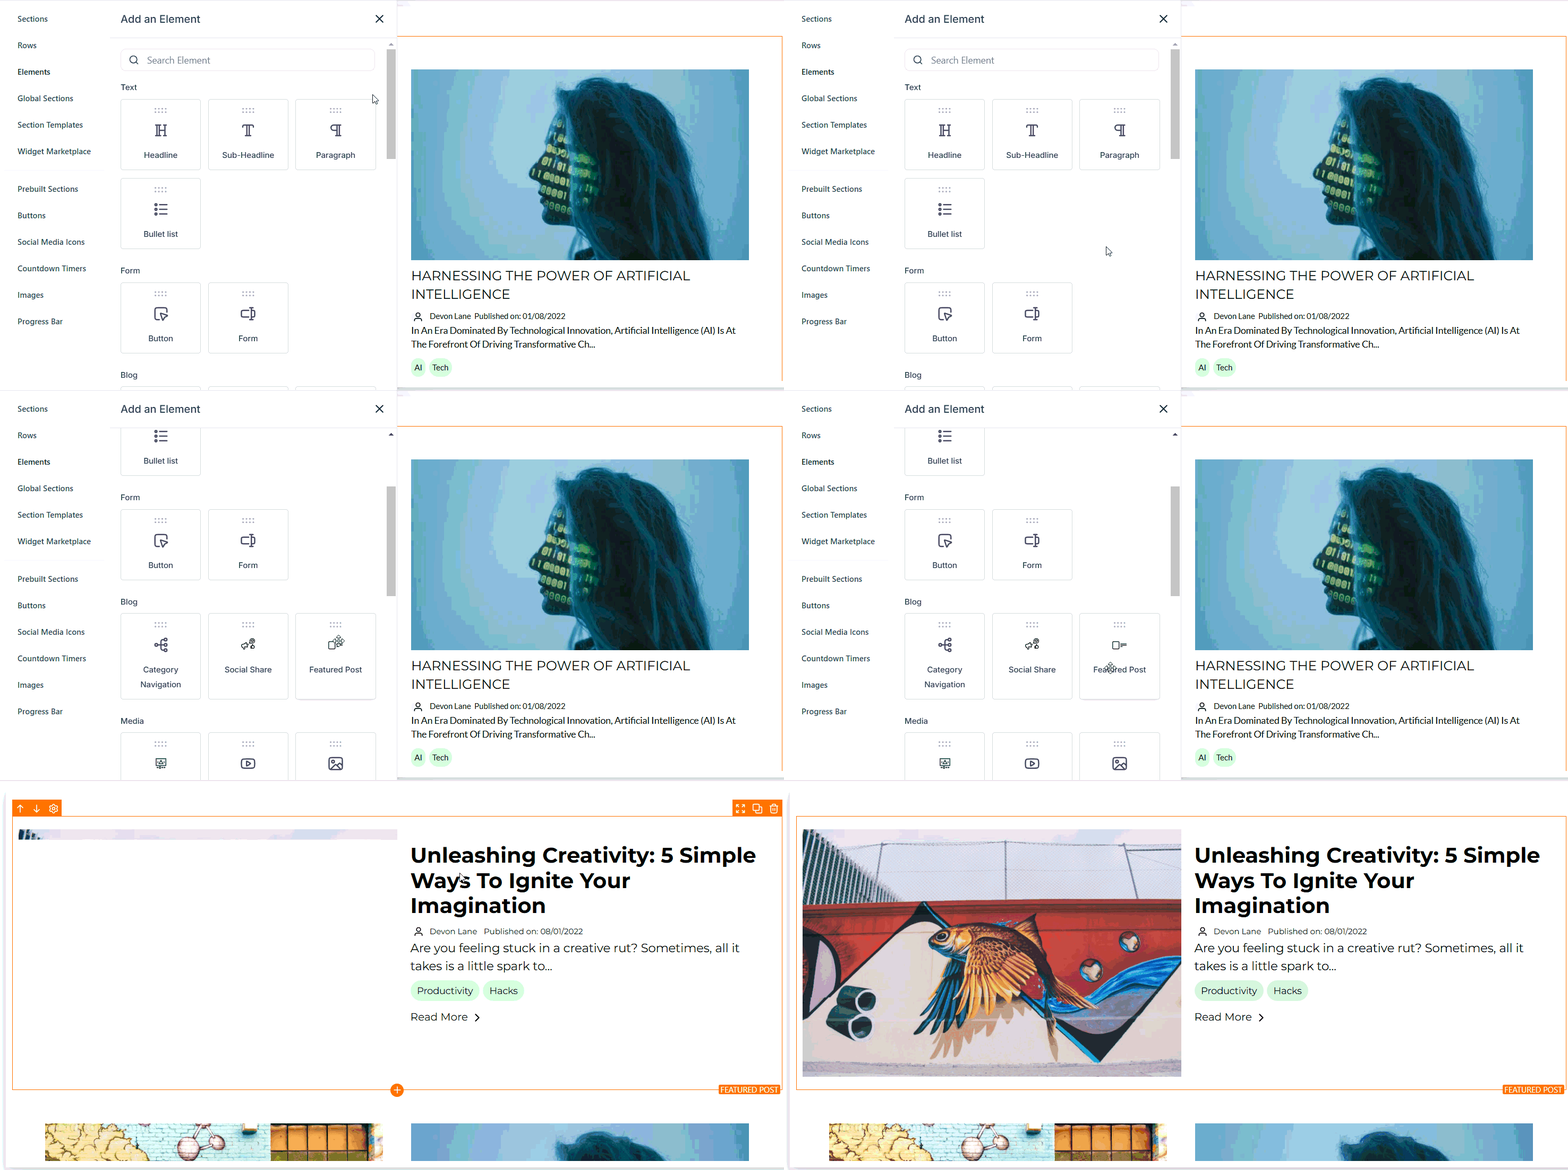
Within the editing view, locate and add the “Featured Post” element to the desired section of your blog layout.
Select Your Featured Post
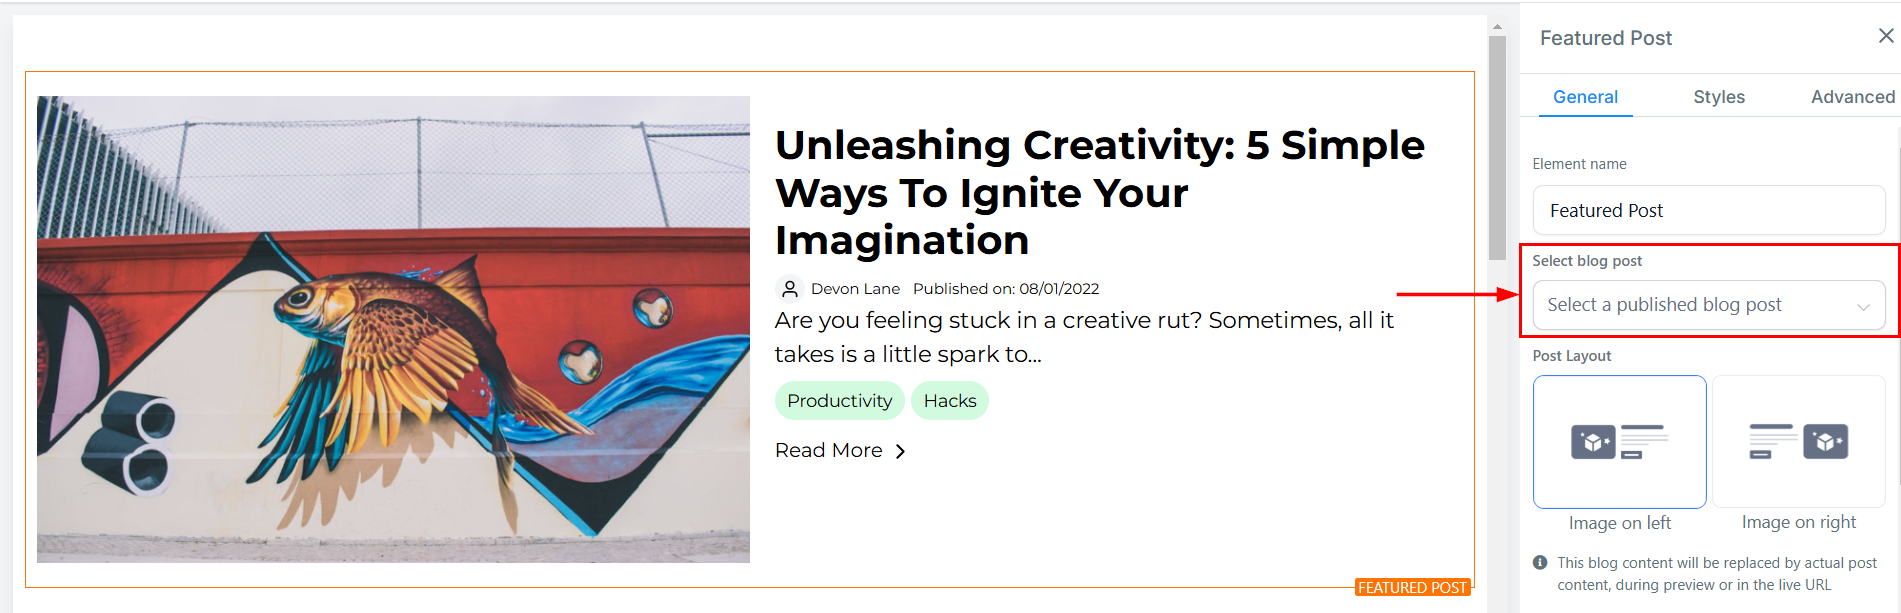
Choose the post you want to feature. This will be the post that remains at the top, drawing attention to its content.
📌Note: Only published blog posts will appear in the dropdown.
Choose Layout and Display Preferences
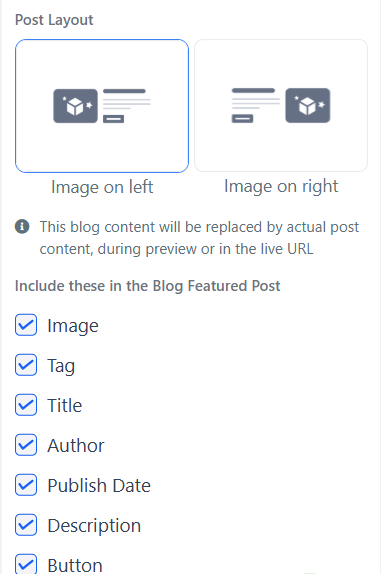
After choosing the post, customize the layout to fit your blog’s design and choose the elements you’d like to display for the featured post (e.g., image, title, etc.).
Publish the Blog Site
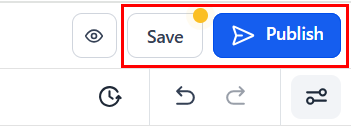
Finally, save your changes, then click “Publish” to make the changes live on your site.
Whether you’re showcasing popular articles, promoting evergreen content, or driving traffic to cornerstone posts, the featured post feature is an indispensable tool for elevating your blog’s content strategy.
Not a Funnelbud customer yet?
Try our all-in-one CRM for sales and marketing — free for 7 days, no commitment.