How to Schedule Posts for Communities
Communities promote interaction and engagement with an already interested audience. The best way to keep them dynamic is by regularly posting to them, which you can do from the comfort of the Social Planner. It works just the same as posting to regular social media.
Getting Started
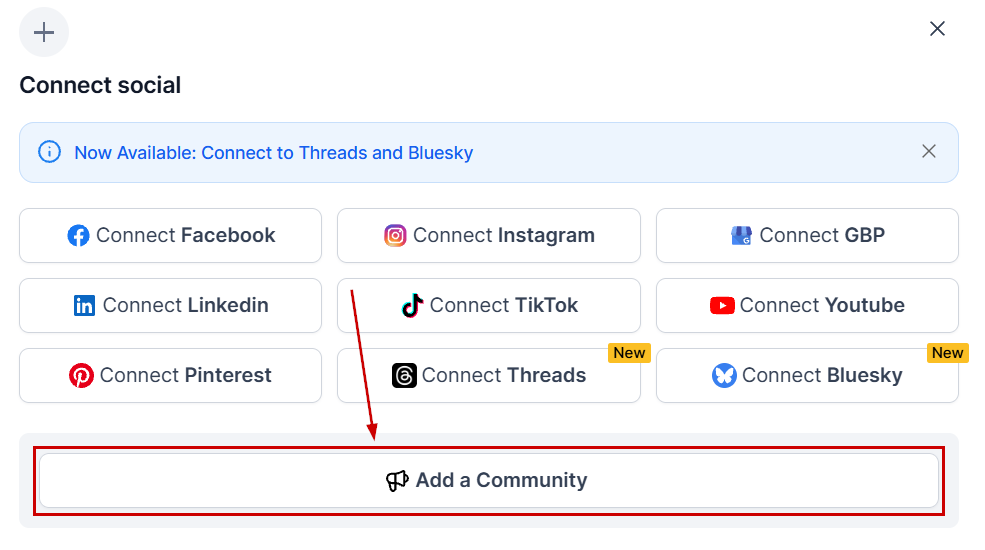
Navigate to the Social Planner tab inside the Marketing section and click + Socials.

Select Add a Community.
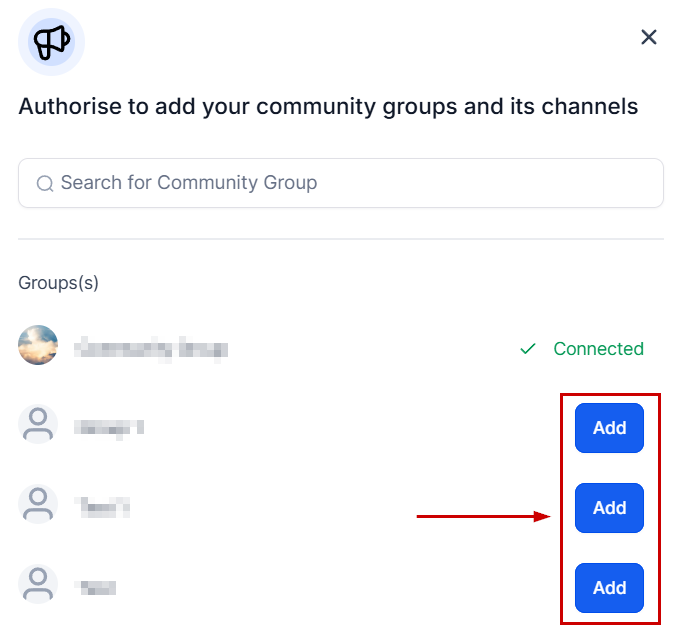
Click Add next to the Group you’d like to connect.
Creating a Post
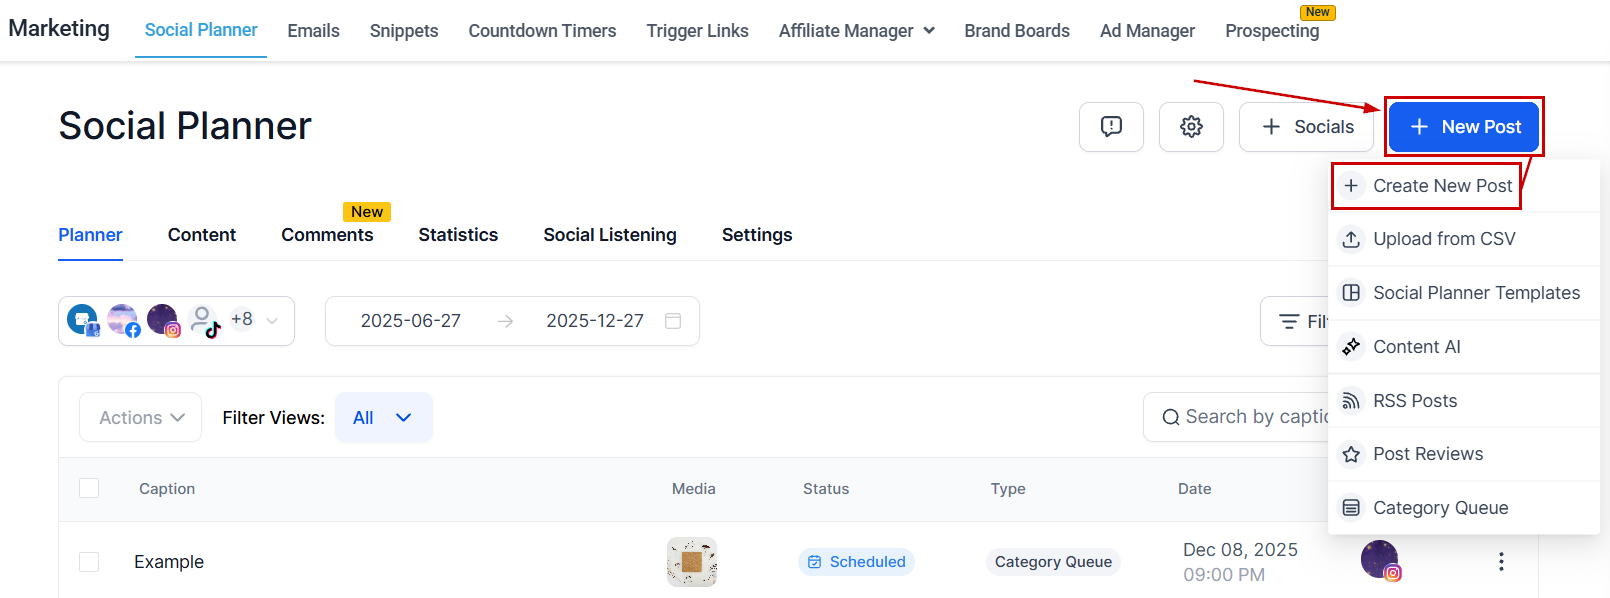
To create a post from scratch, start by clicking “New Post” in the top right corner. Select “Create New Post”, alternatively, there’s also a “Create New Post” link at the bottom of your posts list.
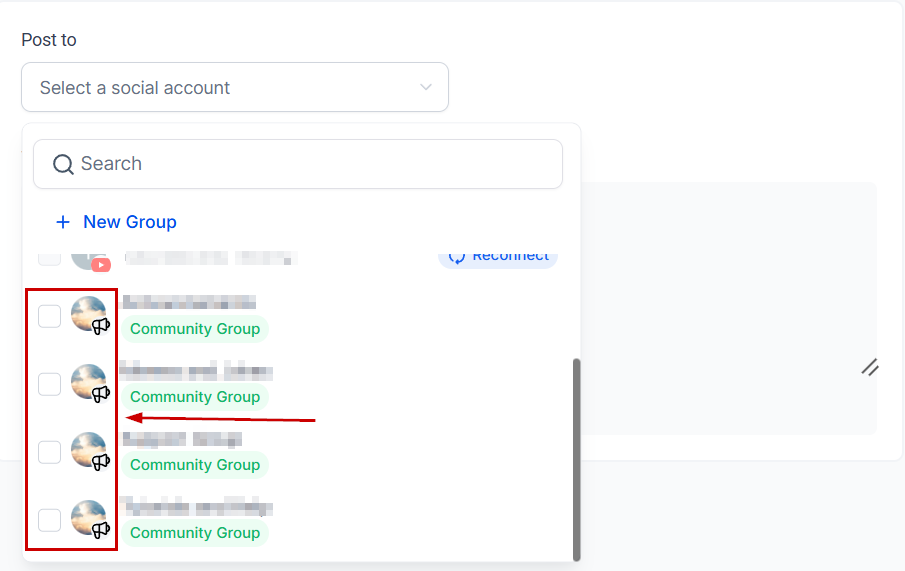
Open the Social Account drop-down and select the channel you’d like to post in.
Add your caption and hashtags, or click the AI tool icon for assistance. Enhance your post with bold or italic text, images, videos, or carousel content.
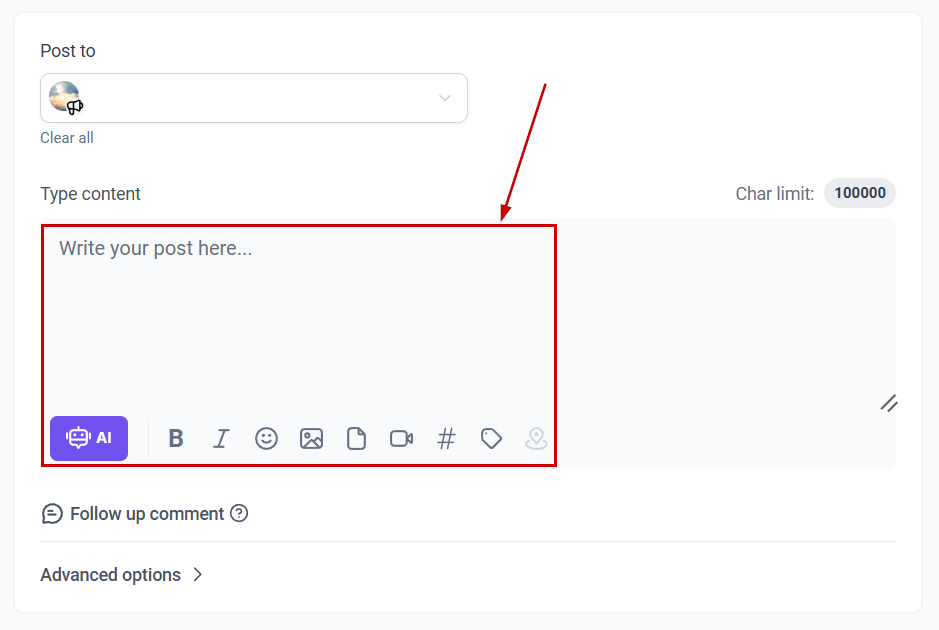
Community Options
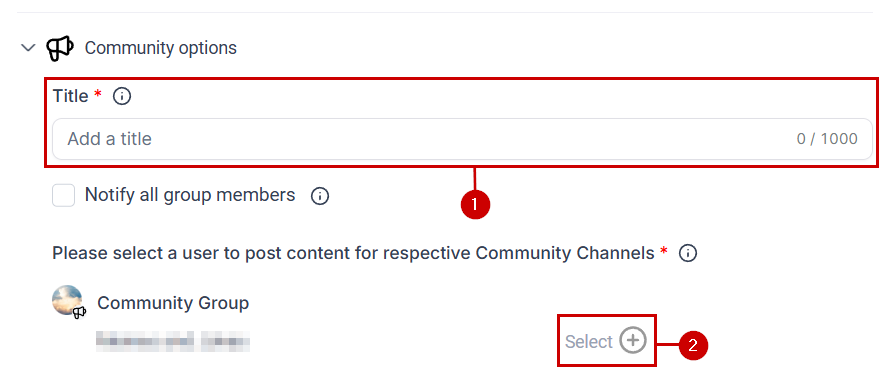
Once you’ve created the post, scroll down to the Community options to (1) add a title to your post and (2) select the user to post as.
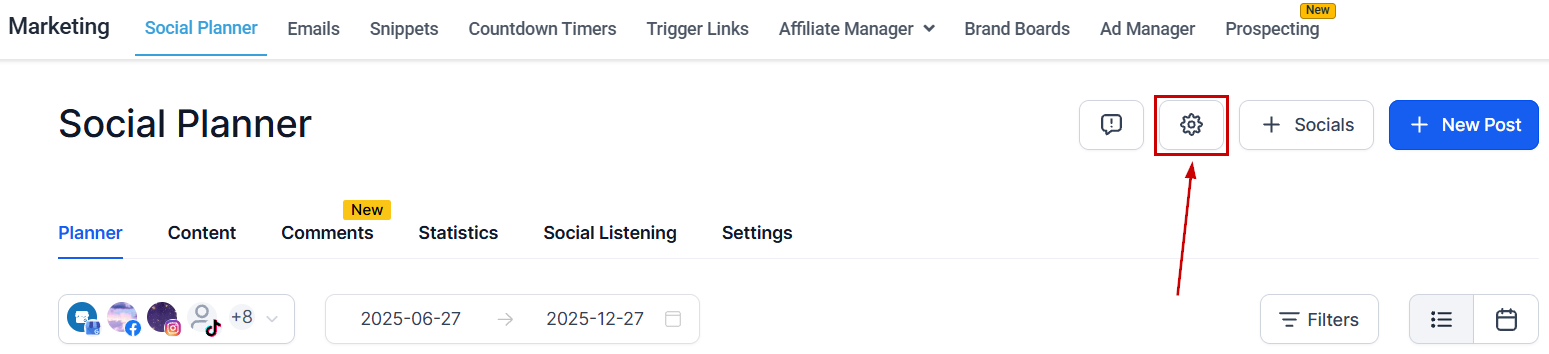
You can select a default user to post as by accessing your Social Planner settings.
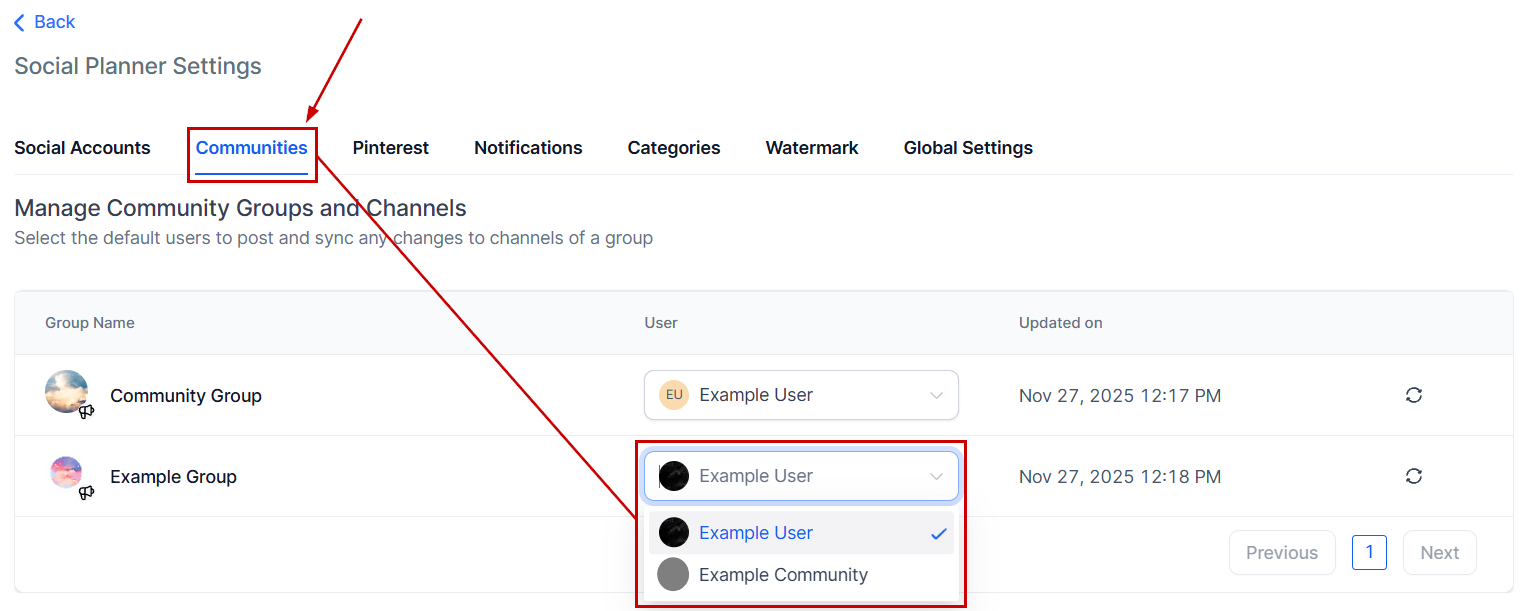
Switch to the Communities tab and select your desired user from the dropdown menu.
Previewing and Posting
You can preview all your content here before you post it.
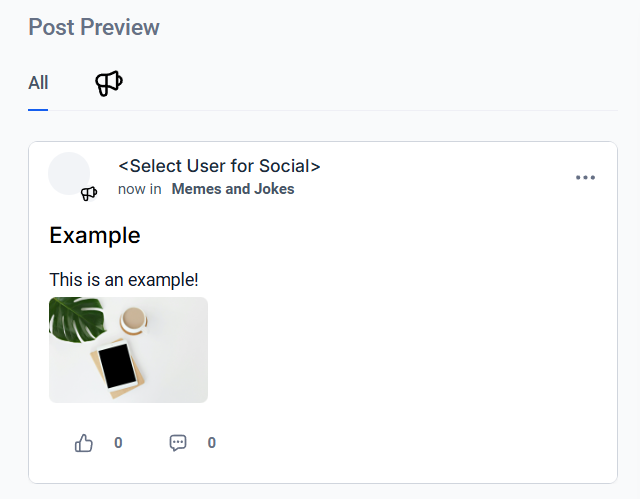
Once you are happy with your post, click on the Post button, it will give you the options for the next step with the post. These will be:
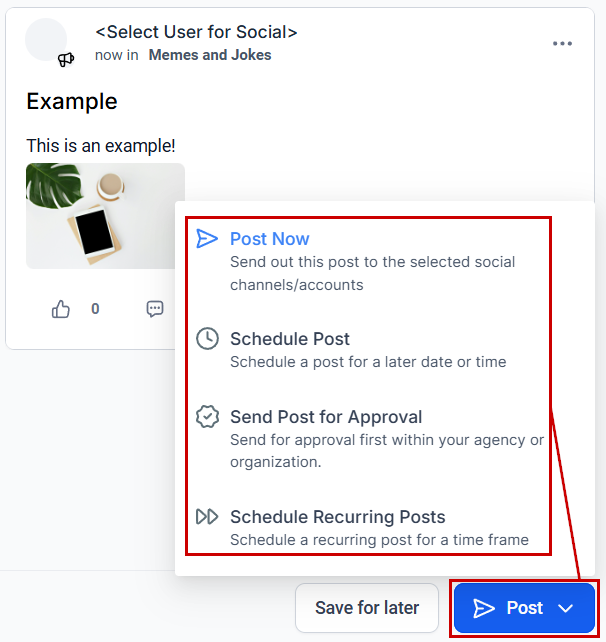
After selecting the next step, you’re done! Use this method to keep your communities active without manually posting every day, increasing interactions and improving engagement!
Not a Funnelbud customer yet?
Try our all-in-one CRM for sales and marketing — free for 7 days, no commitment.