Prospecting Widget Overview
Prospecting widgets are fully customizable lead capture forms that can be embedded on your website to generate instant Marketing Audit Reports. In this guide, we will dive into the main sections of the Widgets tab to ensure you maximize the benefits from this feature.
📌Note: This functionality is available exclusively with the paid version of the Prospecting tool.
How It Works
To get started, navigate to the Prospecting section of your account, then open the Widgets tab.
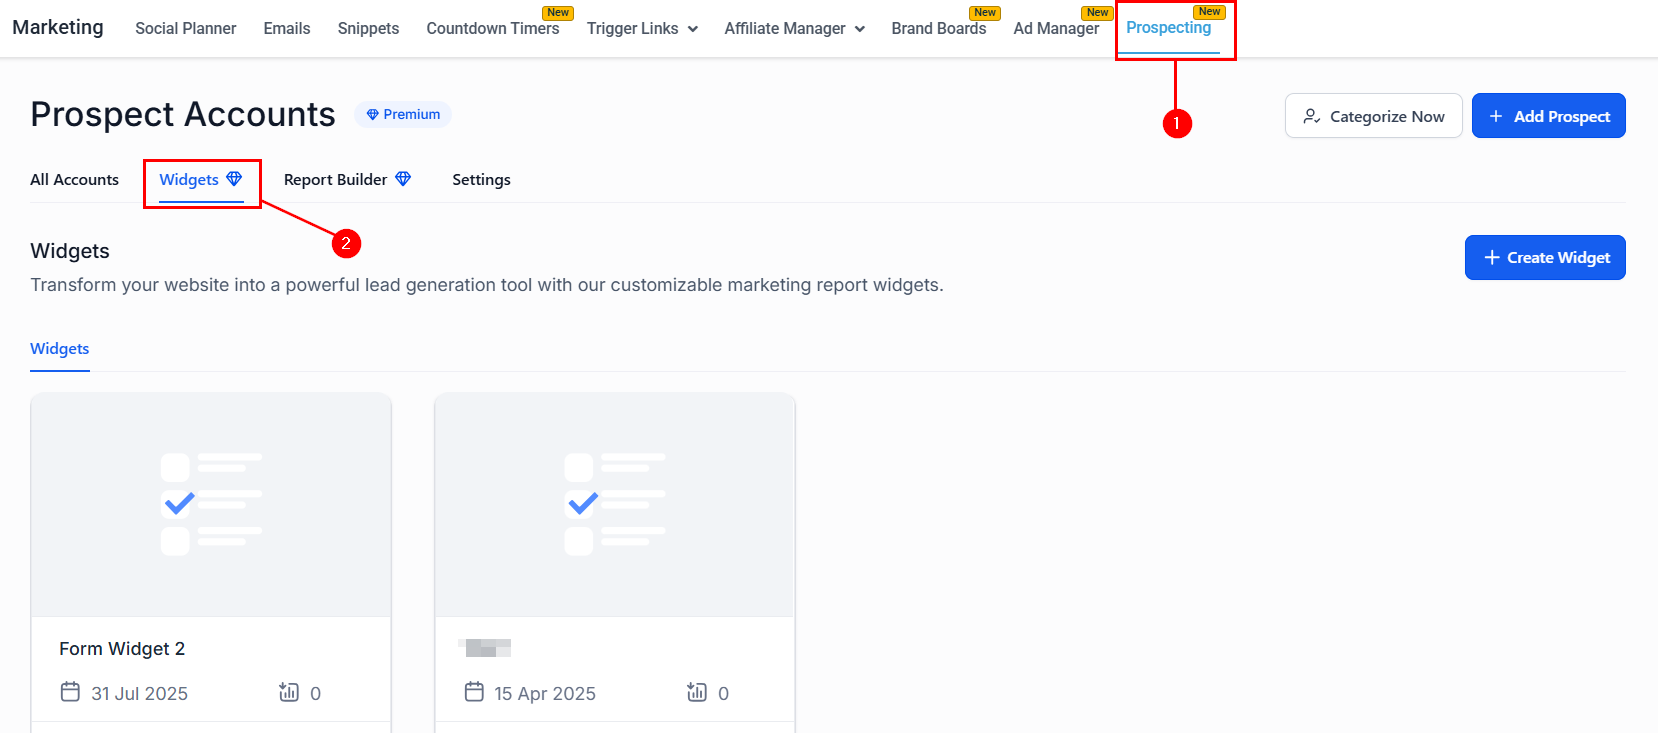
Categorize Now
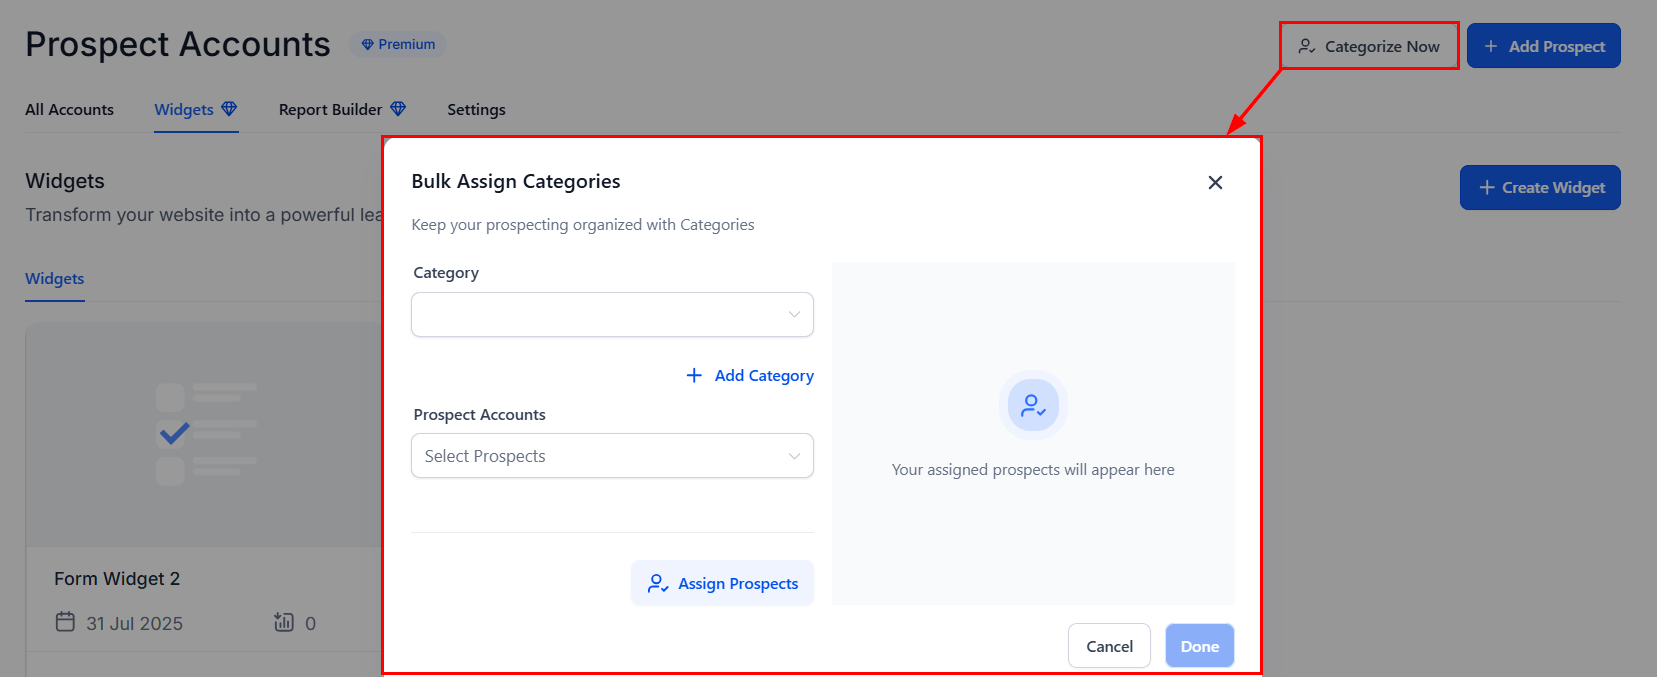
On the upper right-hand section of the screen, you will first see the Categorize Now button.
You can click this button to bulk assign categories to the Prospect Accounts you have already added.
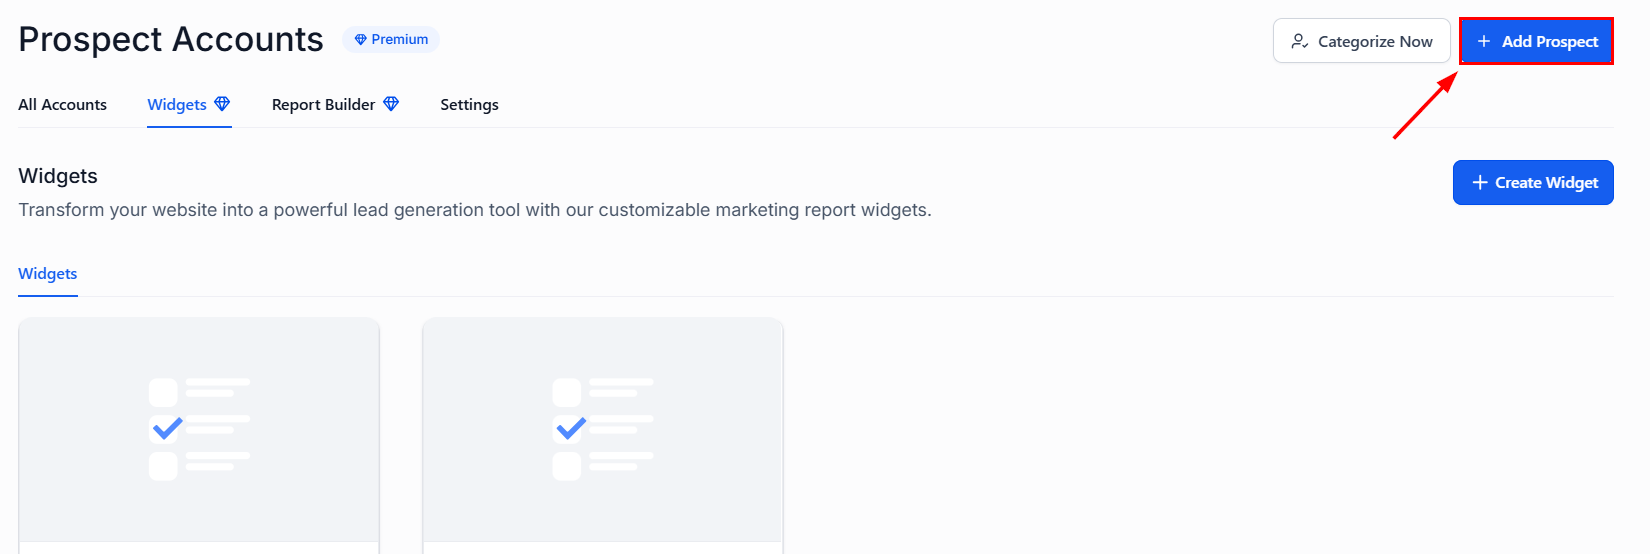
Add Prospect
By clicking this button, you can add a new prospect by entering a Maps Page URL for Virtual Businesses, or locating them using the search functionality.
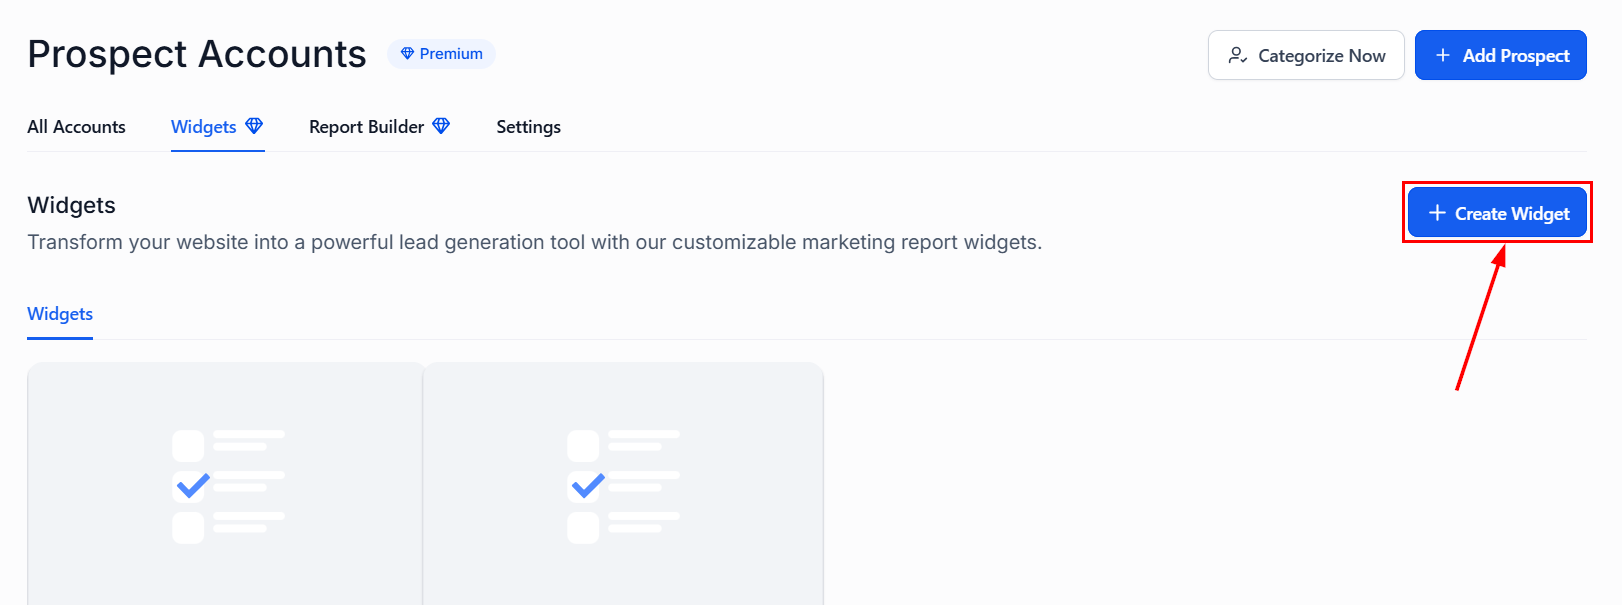
Create Widget
Build a new prospecting widget by clicking the Create Widget button. To get more information on this process, please refer to the How to Create a Prospecting Lead Widget article.
Widgets View
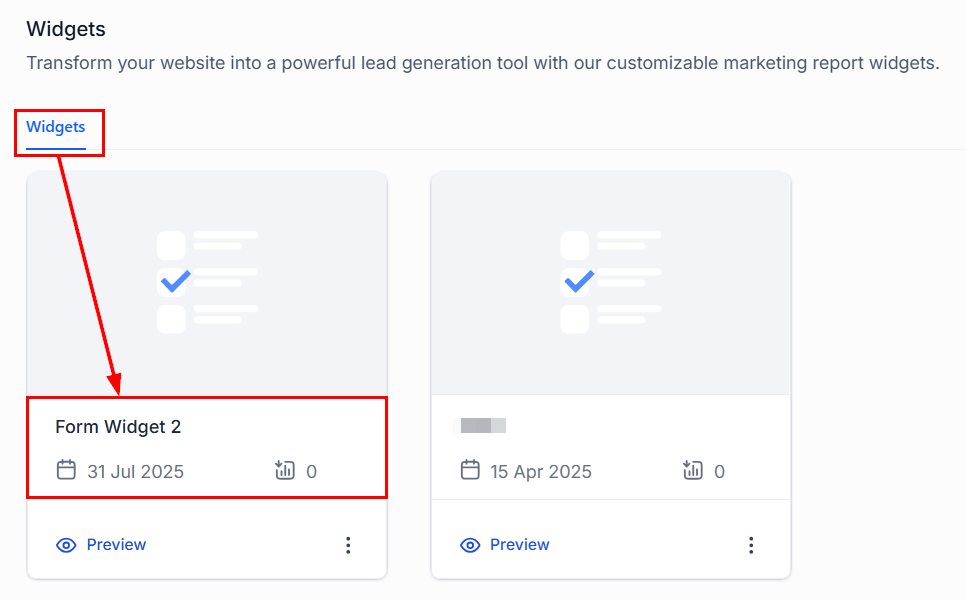
Within the Widgets view, you can access all the widgets you have already created.
In each widget tile, you will see the name and creation date of the widget. You will also see the number of prospects obtained from this widget here.
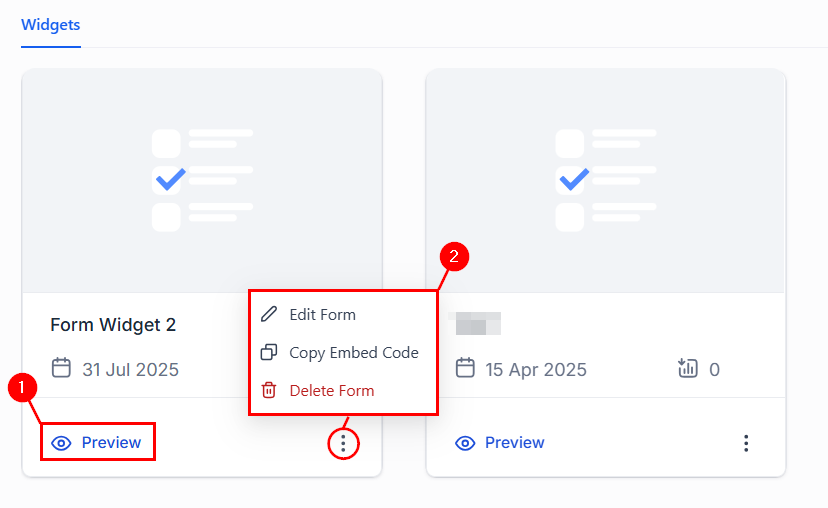
Preview the form to ensure that it aligns with your requirements (1), then expand the actions menu to edit the form, copy its embed code, or remove it from your account permanently through deletion (2).
Prospecting widgets offer a powerful way to streamline lead capture, enhance branding, and automate follow-up — all from a single, centralized dashboard. By understanding the key sections within the Widgets tab, you can fully leverage this tool to drive more qualified leads and support your marketing efforts more efficiently.
Not a Funnelbud customer yet?
Try our all-in-one CRM for sales and marketing — free for 7 days, no commitment.