How to Use Conditional Elements in Email Builder
Conditional elements can be added within email campaigns or templates, enabling you to tailor content dynamically based on specific conditions. This ensures that your emails are relevant to each recipient without the need for multiple campaigns.
Key Benefits
- Save Time: Deliver targeted content within a single campaign, avoiding the need for duplicate campaigns or smart lists.
- Streamlined Reporting: All personalized content is tracked in one unified view, with consolidated statistics for your entire campaign.
- Increased Efficiency: Simplify the email marketing process by dynamically adapting content based on recipient-specific conditions.
Setting up Conditional Elements
Navigate to Marketing > Email Campaigns or Templates, then create or edit your email campaign or template.
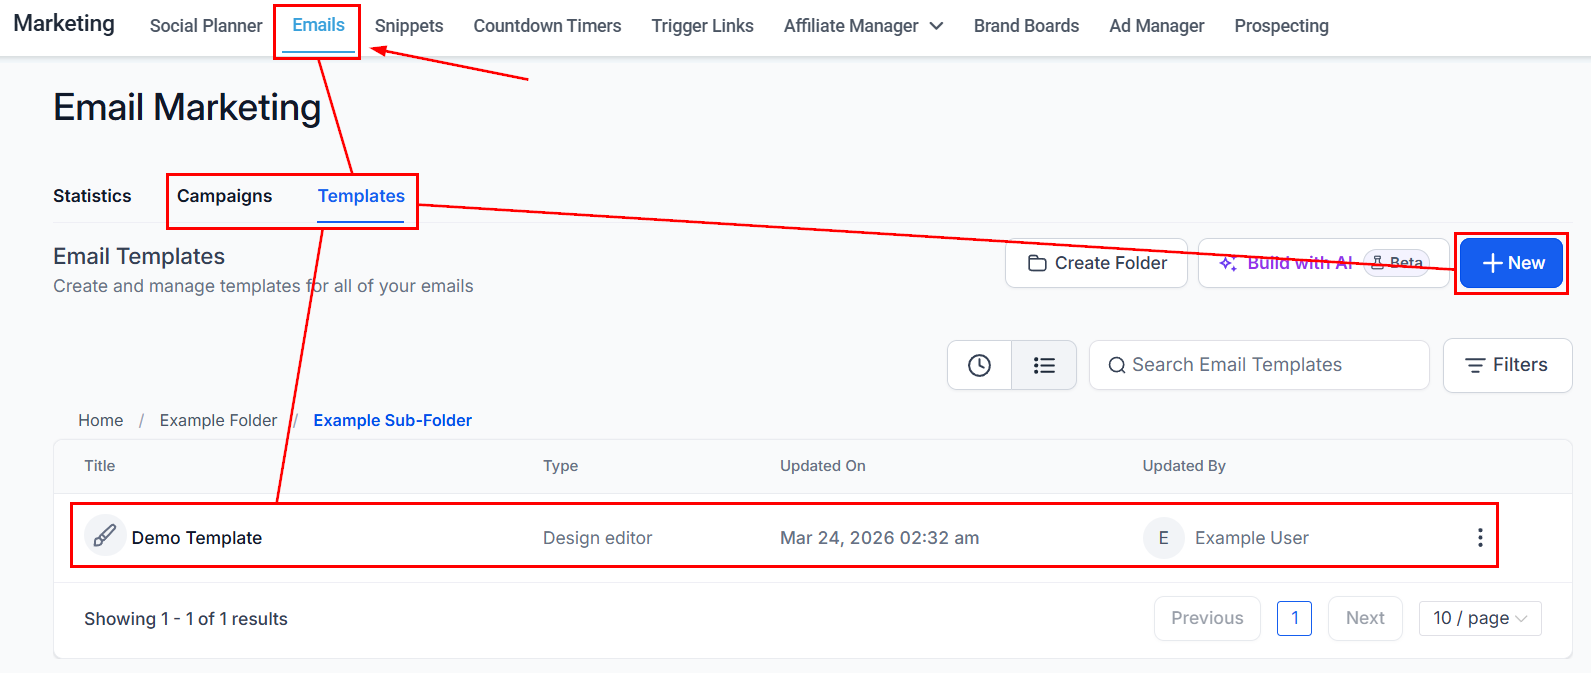
Select the element you wish to personalize and go to the Visibility tab.
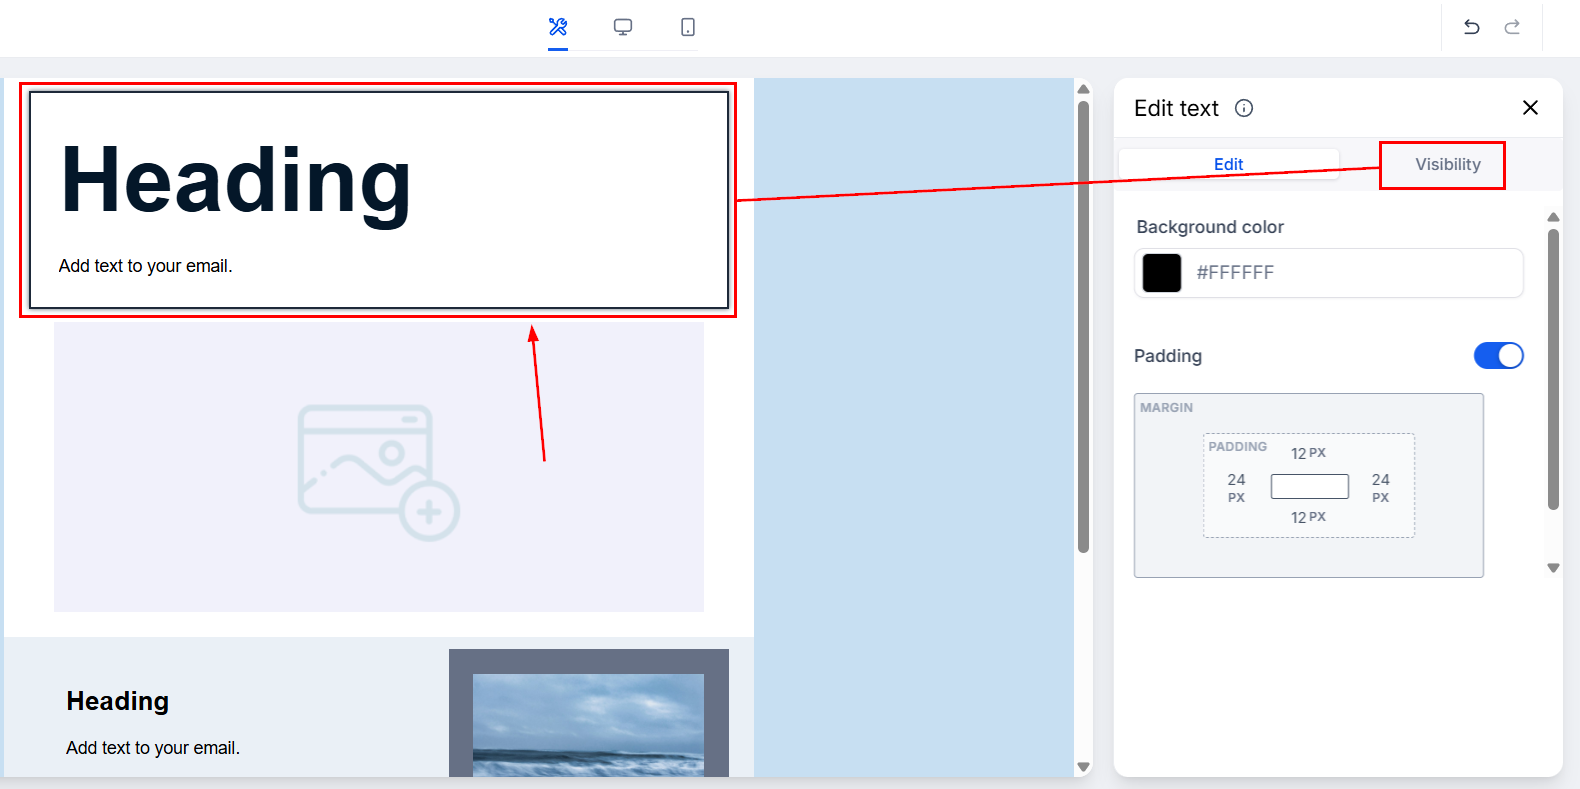
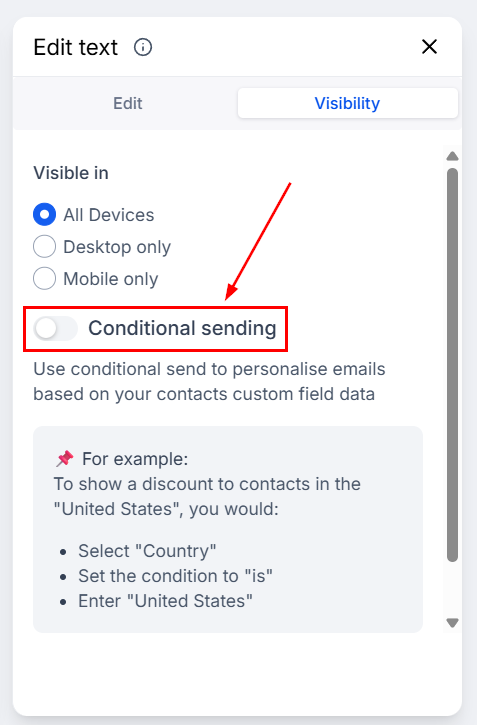
Enable the Conditional Sending toggle.
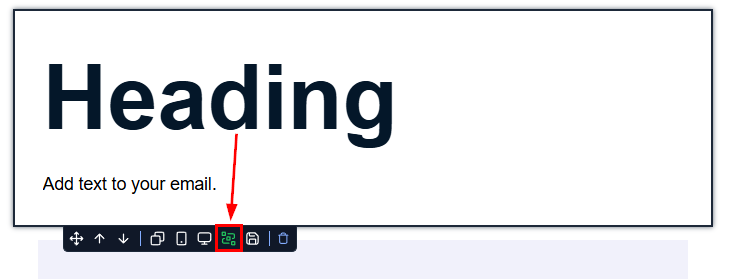
Alternatively, click the Conditional Element icon in the element overlay action to easily add conditions.
Define the conditions by selecting a contact field from the dropdown menu (1), choosing the appropriate operator (2), and entering the corresponding value (3).
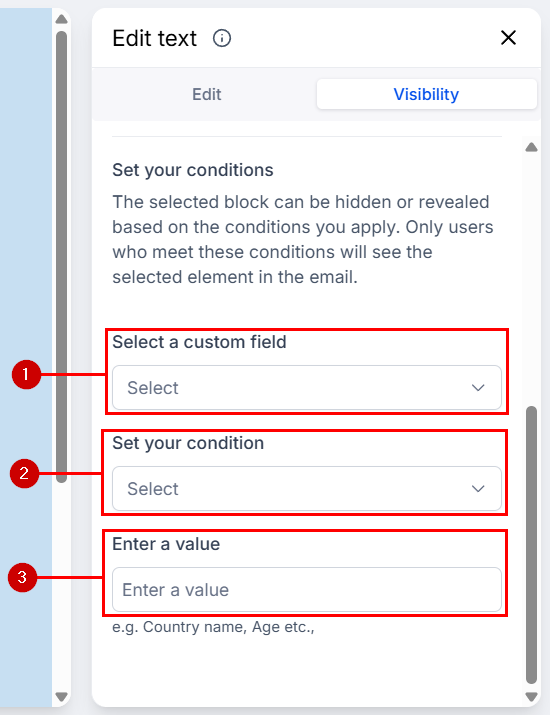
📌 Note: If there’s no applicable value, keep the field empty. Writing the word NULL will cause errors in the system.
This can be done with entire sections of the layout as well.
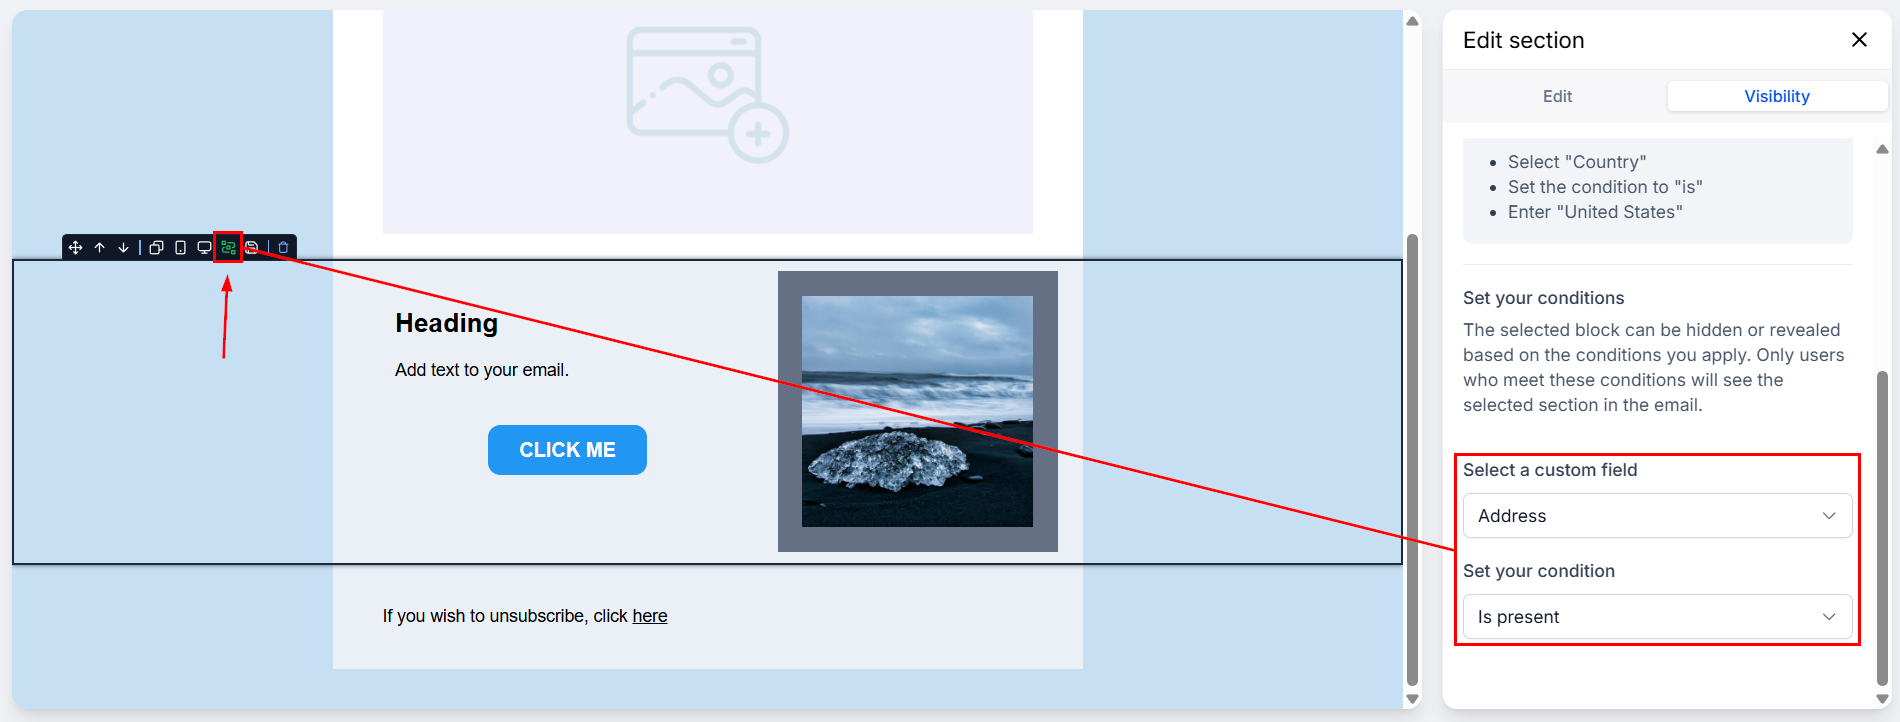
For example:
To display a special offer to contacts from a certain company, you would:
- Select “Company Name” from the custom field dropdown.
- Set the condition to “is”.
- Enter “[Company Name]” in the value field.
By adding conditional elements to your email campaigns, you can efficiently target and personalize content without the need for multiple campaigns. This approach enhances content relevance for your contacts, simplifies reporting, and ensures a more streamlined and effective email marketing process.
Not a Funnelbud customer yet?
Try our all-in-one CRM for sales and marketing — free for 7 days, no commitment.