How to Create Product Payment Links
Product Payment Links aid you and your sales process. By allowing your customers to quickly purchase a product, they simplify your process and lower the barrier to entry, removing the time for your clients to doubt if they want the product instead, resulting in more and higher-value sales.
How to Create Product Payment Links
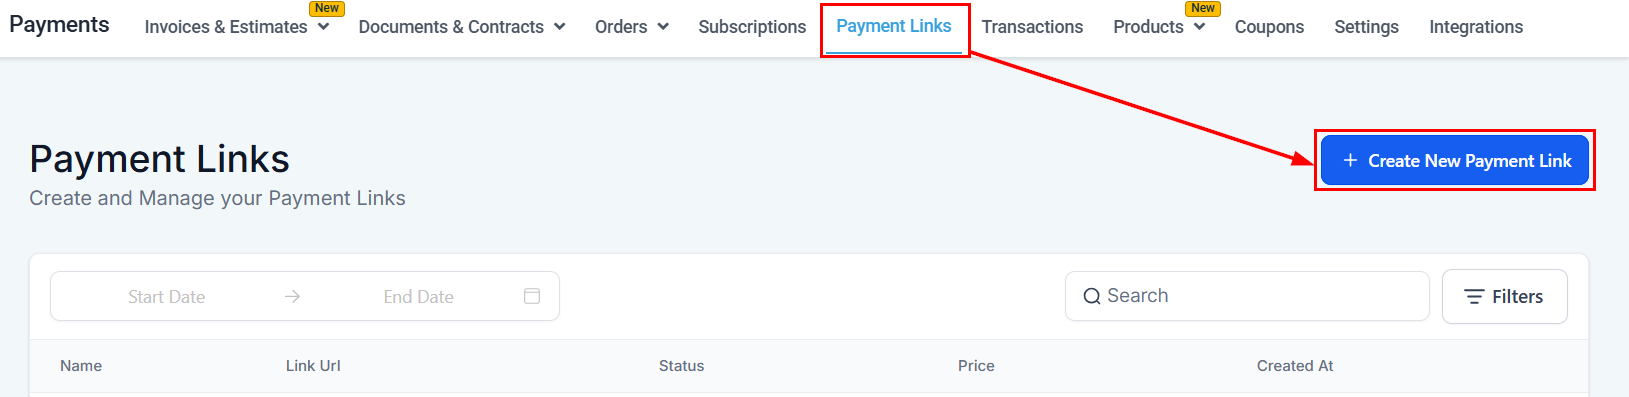
To begin, navigate to the left side menu of the CRM and locate the “Payments” tab. In this section, find the “Payment Links” tab in the upper navigation menu and click “+Create New Payment Link”.
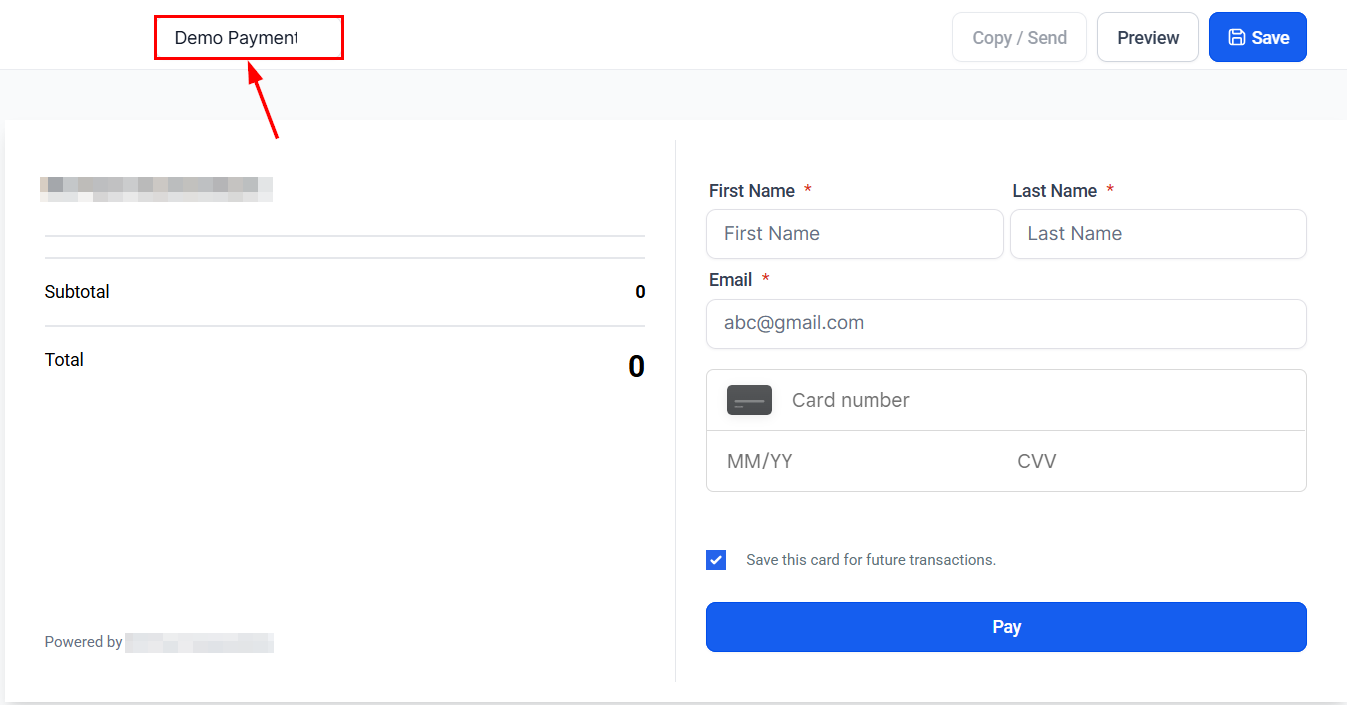
Start by updating the name of the Payment Link to one that reflects its purpose. Ensure the name is both concise and user-friendly, providing a clear understanding of the link’s function.
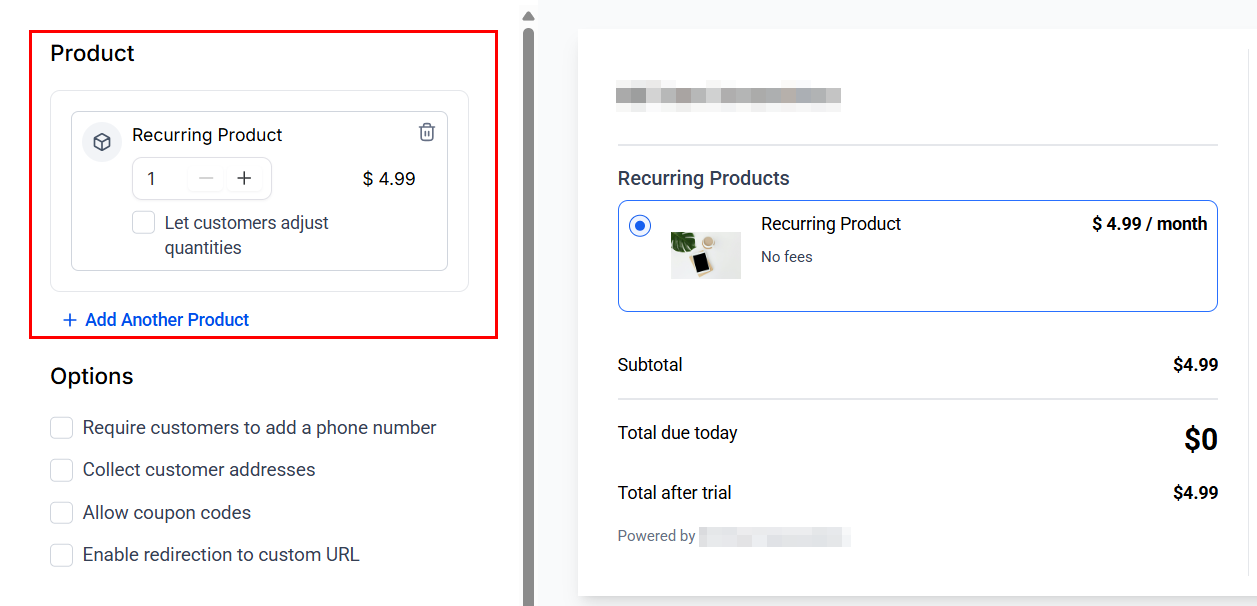
Product
Next, choose the product(s) you wish to sell in the link builder and specify the quantity, or allow customers to choose their quantities.
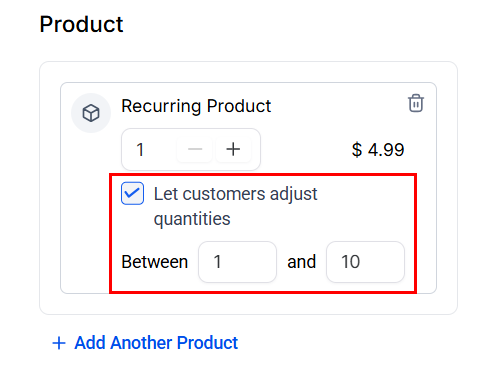
When enabled, the minimum and maximum quantities your customers can order for the product must be configured. This step is crucial for setting up the correct payment amount.
📌Note:
- All products are organized under the “One-time Products” and “Recurring Products” sections, providing customers with a clear and streamlined selection experience while supporting upsell opportunities.
- When multiple recurring products are offered, customers can select only one option during checkout.
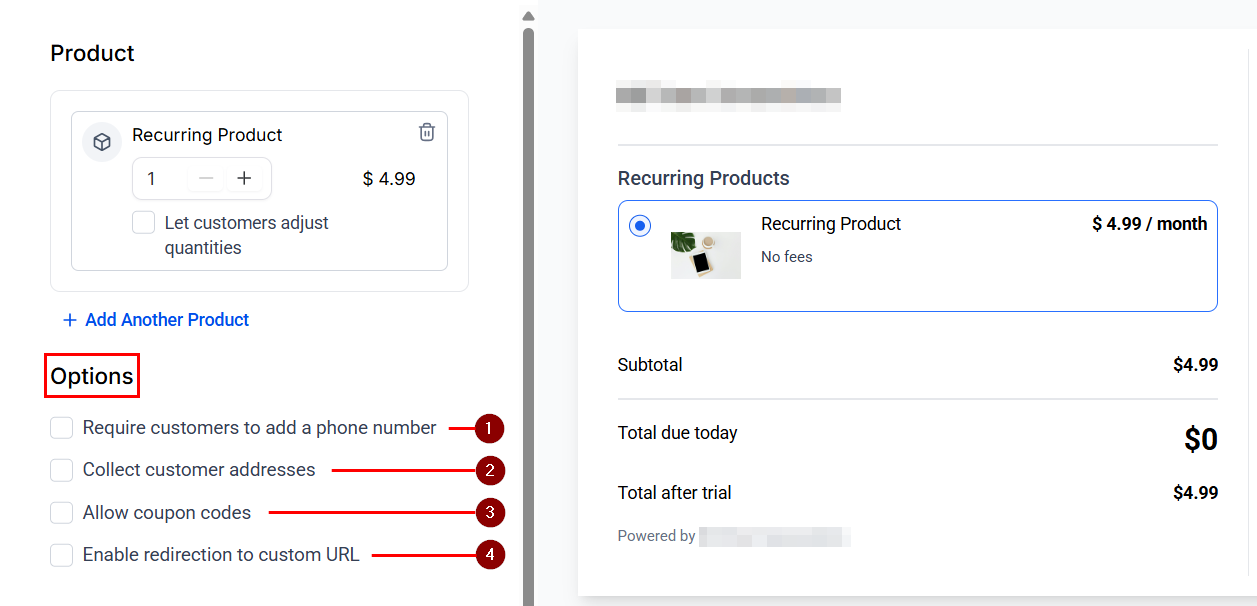
Options
When setting up your payment link, there are a few options to keep in mind:
- Require Customers to add a phone number: When enabled, the purchase will not proceed unless the customer adds a phone number to the form.
- Collect customer addresses: This adds a field for contacts to leave their address for delivery and save it in the system.
- Allow coupon codes: If you’re offering a discount code for the products being sold, enable this option.
- Enable redirection to custom URL: You can redirect customers to a specific page after a successful payment. Enable this option, enter the desired URL, and choose whether the page opens in the same tab or a new tab. After payment, customers will see an interim screen before being redirected to the specified URL.
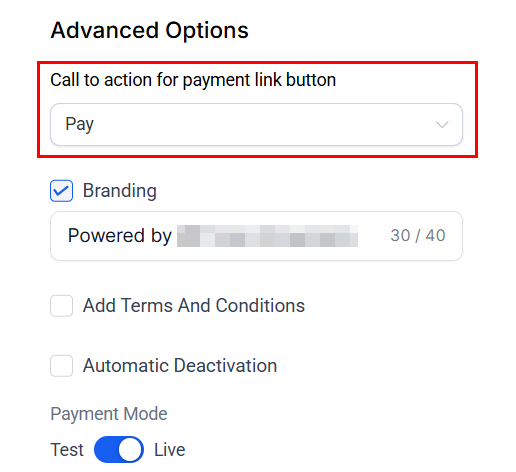
Advanced Options
Dive into the ‘Advanced Options’ to select the button type that best fits your requirements. This customization allows you to align the payment link with your brand and sales strategy.
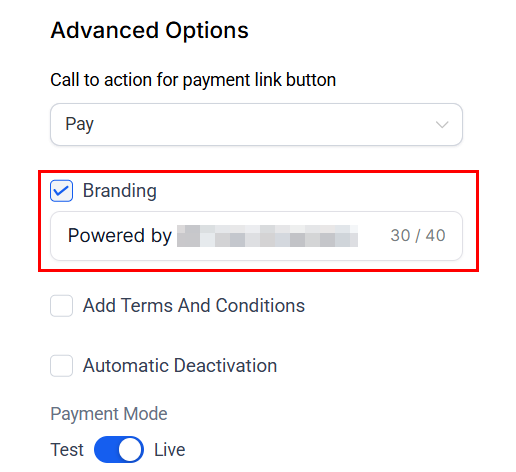
Enable the Branding Option to reflect your organization’s branding, providing a cohesive and professional user experience. By activating this option, you can enhance trust and recognition for your customers when accessing the link.
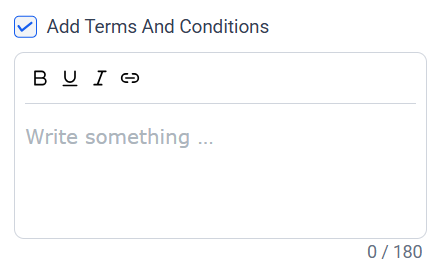
Add Terms and Conditions inside a text field by checking the box, allowing up to 180 characters, including links. This will show at the bottom of the payment link underneath the pay button.
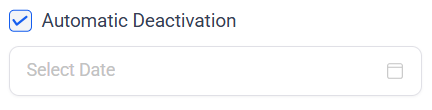
Specify an expiration date for the link, after which it will no longer be active. This feature is especially beneficial for managing time-sensitive promotions or offers, ensuring that the link remains valid only for a predetermined period.
Preview and Purchase
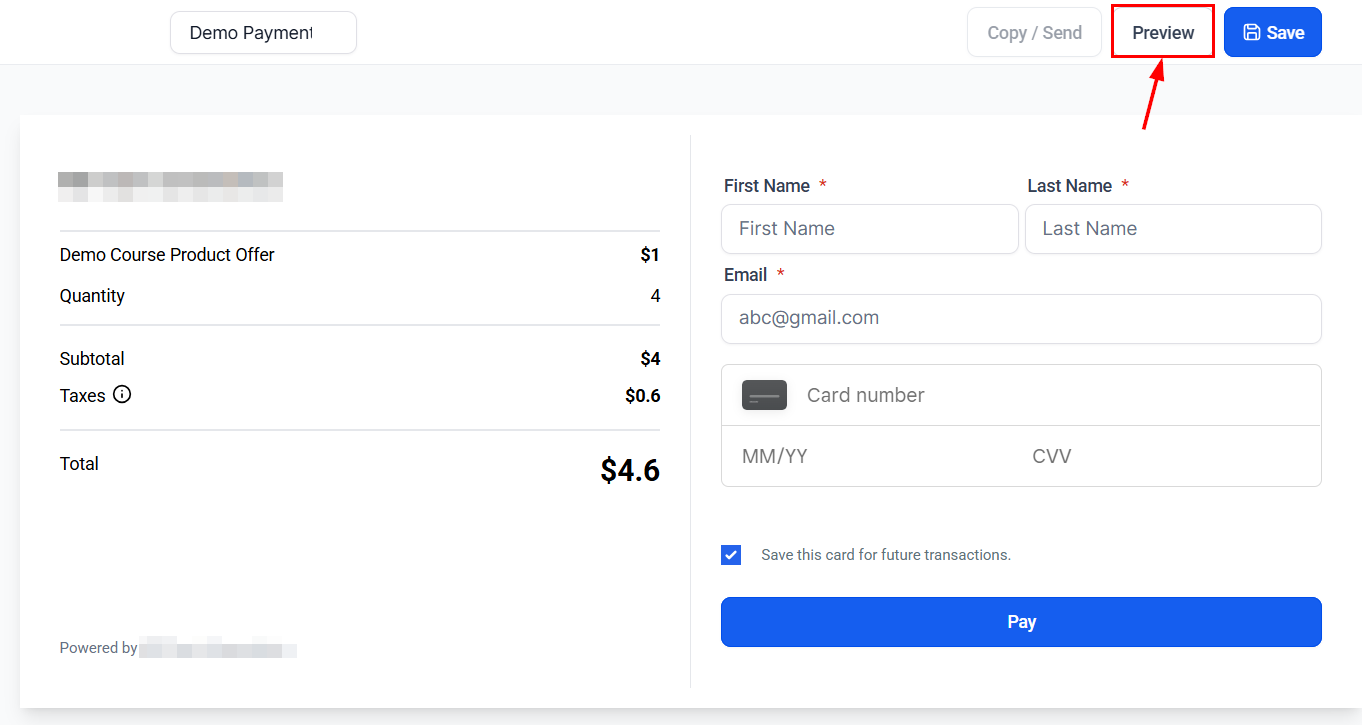
After setting up the link, a Preview will be available. Here, you can fill out the required fields and click on the ‘CTA’ button to simulate a purchase. This step ensures everything is set up correctly before sharing the link with customers.
Confirmation and Management
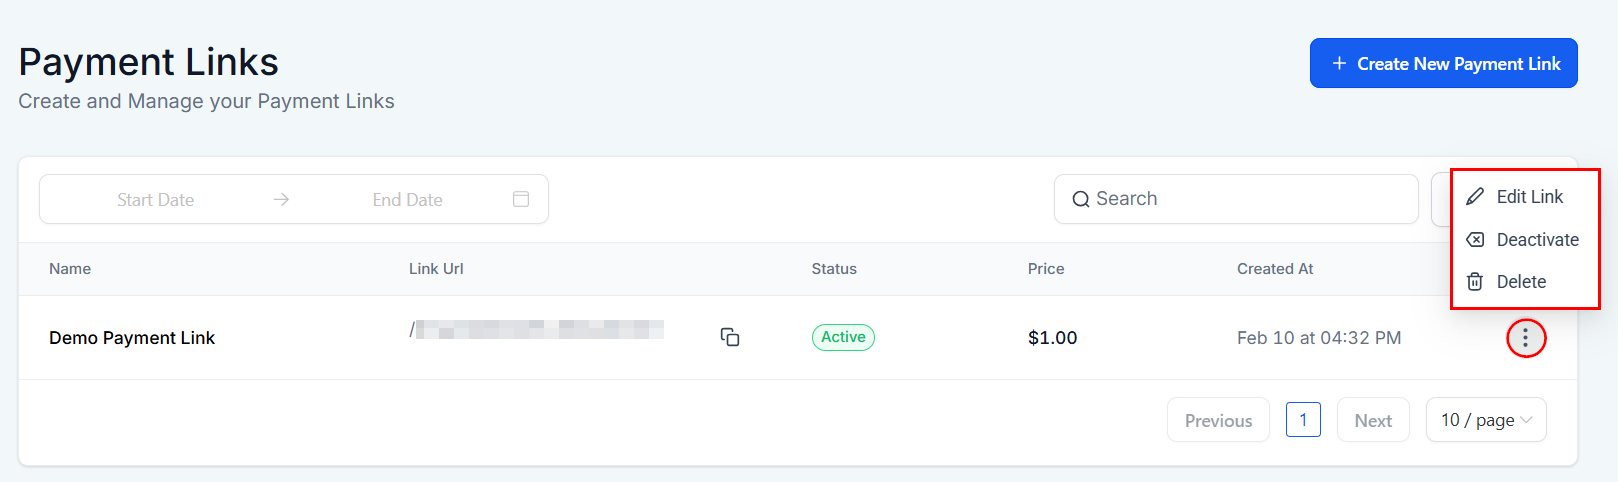
Following a purchase, a confirmation window will appear. Additionally, by clicking on the three dots next to each payment link, you have the option to edit or deactivate the links as needed.
Now that you’ve finished this article, you might be thinking, is this really for me? Well, Product Payment Links bring several key advantages to your sales process, including:
- Effortless Selling: Generate easy payment links for your products, facilitating agile and straightforward sales processes.
- Secure and Reusable Payments: Offer your customers the convenience of securely saving their payment details for quicker future checkouts, enhancing the overall transaction experience.
- Flexible Configuration: Enjoy the freedom to customize payment buttons, track transactions, and easily manage the activation or deactivation of payment links, giving you complete control over your sales operations.
So we recommend you use them and give your sales process a boost!
Frequently Asked Questions
Q: What if my payment link isn’t working?
- Ensure all required fields are correctly filled and the products and prices are accurately set. If issues persist, check your payment gateway integration.
Q: How do I track transactions made through payment links?
- Transactions can be tracked directly within the ‘Payments’ > Transactions tab, offering you insights into sales performance and customer behavior.
Not a Funnelbud customer yet?
Try our all-in-one CRM for sales and marketing — free for 7 days, no commitment.