How to Connect ClickUp
Connecting ClickUp to your account brings your project management and workflows into perfect alignment. Whether you’re managing client deliveries, tracking internal projects, or keeping tasks up to date, this integration streamlines processes, automates routine actions, and ensures your team stays organized and efficient.
📌Note: The ClickUp integration is primarily designed to work with workflow actions and triggers, enabling you to automate processes and keep your tasks and data in sync effortlessly.
Setting Up ClickUp Integration
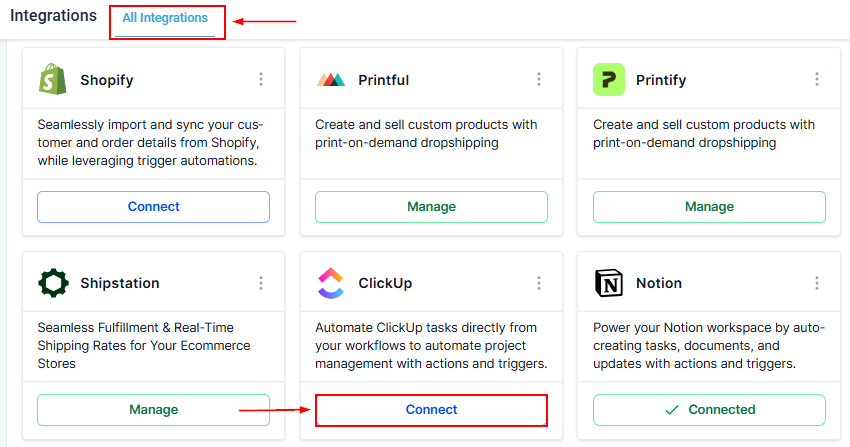
Navigate to the Settings section within your account, and locate the Integrations tab. From there, click the Connect button within the ClickUp tile to initiate the setup process.
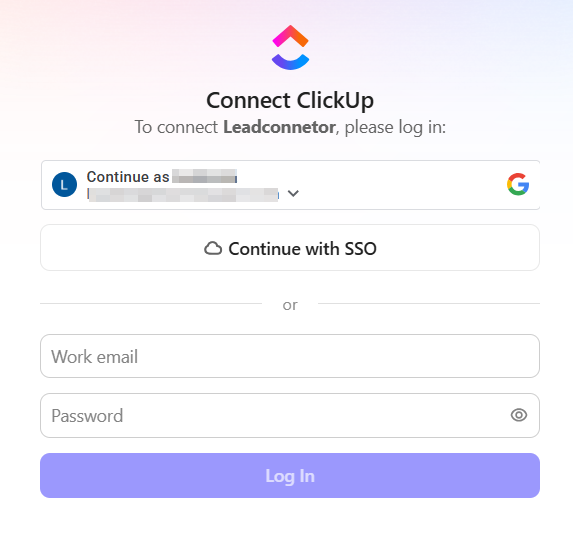
Log in by entering your work email and password, or by signing in via Google or Single Sign-On (SSO).
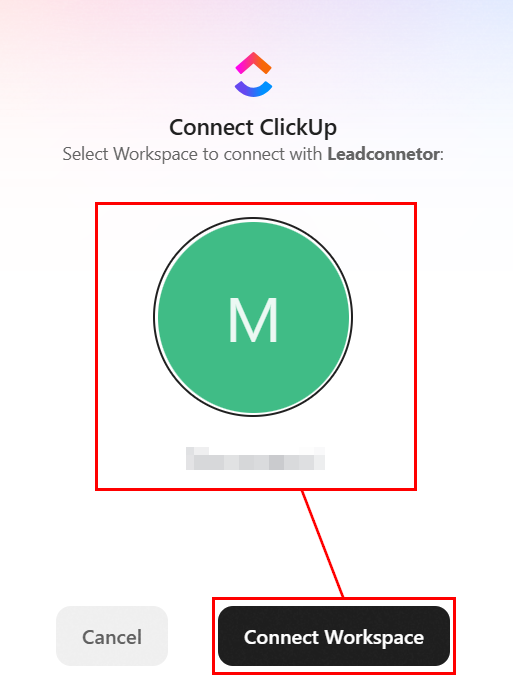
Next, choose the workspace(s) that should be integrated into the platform.
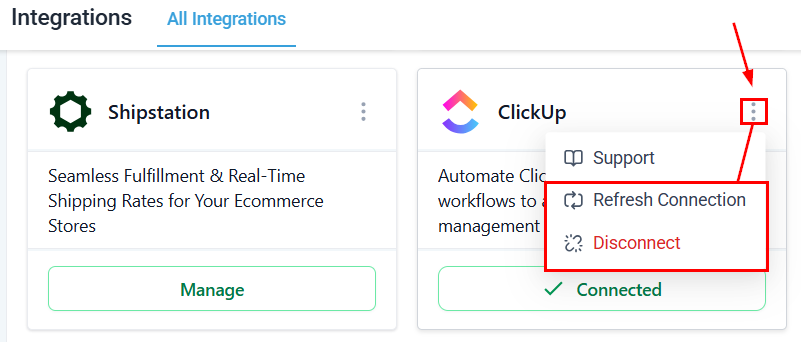
Once connected, the integration status will update to “Connected.” For optimal performance, periodically refresh the connection to maintain synchronization, or remove the app if it is no longer needed.
By linking ClickUp with your account, you create a system that drives consistency, reduces errors, and accelerates project delivery. It’s a smarter way to keep work flowing smoothly.
Not a Funnelbud customer yet?
Try our all-in-one CRM for sales and marketing — free for 7 days, no commitment.