How to Schedule Posts in Bulk
Efficiently managing your expanding social media presence demands a systematic approach to posting across diverse platforms. The Bulk Scheduling feature on Social Planner empowers you to streamline this process, sparing you from the laborious task of manual, post-by-post handling.
📌Note: To harness the full potential of this capability, please refer to the guidelines outlined in the “Prerequisites for Bulk CSV Scheduling in Social Planner” article.
How to Schedule Posts in Bulk
Once the prerequisites are satisfied, click the “New Post” button in the Social Planner and select “Upload from CSV.”
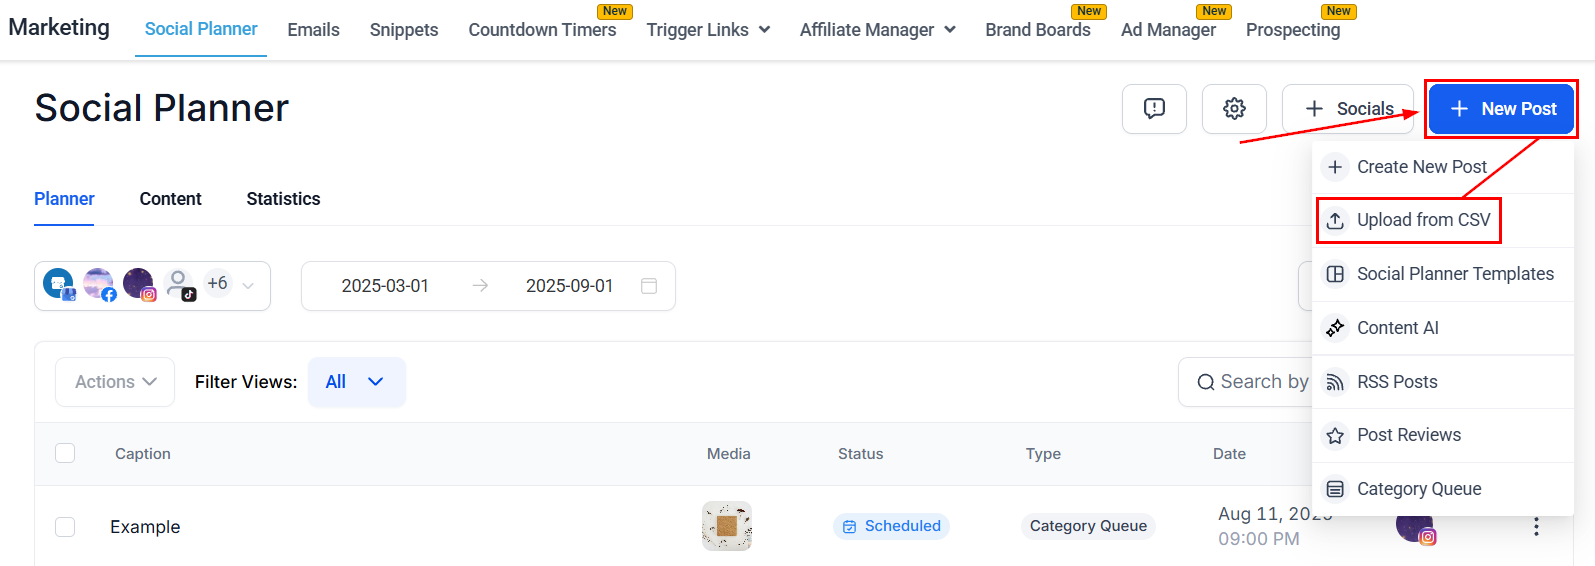
Upload File
You will then be prompted to select a posting format.
The Basic Format supports essential elements such as the date, content, OG meta URL, image links, video links, and GIFs. The Advanced Format provides expanded functionality, including platform-specific post types (e.g., Post, Story, Reel, Shorts), watermarking, tags, categories, follow-up comments, and enhanced options for Google Business Profile (post types, calls-to-action, events, offers), YouTube (title, privacy settings, video type), TikTok, LinkedIn PDFs, Pinterest board selection, and more.
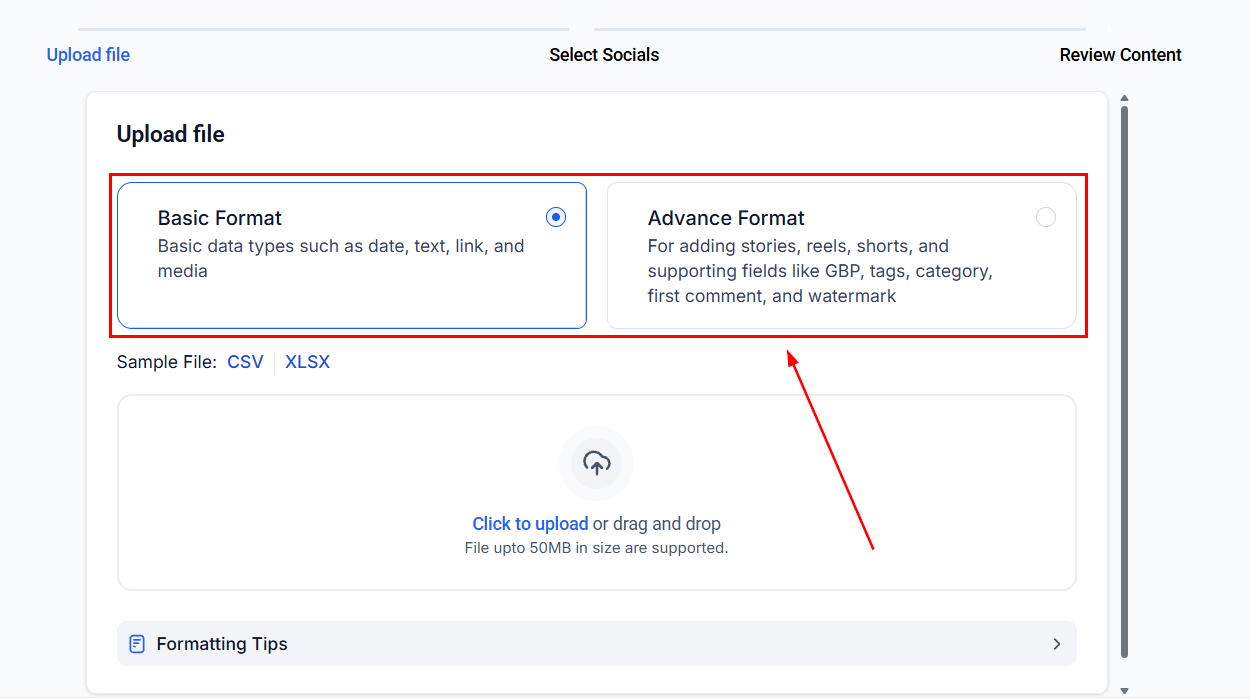
After selecting the desired format, download the sample file or review formatting tips to ensure your file adheres to the guidelines. Next, click to upload the file or drag and drop it.
📌Note: A maximum of 90 posts can be uploaded per CSV or xlsx file.
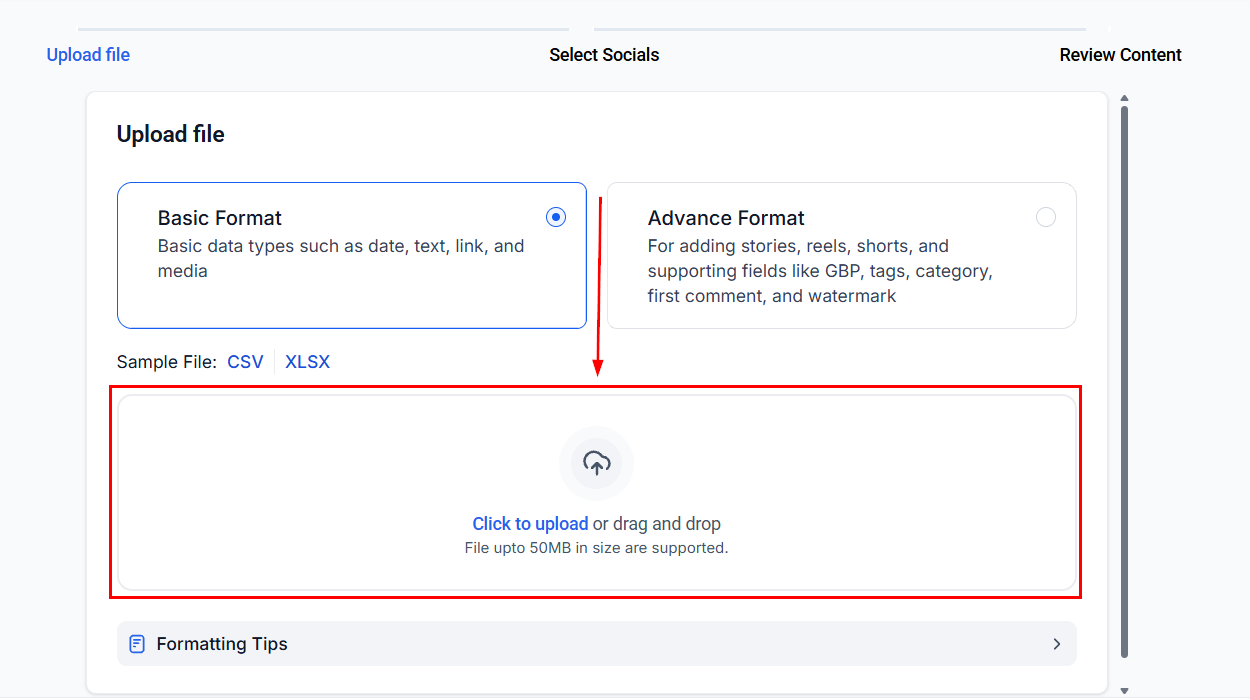
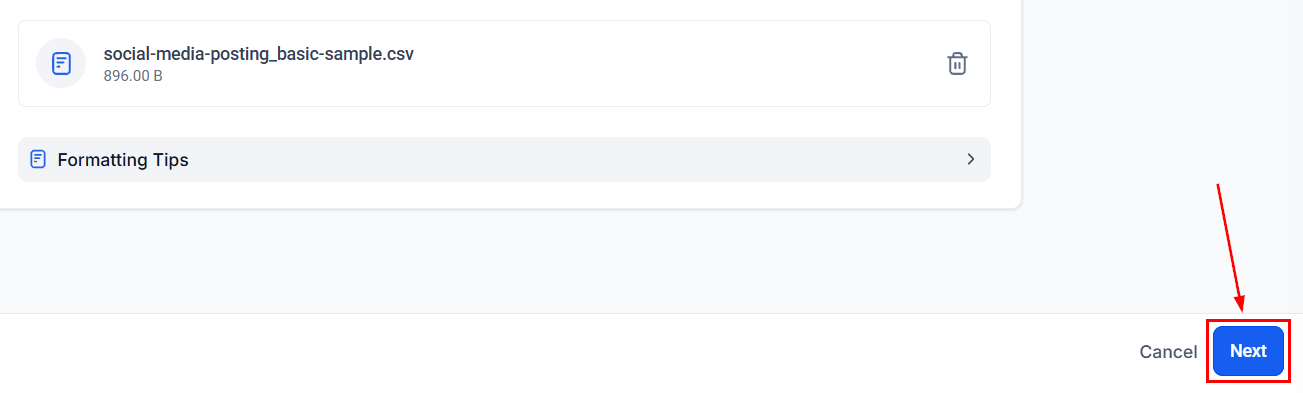
Once the CSV is uploaded, click on Next.
Select Socials
Select the accounts where you would like to publish the post. This dropdown will display all the linked accounts associated with your platform, allowing you to choose the correct one for your intended audience.
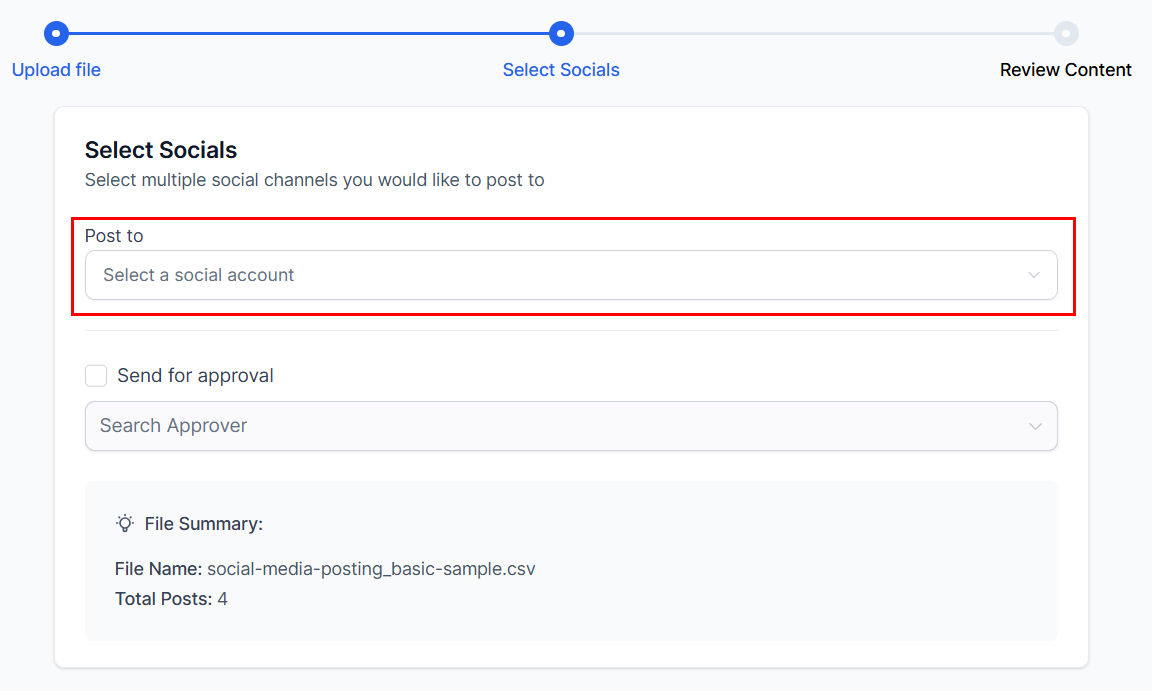
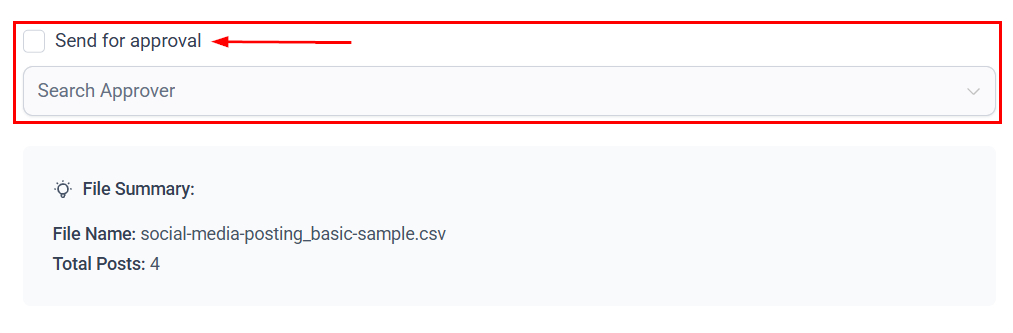
Submit the posts contained in the file for review by a designated approver before they are scheduled for publication by clicking the checkbox and selecting the relevant persons.
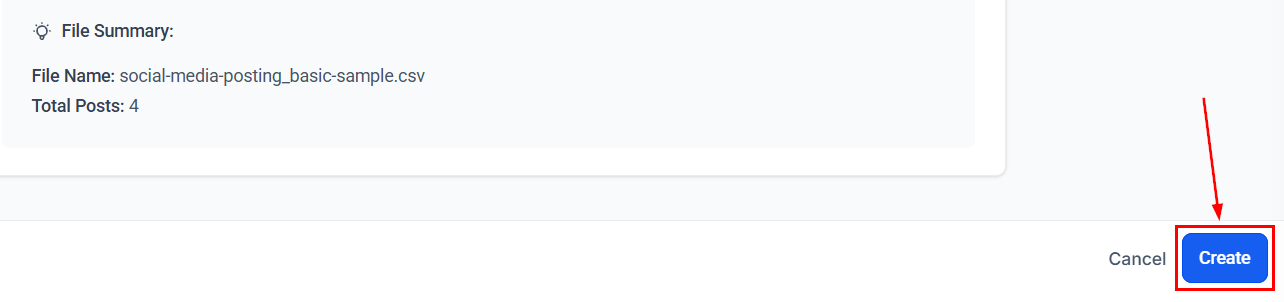
After clicking Create, the content from your CSV or XLSX file will be prepared for review or scheduling.
Review Content
Once the file is uploaded, you must review the imported content to complete the setup process.
Posts with errors will be displayed in a separate tab and can be resolved by following the steps outlined in the error message.
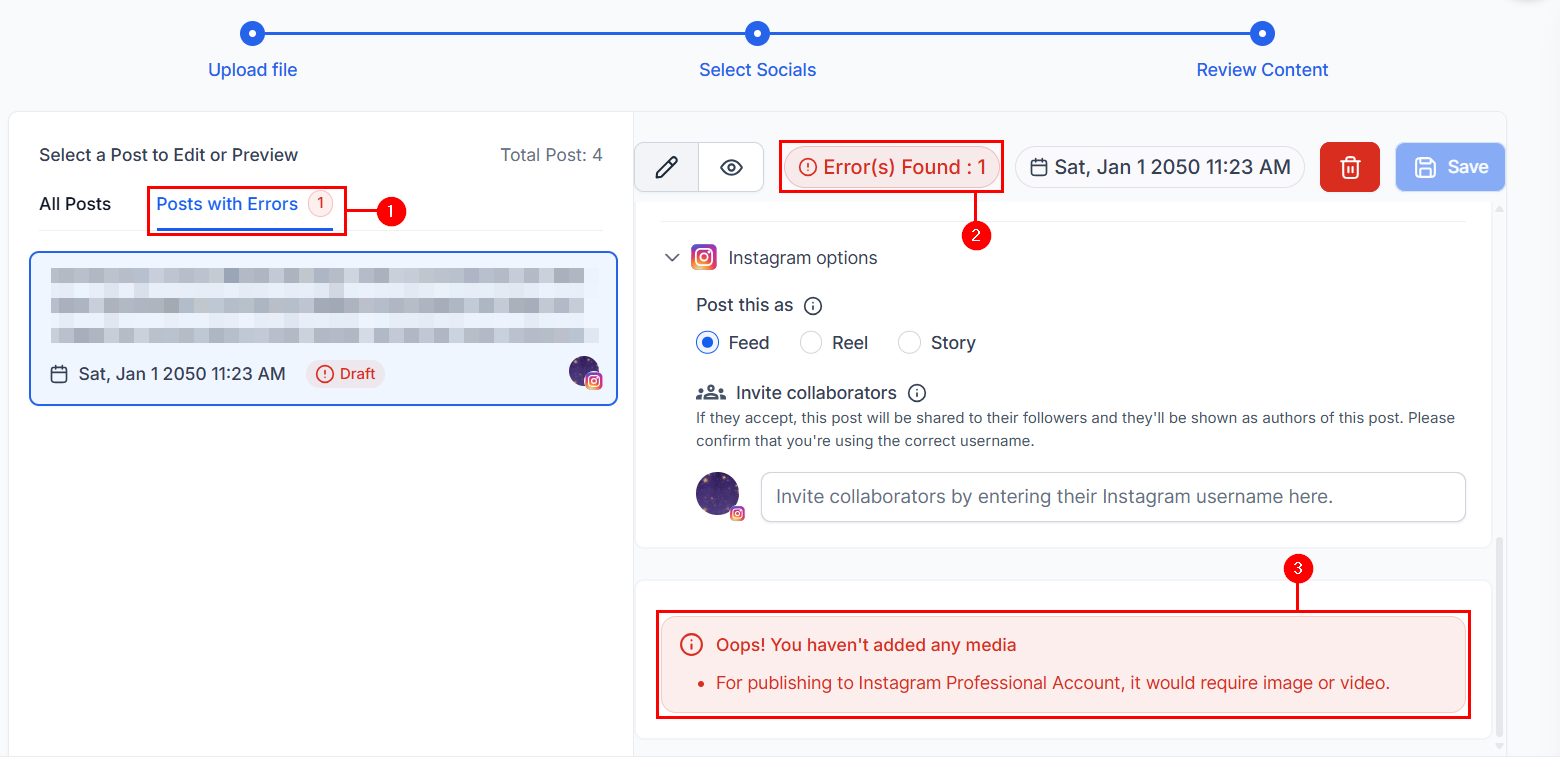
Changes made to each post can be retained by clicking the Save button on the upper right-hand section of the screen.
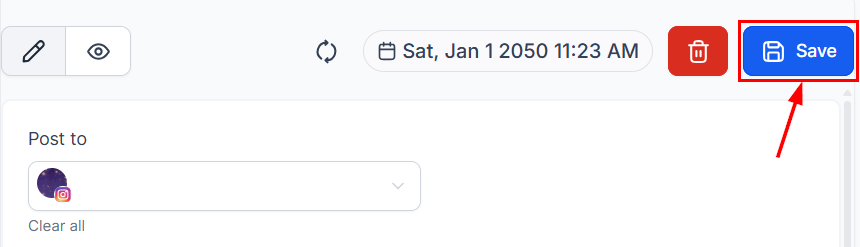
After correcting all errors, the “Posts with Errors” tab will disappear, and you can proceed to schedule your content for posting or save it as a draft as needed.
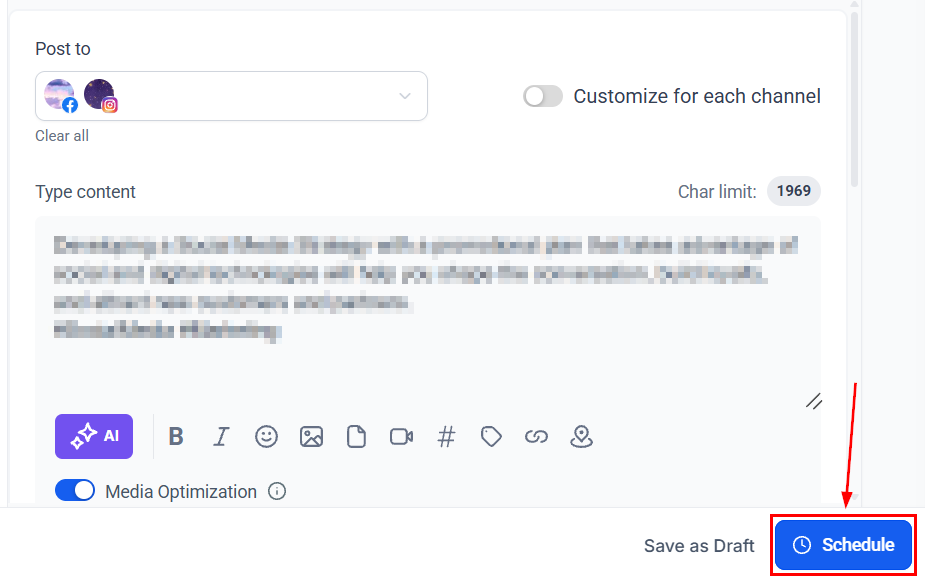
Click Import to schedule all approved posts directly into the calendar queue.
Check CSV Status
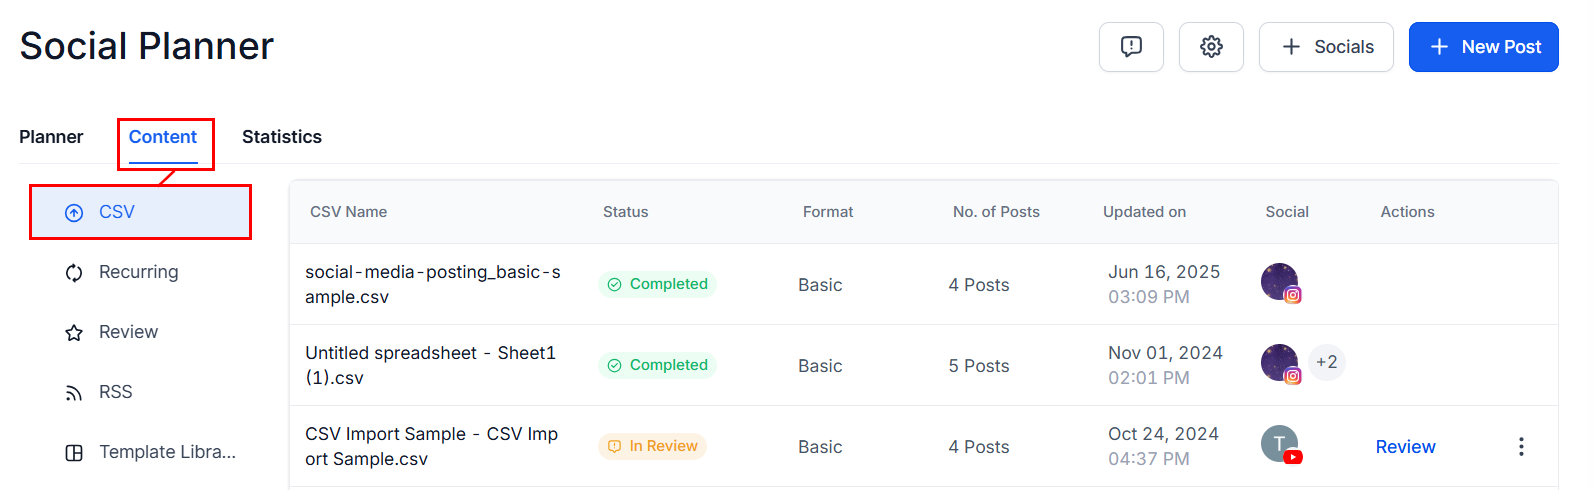
The CSV tab within the Content View enables you to track the progress of your imported files.
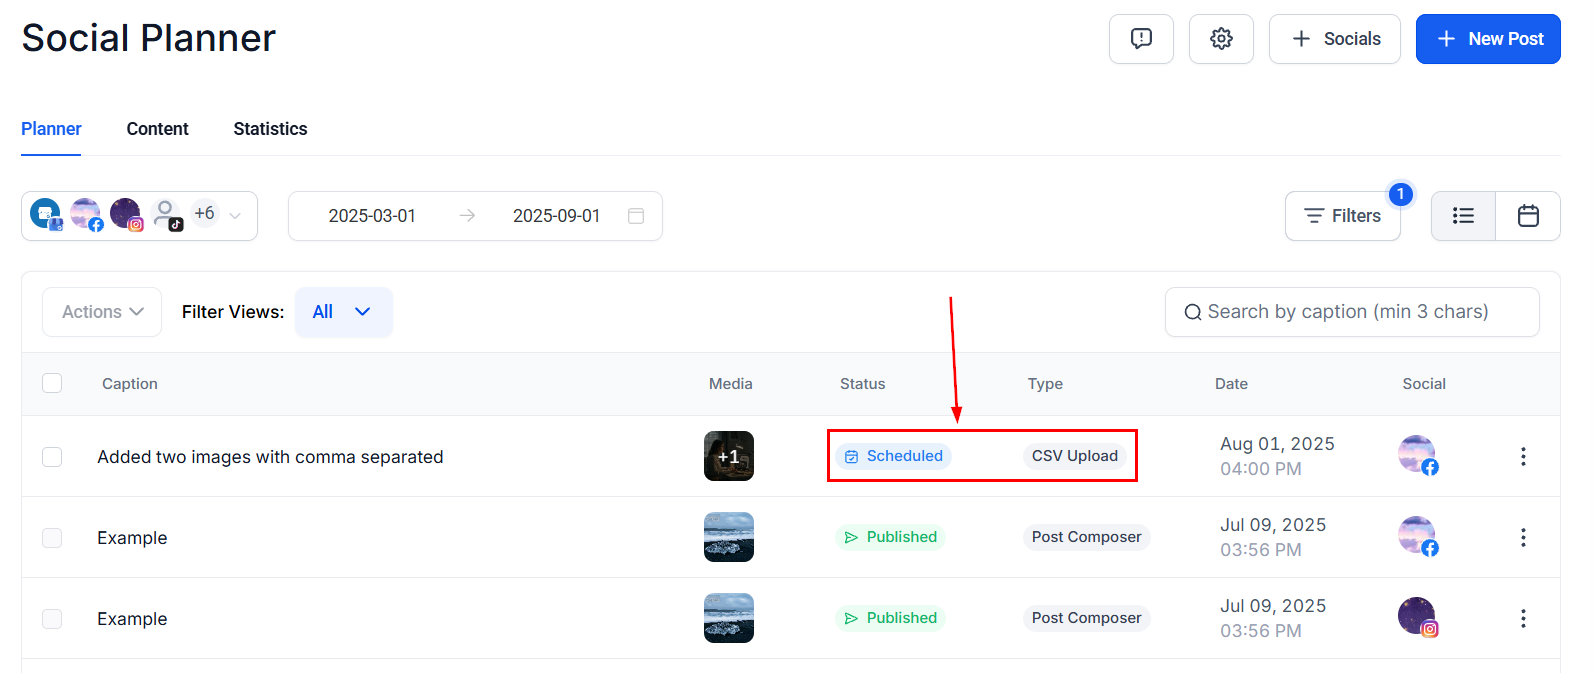
Additionally, the Social Planner dashboard clearly differentiates between posts created via CSV upload and those composed manually using the Post Composer. All scheduled posts can be viewed and managed within the content calendar.
By leveraging the Bulk Scheduling feature in Social Planner, you can simplify and centralize your posting efforts across multiple platforms. With options for content customization, error resolution, and post approval, this tool ensures a smooth and efficient publishing workflow.
Not a Funnelbud customer yet?
Try our all-in-one CRM for sales and marketing — free for 7 days, no commitment.